
Printed Line Art
Materials:
Plastic
Rubbing stick (Tongue depressor or Hera marker)
Elmer's clear washable glue
Elmer's blue gel glue
Inkjet Transparency Film
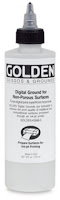
Non-porous Golden Digital Ground (optional)
Foam brush (optional)
Precision bottle
#2 flat brush
Size 00 round brush
Iron
Untextured, solid fabric works best
You can print directly on fabric, but I prefer the transfer method because I don't have to cut and sew fabric and I can place the image where I want it.

There are two different types of transparency sheets, quick dry and uncoated. The quick dry Apollo brand is 50 sheets for $33.14. It has a textured ground that doesn't smear.

The uncoated Precision brand is 100 sheets for $15.49. It has to be coated with non-porous digital ground, but the ink will smear if you're not careful with it.
You can download black & white line art or scan a coloring page. Make sure the image has a 300 dpi resolution and will fit inside an 8x10" or smaller area. An easy way to do this is go to Image>Resize.
Print the image on plain paper and tape it to a light table. Place the fabric on the paper. Dip a paintbrush into clear washable glue and brush it sparingly over the lines on the fabric. Allow the glue to become sticky while you print the transparency.
Print the image on plain paper and tape it to a light table. Place the fabric on the paper. Dip a paintbrush into clear washable glue and brush it sparingly over the lines on the fabric. Allow the glue to become sticky while you print the transparency.
Click on the Magic Wand tool and select any white part of the image. Go to Selections>Select Color Range. Change the color selection to white and all of the white in the image will be selected. Hit the delete key. You can also click on the black lines and fill them with gray to prevent from wasting ink and facilitate painting over them. Copy and paste the outline as a new image.
Mirror the image. Use your image editor's print layout, if it has one and center the image. Set your printer properties to "Inkjet Transparency", "High Quality Greyscale" or "Black Ink Only" and "Normal". Insert one inkjet transparency sheet into the printer, textured or coated side down and white strip toward the rollers.
Place the image, printed side down, onto the glue. Press it with your hands and rub gently with the stick. You'll see the ink transfer onto the fabric. It doesn't bleed or smear at all. All of the ink will not transfer.
Gently, lift the transparency and set your hair dryer on low to dry it a bit. If you have a spot that didn't transfer, dab on a tiny amount of glue and rub again. Blow dry thoroughly.
If you want to preserve the lines, go over them lightly with fabric medium using a size 00 round brush or precision bottle. If you intend to paint over the lines, apply washable blue gel glue along the outside of the image.


Print a basic line image onto plain paper. Turn the paper over and trace with the pen. Turn the paper over again so the printed side is up. Iron over the printed side. You can transfer several line drawings from children's coloring books onto a piece of fabric. The lines are light and disappear beneath any media. Trace over the lines with a micron pen, if you wish. Let them color the fabric using any media they like. When they're finished, heat set and seal both sides. Make it into a quilt, label and wash it. You'll have your child's artwork for a lifetime.
Large Text

Printing onto freezer paper is the best way to transfer large line work. Cut your freezer paper to 8.5" wide by whatever length you need, not exceeding 30 inches.

Launch a new image the same size as the area you intend to cover. Mine was 8.5x22". Your text should have a black line width of 5 pixels and a transparent background.

I always have to clean up my images.

Mirror the image.

Rotate the image counter-clockwise.
Set your printer properties to Custom Size. Type in the dimensions and save. You may have to re-launch the print setup for the setting to show. Print on plain paper in either normal or fast draft mode. Fast draft saves ink, but you'll need to go over your lines with a sharpie like in the one below. This can actually be an advantage because it will smooth your lines. Load the freezer paper matte side down and print.


Flip the fabric over and the image will be right side up.

My light table is a quilting frame with a large sheet of acrylic laid on top and a brooder lamp clamped to a leg. I also use it for marking a quilt top without a stencil before I baste the layers together.

Trace over the lines with a heat erasable gel pen or water erasable pencil. I ran out of pink and had to switch to blue.

I used this same method for embroidery on another quilt.

I don't have a fancy embroidery machine. I use my sewing machine with a satin stitch the same way it was done 40 years ago. I purchased one good machine that does everything and that's all I need. I'm using a size 75/11 embroidery needle with dual duty plus thread.

This is the end result.
Over sized Images
You can also use this method for transferring a motif for painting or fusible applique.

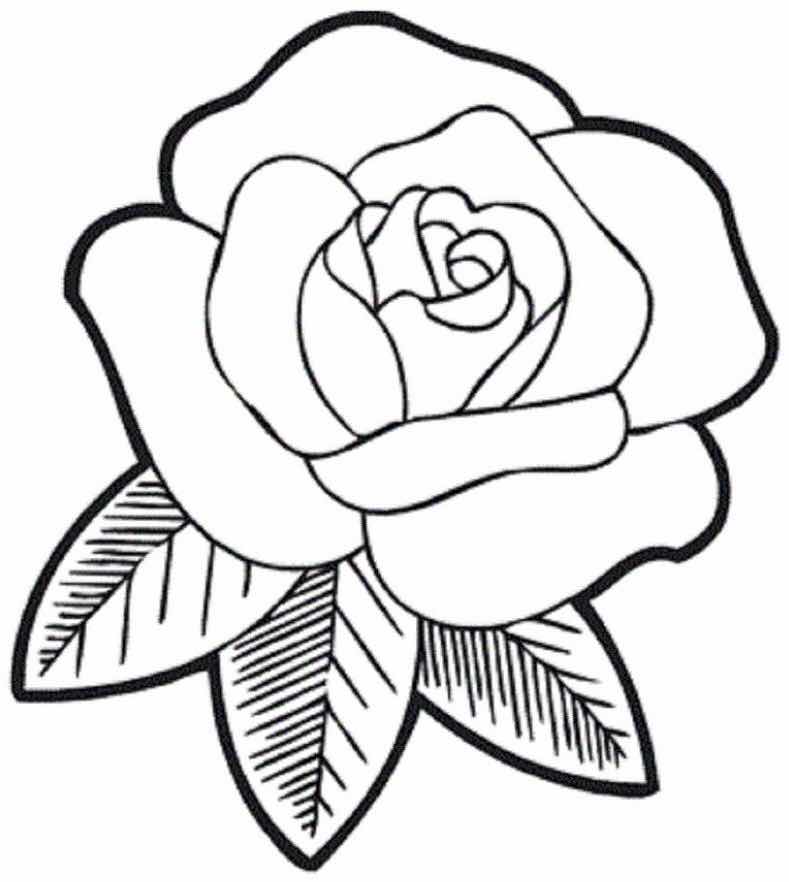
The rose above is a very large file, 22x25". I couldn't print it that size, so I separated it into three 8.5x25" images. This was easier said than done because it took a lot of memory to execute and save after each task.

I glued the sheets together to create one large mirror image motif.

This is after I transferred it.

Use a precision bottle to outline an object and separate it from the background or surrounding objects. The above photo is a rose on the back of a baby quilt that I outlined before I painted it.


This is the finished quilt.
No comments:
Post a Comment