
Piecing


Washable glue is something I can't live without. I baste all my seams with it. It keeps seams aligned without pins and tacks down fusible appliqué. Heat setting temporarily stiffens fabric and ensures easy sewing. Pieces can also be parted and repositioned after heat setting. Pour glue into a precision bottle to control application.

A 1/4" piecing foot will keep your stitches straight.

I use a 1/4" patchwork foot for half and quarter square triangles that are sewn together before cutting.

You need a good 50 weight cotton thread for piecing in the top and bobbin. I use Aurifil because it's lint free and comes in 1200 yard spools. I set my top tension to 4 and it sews perfectly.
Sewing Machine Needles


I use Schmetz needles. Quilting 75/11 are the ones I use for piecing. The professional quilter's needles I use are chrome plated. The chrome finish reduces heat and wear, and aids in slipping through the fabric. I also use their titanium coated embroidery needles for appliqué. Titanium coating resists adhesives, improves needle wear and penetration of coarse and densely woven fabrics.
Half and Quarter Square Triangles
They're not as hard as you think and you don't need a special "Nancy" gadget to make them. All you need is a quarter inch ruler (the one pictured below), a marking pencil and a 1/4" patchwork foot. You can't use a guided piecing foot to make these.

Lay a bead of glue down one diagonal.

Lay the corresponding fabric over it, wrong side up, and heat set.

Mark the center cut line.


Mark both sew lines 1/4" from the center.


Sew the pieces together with a 1/4" patchwork foot. Cut the pieces along the center line.


Iron flat and clip the dog ears.


Making quarter square triangles follows the same basic principles. Glue the pieces together and mark both cut lines.


The sewing lines are different this time. They're marked and sewn in two opposing "Ls". The parallel lines are marked to a 1/4" passed the cut line. The perpendicular lines begin where the parallel lines end. Sew down one parallel line and pivot to sew down the adjoining perpendicular line. Remove the piece and snip the thread. Sew the opposite side. They can be chain pieced if you pay attention to what you're doing.


Cut through both cut lines. Press the pieces open and snip dog ears. Line them up on the long side and sew together.

You'll end up with two of these.
Seam Nesting and Alignment


Don't place your seams directly on top of one another. This creates bulk. Your seams should butt up against each other facing in opposite directions and lie flat.


Point the seams towards each other facing inward and you'll end up with near perfect seams. Starch and press the block flat.
Here lately, I've been questioning the wisdom of pressing patchwork seams closed because of the bulk. Premium quilting fabric has a high thread count and there's nothing we can do about it. Hand quilters press their seams to one side because they can feel where the seams are and can stitch around them. A machine quilter can't do that. Machine quilting also creates a smaller stitch than hand quilting, that also tends to be more elaborate. With all of this in mind, I think we should press seams open for patchwork and closed for large solid blocks or hand quilting.
Compensating
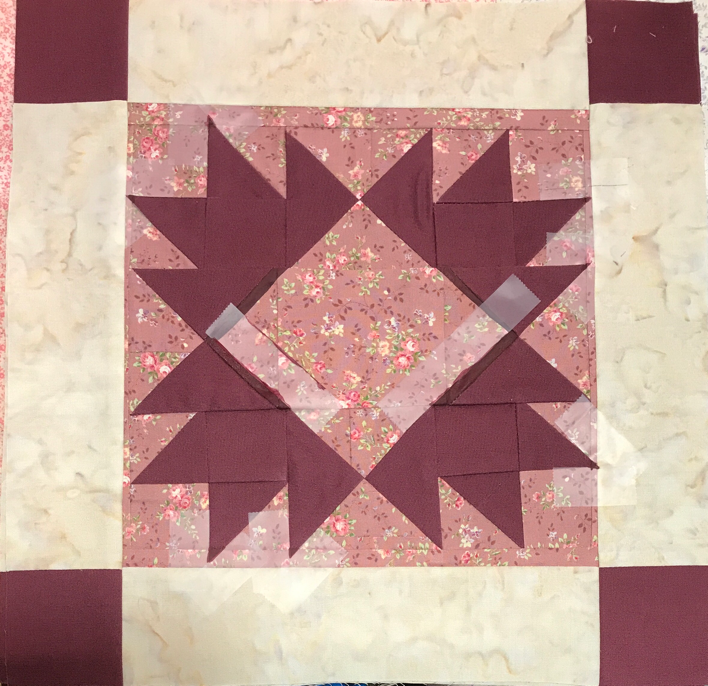
There are times when, despite your best efforts, you'll end up with a block that has obvious uneven pieces on the ends. It happens to all of us. When you watch a quilting video or look at photos, you're only seeing that one perfect block out of 100 to convince you that the instructor is a professional. I'm a professional quilter and my blocks don't turn out perfect every time. I make more mistakes than not. Compensating should only be done as a last resort if you don't have enough fabric to make a new piece or block. I've done it several times for blocks and sashing squares.


If I square up this block, I might get the sides even, but it will likely be too short and crooked to use. This is what I mean by not squaring too early. You can't rely on that method alone because you might be forced to cut into the design.


This block was 1" short on the vertical and 1-1/4" short on the horizontal. If I use it like this, it will throw off the entire quilt. If there is less than a 3/4" difference, don't bother with compensating.
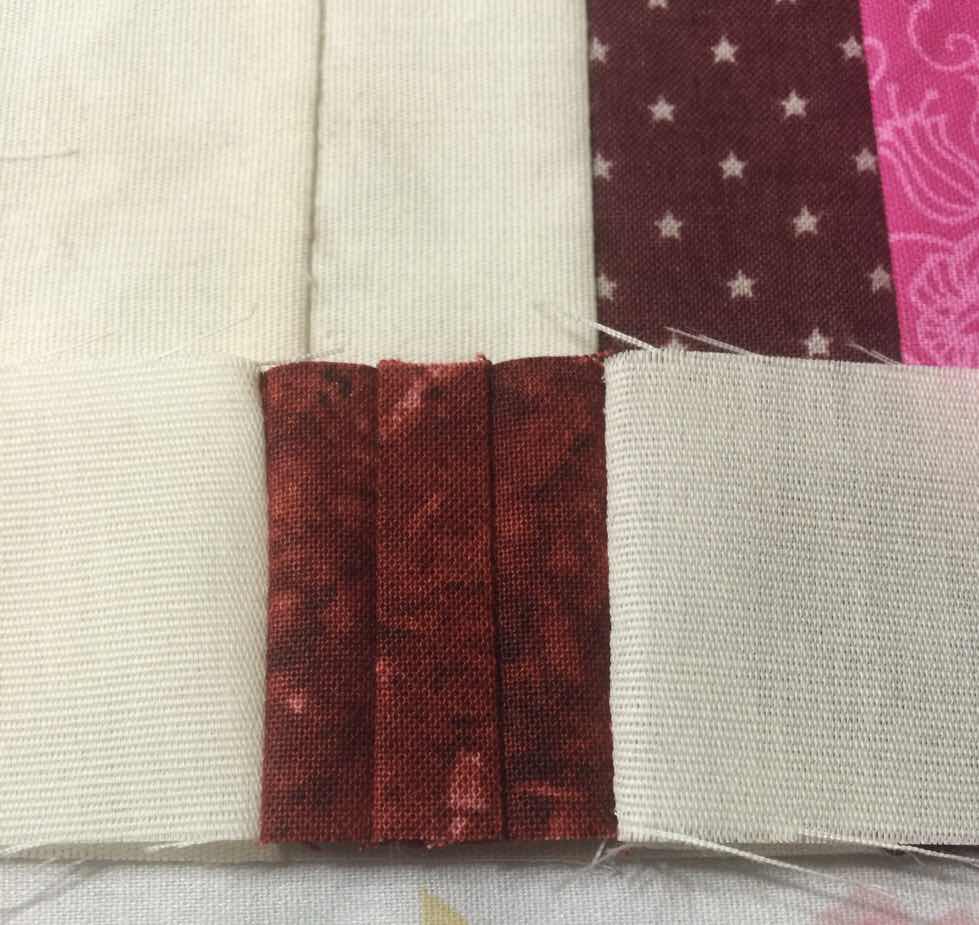
Measure and mark one end to the other and cut on the mark.

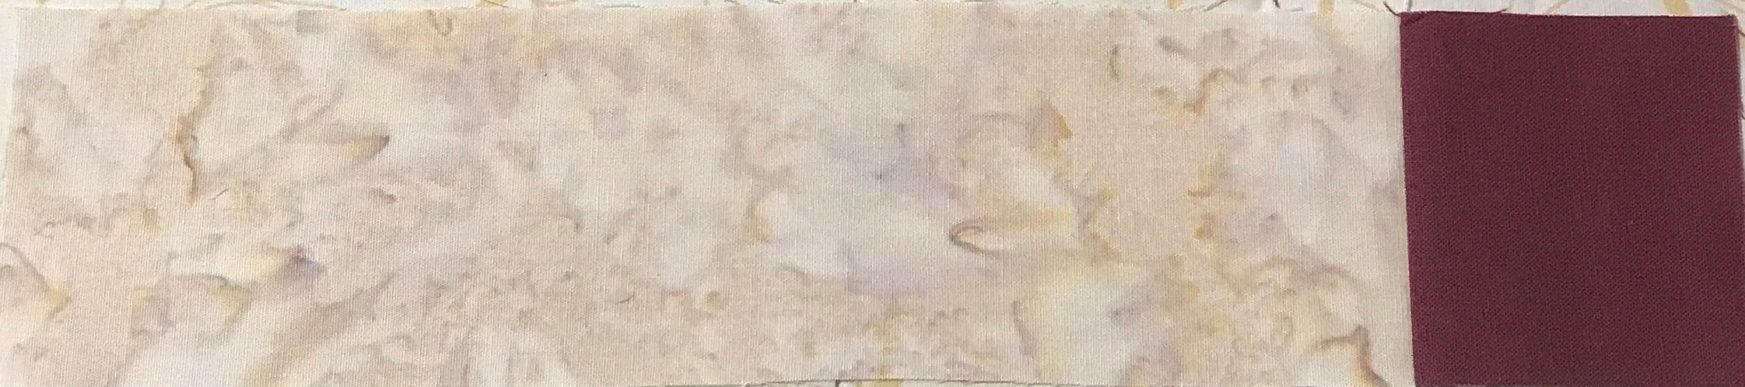
Cut a 6" wide strip into (4) 1-1/2" wide strips. Sew a strip to each side of the block. Iron flat. You'll have 1-1/4" of fabric on all 4 sides.

This block should be 9-1/2". I measured a 1/2" on either side of the vertical seam and 5/8" on either side of the horizontal seam to make it even. Then, I cut off the excess.
Squaring Up--Don't!

Your sewing will never be perfect because every piece you cut in two directions will have a 2-way stretch. Bias cutting has a 4-way stretch. The feed dogs cause piecing distortion. Every time a foot goes over a block seam, it shifts and skews the stitches. The thicker the seam, the more it shifts. Pressing will distort the pieces as well.

I never square up my block pieces or trim them before the block is finished. This will make the block smaller. The edges may look uneven, but they may even out after I press them open. I only trim the seam to make it straight.

I don't square the block to a particular size until all of my blocks are finished. One block may be too big and another too small. A quilt doesn't have to finish at a pre determined size. Mine usually end up a few inches larger than anticipated. No one will notice if it's a few inches smaller either. You can always make up for a size discrepancy with the border.

I trimmed my blocks to make the edges straight.

I sewed more floral fabric to all the edges. I ended up buying an additional 1-1/2 yards to correct 42 blocks.

I squared the block to the correct finished size.
Correcting Mistakes with Paint

I mixed 1 drop of Apple Barrel Jet Black into 15 drops of Folk Art Burgundy and carefully painted the points with a 10/0 round brush.
I used scotch tape to connect the lines and form a point. I used this same technique to straighten crooked lines. I let the paint dry before removing the tape. I also mixed 20 drops of Burgundy into 17 drops of White and added 1 drop of Black to match the dark pink (mauve) background. I used the same brush to clean up the points.

I heat set the paint. The color will fade a bit when I wash the quilt and blend into the fabric.
Hindsight
With all this expert advice, you're probably wondering where I went wrong in my piecing. My first mistake was being over confident. I should've slowed down and paid better attention to what I was doing. Yes, I know how to make a quilt. Each quilt design has its own challenges. My fabric was too thick. Patchwork became popular in the 1930s as a way of using up fabric scraps left over from making clothing out of flour and sugar sacks. It was much thinner than the fabric we use today. Patchwork pieces using modern fabric have to be slightly over cut to compensate for the thickness. The block pieces have to be starched and pressed at every step. Those were the two things I didn't do and it ended up costing me. I'm not ashamed to admit my mistakes. I think it's just as important to learn from mistakes as it is to learn and follow an exact order of operations. It's important to know how to correct mistakes rather than start over. A quilt isn't necessarily ruined just because you've messed up.
Strip Sashing

Sew the blocks and vertical sashing strips together into rows. Sew the horizontal strips to the block row.
Corner Square Blocks

Sew the vertical sashing to the blocks. Sew the squares to the horizontal sashing.

Line up the horizontal sashing strip and square with the block and vertical strip. Glue baste and sew the horizontal sashing to the block. Cut off any excess from the strip that extends beyond the block. Do this for each block in the row individually. Sew the blocks together into rows.
Corner Square Sashing
This is the hardest sashing to line up. You would think that because the sashing strips are cut to the same size as the blocks that the seams will line up, but this isn't always the case.

Line up the sashing end to end parallel to the quilt. Find where the corner square is and mark the block seam on the sashing.

Rip the stitches out where the square is sewn onto the sashing.

Lay the two sashing strips on the quilt top.

Mark the seam on the sashing and mark the 1/4" seam allowance. Cut off fabric on the seam allowance mark.
Sew the pieces together and check the alignment again.
Tips
1) Use thin fabric (muslin or 50/50 broadcloth) for patchwork to avoid thick seams. Bed sheets are perfect.
2) Start and end chain piecing with a scrap piece of fabric.
3) When sewing patchwork pieces together or sashing to a block, sew with the seams up to make sure you get them under the presser foot.
4) Start sewing curved pieces from the center outward. Flip the piece and sew from the center outward to the other end.
5) When sewing a triangle or square to an angle (Y seam), stop 1/4" from the edge and pivot.
No comments:
Post a Comment