
Overcasting works for finishing thin layers and fleece blanket edges that don't fray.

Use an Overcasting foot with an overcast stitch (06 on my Brother machine), a stitch length of 1.2 and a stitch width of 5.0. Back stitch straight at the beginning and end.

This method produces a finished edge with no bulk.
Folded Edge
A folded edge is used for accessories and utilitarian objects.


Use a 1/4" ruler and a corner trimmer to mark fold lines and 45 degree angles on the right side with a heat erasable pen. Trim the corners.

Fold the fabric along the marks, wrong sides together and press with an iron. The marks will disappear.


Mark the 45 degree angle again over the folds and trim. Fold a second time and press with starch.

Place the inside fabric with raw edges under the rolled hems.

Switch to a Zipper foot. Top stitch as close as possible to the inside folded edge on all four sides, back stitching at the beginning and end.
Topstitched Edge
The topstitched edge is identical to the flat folded edge, except the edge of two fabrics are folded once and stitched together.

Cut two pieces of fabric 8" wide by any length. I chose white for the inside and a pattern for the outside.
Use a 1/4" ruler and a corner trimmer to mark fold lines and 45 degree angles on the right side with a heat erasable pen. Trim the corners.

Fold both fabrics along the marks, wrong sides together and press with starch. The marks will disappear.

Lay the inside fabric on top of the outside fabric, wrong sides together. Glue baste along the seam on all four sides. The fabric seams may not align perfectly, but that's okay.

Use a Zipper foot to top stitch as close as possible to the outside edge on all four sides, back stitching at the beginning and end.
Knife Edge

The knife edge is identical to the topstitched edge except that it's used for finishing a whole cloth quilt. Leave 1-1/2" unquilted. Fold the top and backing a 1/2" creating a crease on the outside edge. Trim the batting 1/4" from creased edge. Topstitch the edges together using a zipper foot. Topstitch again a 1/2" from the finished edge to secure the batting.
Prairie Points
Prepare the quilt just as you would for a knife edge.
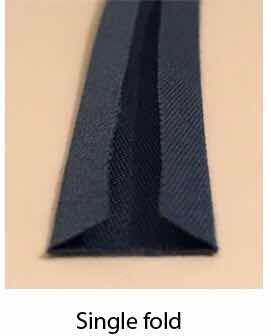
For running points: Cut 2-1/2" squares of fabric. Fold each square in half lengthwise into a rectangle and iron. Fold each top point toward the center to create a triangle and iron again. There should be two single folds in the center and a single fold on each edge. Place 1/4" of one triangle point on top of the point of another. Alternate points over and under.
For nested points: Cut 4-1/2" squares of fabric. Fold each square in half to create a triangle and iron. Fold into triangles and iron again. There should be a single fold on the left and a double fold on the right. Slide the single fold of one triangle 1/4" into the double fold of another.
You can position the points closer together, but keep the spacing consistent. Glue baste and heat set the points together so they don't shift. Glue baste the piont edge to the folded backing edge and heat set. Position the points on corners at 90 degree angles. They should not overlap. Repeat, gluing the folded top edge to the points. Topstitch the points and edges together using a zipper foot. Change to a zigzag foot and position your needle to the center. Topstitch a 1/2" from the edge just as you would for a knife edge to secure the batting.
Piping


Piping takes the knife edge a step further and it's perfect for finishing scalloped edges or round corners. Cut 1-1/2" wide strips on the bias and join the strips. Wrap the fabric around cotton cording, wrong sides together. Using an adjustable piping foot or zipper foot, sew alongside the cording. Prepare the quilt as you would for a knife edge. Glue baste the piping edge to the folded backing edge and heat set. Repeat, gluing the folded top edge to the piping. Topstitch the piping and edges together using the piping foot. Change to a zigzag foot and position your needle to the center. Topstitch a 1/2" from the edge just as you would for a knife edge to secure the batting. Piping is also a great way of separating decorative borders.
Rolled Hem Foot


The rolled hem requires a special foot that rolls a round hem as you sew. It ranges in size from 1.6-8mm. Begin at the edge of the fabric and sew a few stitches. Lift the needle and presser foot. Remove the fabric. Do not cut the thread. Slip the thread tail through the curve of the foot drawing the fabric into the curve until the last stitch is aligned with the needle. Sew while feeding the fabric into the foot.
Flat Hem Foot

The flat hem is similar to the rolled hem. It also requires a special wide hem foot that functions the same as the rolled hem, but it makes the hem flat instead of round. It ranges in size from 1/2-1". Follow the instructions above for the rolled hem.
Bias Hem Foot

The Bias Hem Foot is only a larger version of the rolled hem foot and it used to attach a 1/2” round binding on a hem. Sew a few stitches in the center at one end of the binding. Cut the thread and remove the foot. Feed the thread tail and binding through the roll in the foot. Pull the binding through by the thread, feeding it into the roll. Return the foot to the machine. Slip the main fabric into the central slot between the folds of the binding. Gently pull the thread tails to start sewing.
Hem Tape

Hem tape was designed for casing elastic and finishing garment edges that will be close to the skin to prevent scratching. It is generally not visible. It works best on single layers of fabric. Hem tape is 100% polyester that is sold commercially in packages.
Single Fold Bias Tape

Simgle fold bias tape was designed for finishing garment seams after they are sewn together. It is also used for making straps. It is visible because it is used on unlined clothing. It works best on one or two thin layers of fabric that are prone to fraying. This seam binding method was used on corsets during the 19h century to prevent the silk from unraveling and extend the life of the garment. It became known as the Hong Kong method after American sewing factories were outsourced to China. Today, it is reserved for high end fashion. Single fold bias tape is sold commercially in packages, but can also be made in a matching fabric.

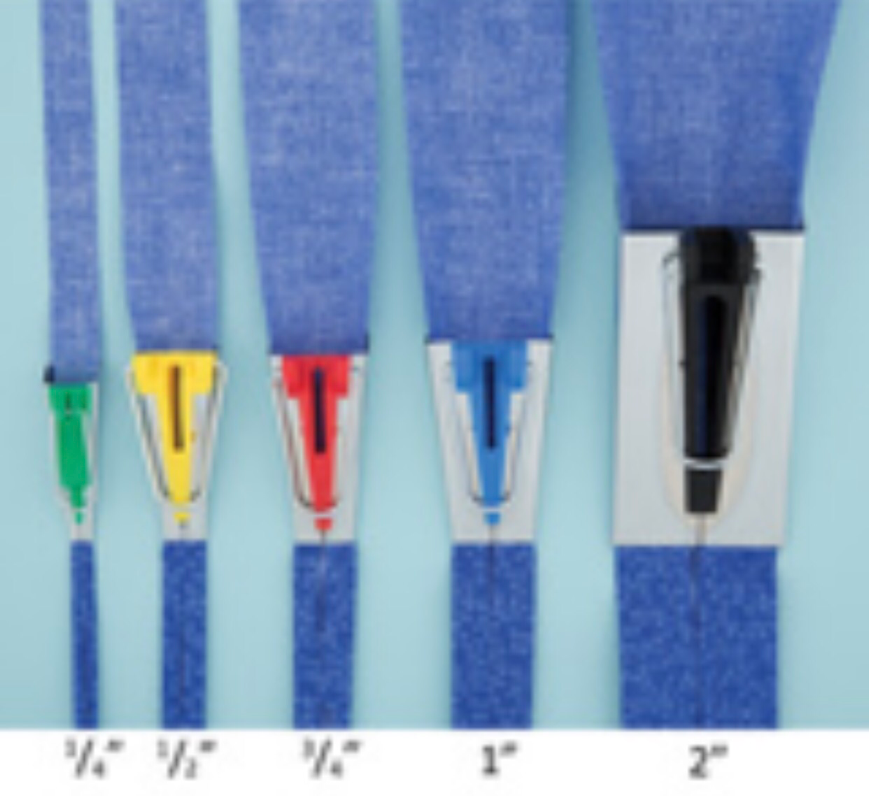
Start with enough fabric for your project. Single fold tape should not be joined in strips. Cut the fabric on the straight grain for binding straight seams. Cut it on the bias for binding curved seams. Cut fabric 3/4" for 1/8" straps, 1" for 1/4" straps, 1-1/2" for 1/2" binding, 2" for 3/4" straps or 2-1/2" for 1" straps. If you'll notice, most seam binding is 1/2". Other widths are used for making straps.
Use a bias tape maker for single fold bias tape or do it by hand.

Place a strip of fabric into the bias maker, wrong side up.

Use a stiletto to push the fabric toward the end.
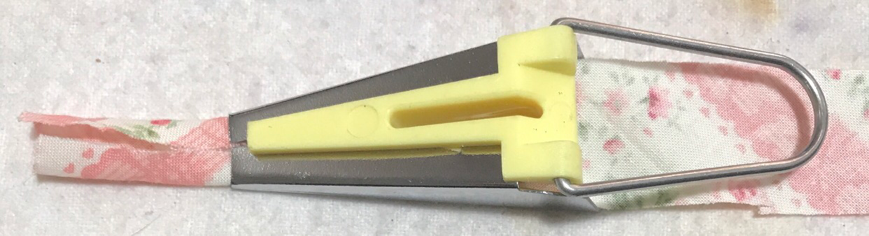
Then, dig the fabric out of the end.

Work on 2" of fabric at a time.

Spray some Faultless starch into the cap and brush a small amount onto the fabric with a natural bristle brush.

Hold down the folds until the starch has soaked in and press. Do not fold the binding again unless you're making straps. This can take a long time if you need a lot of binding.
Open the bias tape and fold the end over. Sew it to the fabric edge along the right crease. When you come to the end, fold it over and sew it down. Fold the tape over the seam.
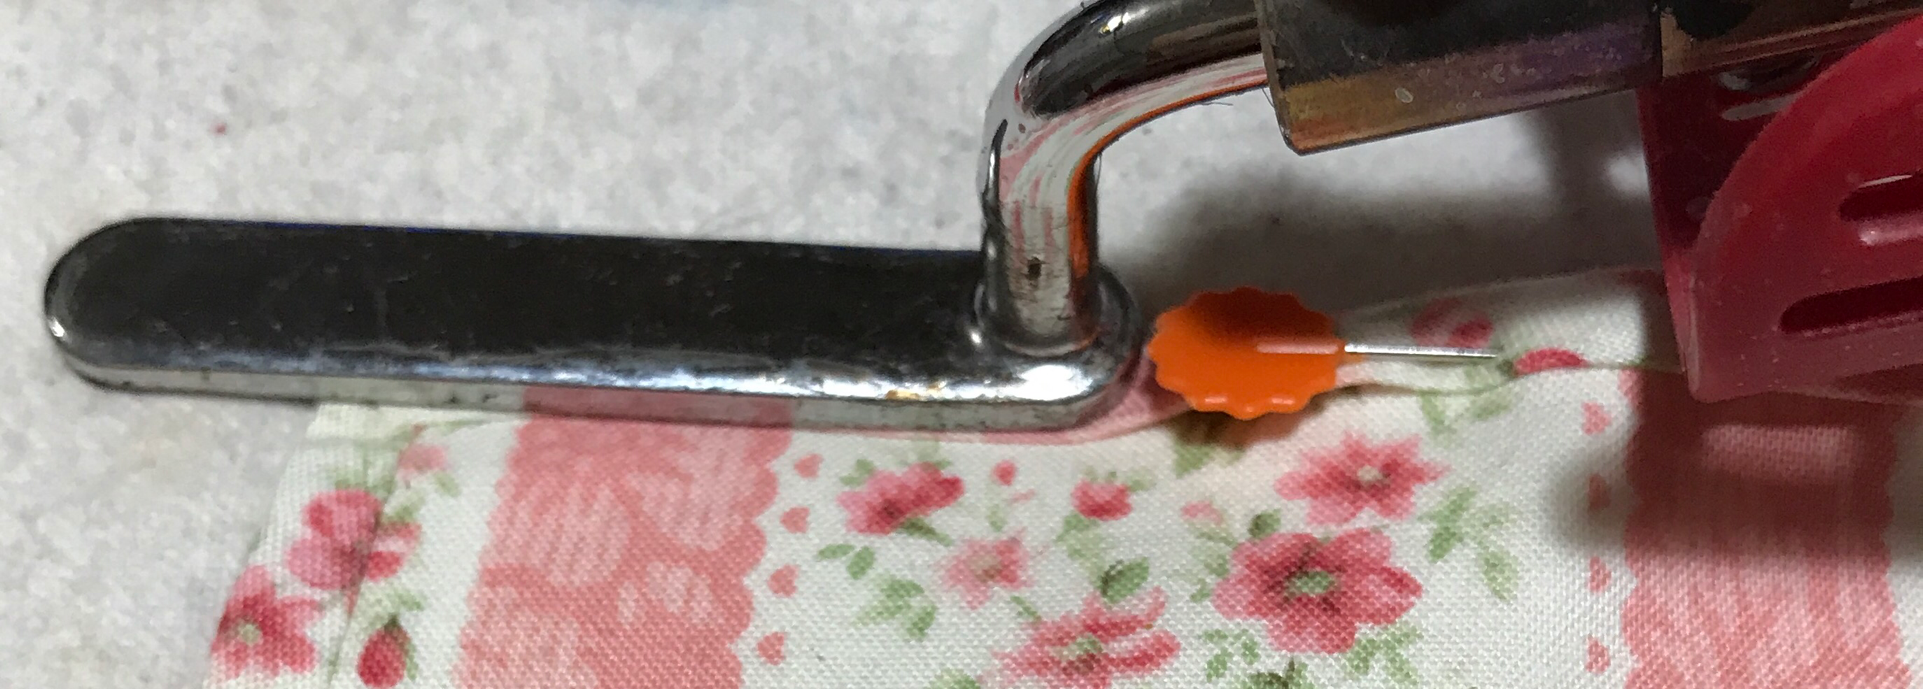
Using a zipper foot, position the needle 1/16" from the inside edge to make sure you sew through both folds. Top stitch the binding, back stitching at the beginning and end.

Don't expect your binding or stitching to be perfect on something small. Mine certainly wasn't.
No comments:
Post a Comment