
Materials:
Plastic
Rubbing stick (Tongue depressor or Hera marker)
Elmer's blue washable glue gel
Elmer's white washable glue
Elmer's clear washable glue, diluted 1:1 with water
White taklon paintbrushes
Inkjet Transparency Film
Foam brush (optional)
Acrylic paint
Colored pencils
Liquitex Fabric Medium
Cotton swabs
Iron
Untextured, solid fabric works best.
Transferring an Image for Painting

There are two different types of transparency sheets, quick dry and uncoated. The quick dry Apollo brand is 50 sheets for $33.14. It has a textured ground and a white strip at the top. These sheets are not reusable.

The uncoated Precision brand is 100 sheets for $15.49. It has to be coated with clear glue (diluted 1:1 with water), but the sheets are reusable.
First, make sure the image has a 300 dpi resolution and will fit inside an 8.5x11" or smaller area.


White prints clear and if you're printing on transparency film, it will be invisible. If your image is solid white, a star for instance, make it greyscale. Adjust>Brightness and Contrast. Brightness: -120; Contrast: 0. Paint over the transfer with white.
Centering
To center an image on a block, mark halfway section lines vertically and horizontally on the fabric with chalk. As an example: if you have an 8-1/2" block, 8-1/2 divided by 2 = 4-1/4". In your image editor, make sure the properties are set to "Inches".
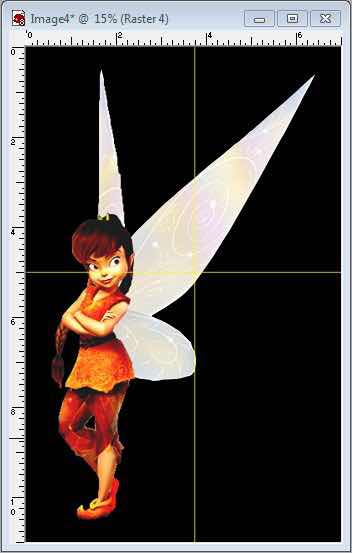
Go to View>Rulers. Layers>New Layer. Select the Pen Tool. Choose a bright or dark color for the foreground and make the background invisible. Draw a line on the 4-1/4" mark vertically. Convert to Raster. Repeat on the 4-1/4" mark horizontally. Convert to Raster and Merge Down.

Click on the image layer. Draw a rectangular selection around the image, make sure the lines will be just outside of the image. Click on the line layer. Edit>Cut. You will now have registration marks on the image that should line up with the chalk marks on the fabric. Merge the line layer with the image layer. Pay no attention to the black background; it is only there to show the lines. Follow the instructions below for printing.
Printing Instructions

Mirror your image. Use your image editor's print layout, if it has one and center the image on the template.

Insert one inkjet transparency sheet into the printer, textured or coated side down. Set your printer properties to "Inkjet Transparency", Color and "Best".
Transferring Onto Solid White or Pale Fabric

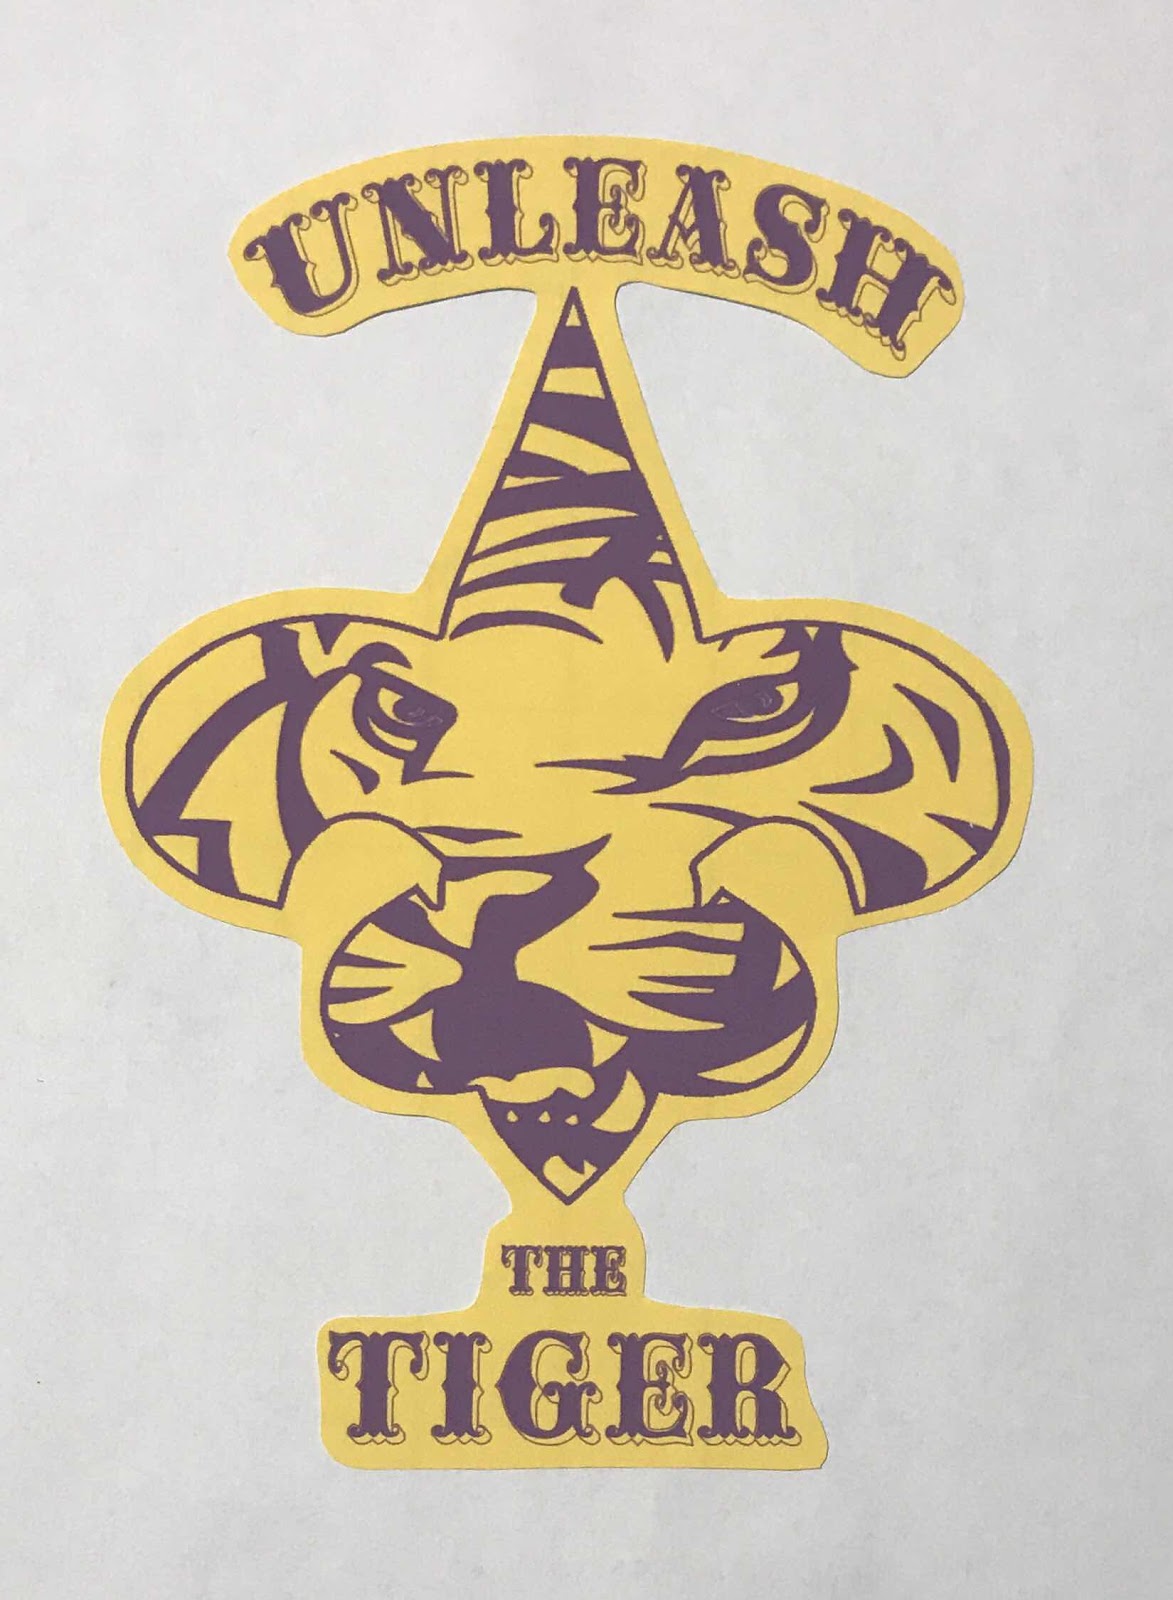
Make an outline of the image. Selections>Select All, Selections>Float, Selections>Defloat. Add New Layer. Click on the new layer. Selections>Modify>Select Selection Borders, Both Sides, 3 pixels. Fill with black. Deselect. Copy and paste the outline as a new image. Print this outline on plain paper.

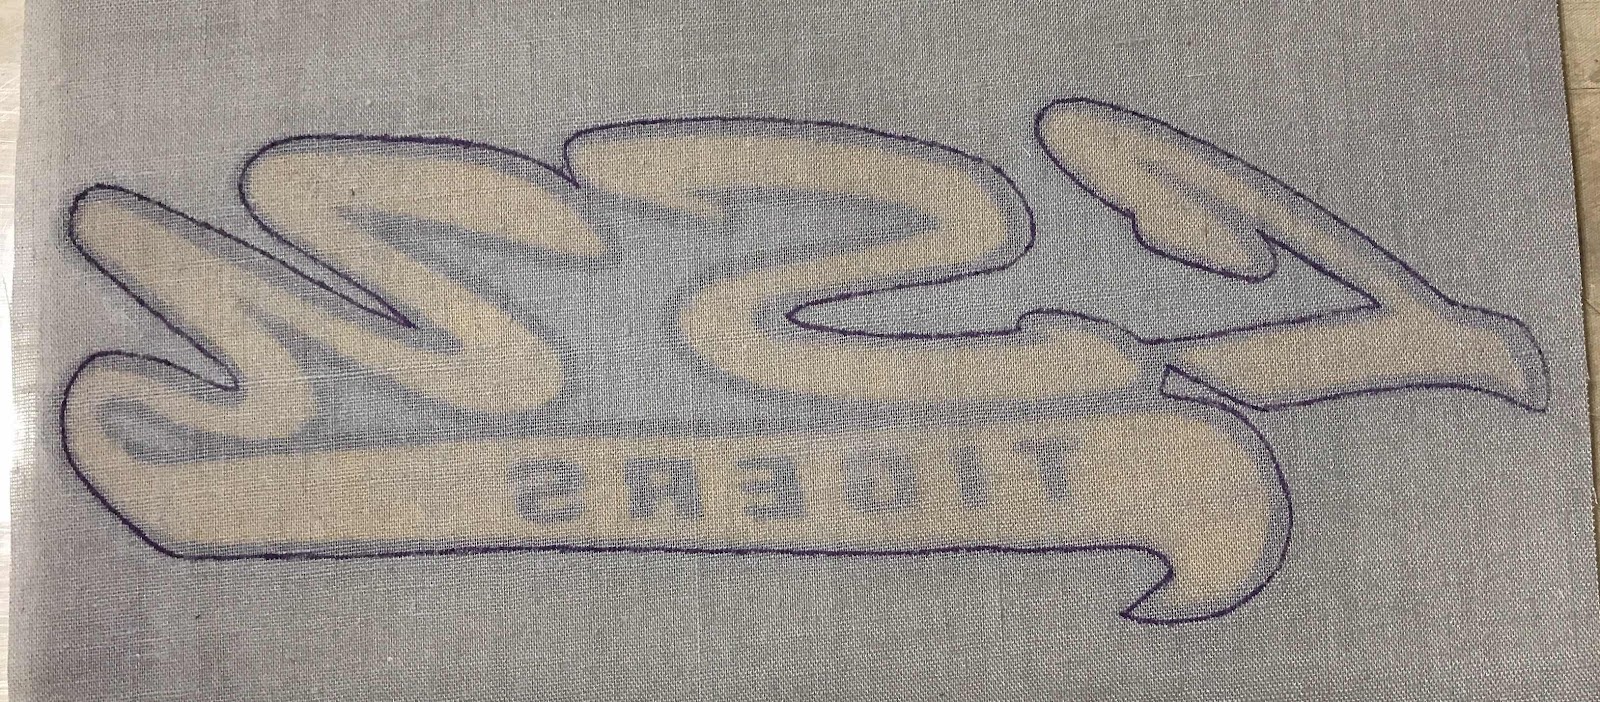
Tape the outline to the fabric. Trace around the outline with a heat erasable pen. Remove the paper. Brush white washable glue onto the fabric inside the outline. It may dry before you get all of the fabric wet. Spritz it lightly with water and it will re-moisten and be tacky.


Flip the fabric over with the sheet attached. Blow dry the back of the fabric thoroughly. Gently, lift the transparency. The clear glue from the transparency will come off on the fabric with the transfer, but will only stick to the glue on the fabric. Remove the excess from the transparency.

You can now fill it in with paint. Paint will re-moisten the glue and that's okay. Wait for the glue to be thoroughly dry before using colored pencils. Heat set with an iron. This is a great way to learn painting and coloring techniques!

If you use colored pencil, any other dry media or children's watercolor, dab Liquitex Fabric Medium lightly with a cotton ball to seal it. Do the same on the back of the image. Blow dry and repeat with two more coats.
Transferring Onto Patterned or Painted Fabric
Follow the same procedure for transferring the outline onto the fabric. Dip a paintbrush into the blue gel and brush it sparingly onto the fabric outside of the outline. Pour some into a precision bottle and apply directly on the outline. Don't let it get inside the outline. Blow dry the glue.

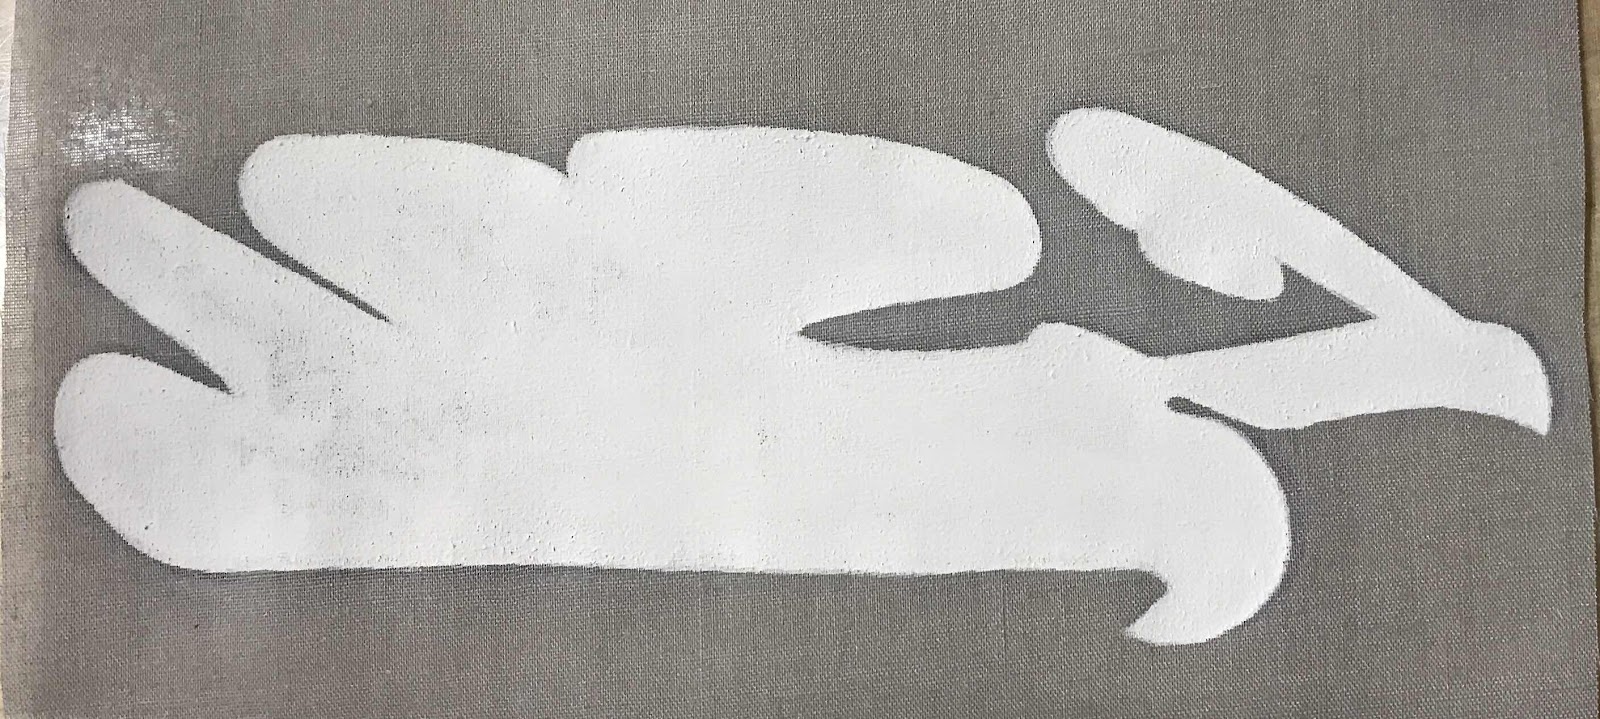
Mix white paint with a bit of water. Dip a paintbrush into the white wash and brush it sparingly onto the fabric inside the outline. You want to start away from the outline and carefully spread the paint towards it. You may need two coats, but don't get it too thick. Blow dry the paint.
Dip a paintbrush into undiluted white glue and brush it sparingly over the white paint inside the outline. Allow the glue to become tacky. Follow the transferring procedure above.
Clean Up
Soak fabric in hot water with textile detergent until all of the glue comes out and rinse. You may have to change the water and boil it a second time. Gently squeeze the water out. Blow dry and you're done. Iron again to remove wrinkles.
Iron-On Vinyl Transfers
You must use 100% cotton for this method. Polyester will shrink from ironing and the fabric color will come through the transfer. Vinyl is not heat resistant after transferring. Getting an iron too close will melt the transfer on the fabric and cause it to lift. You really need a heat press for this. I've tried using an iron, but the quality isn't as good because the transfer requires pressure and heating both sides of the fabric simultaneously.
Photo Paper Direct sells 10 sheets of dark transfer paper for $14.90.
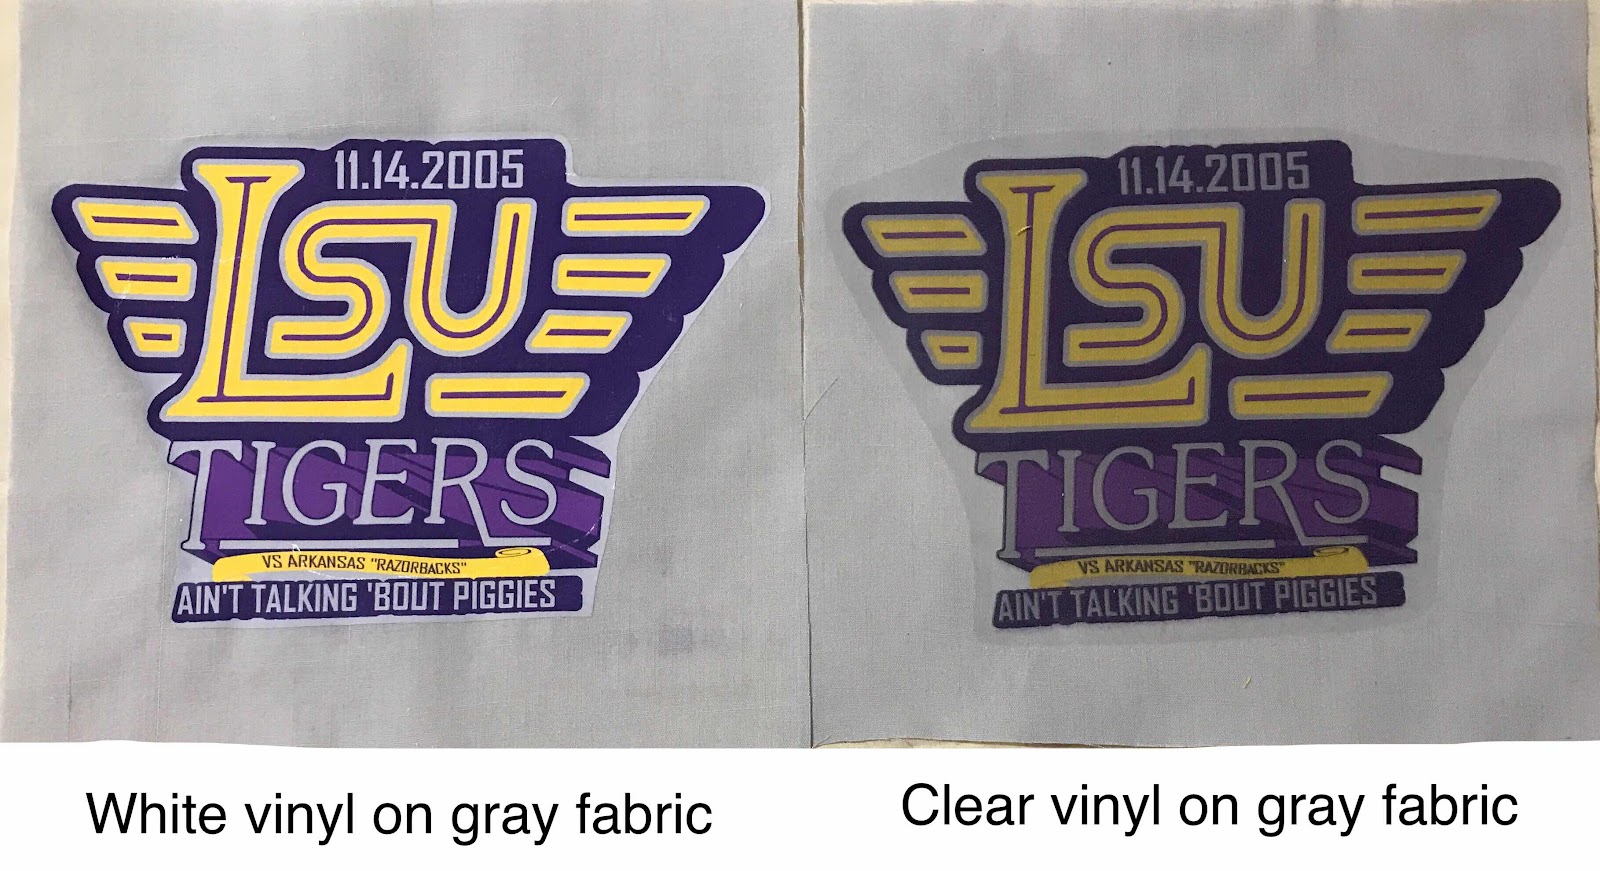
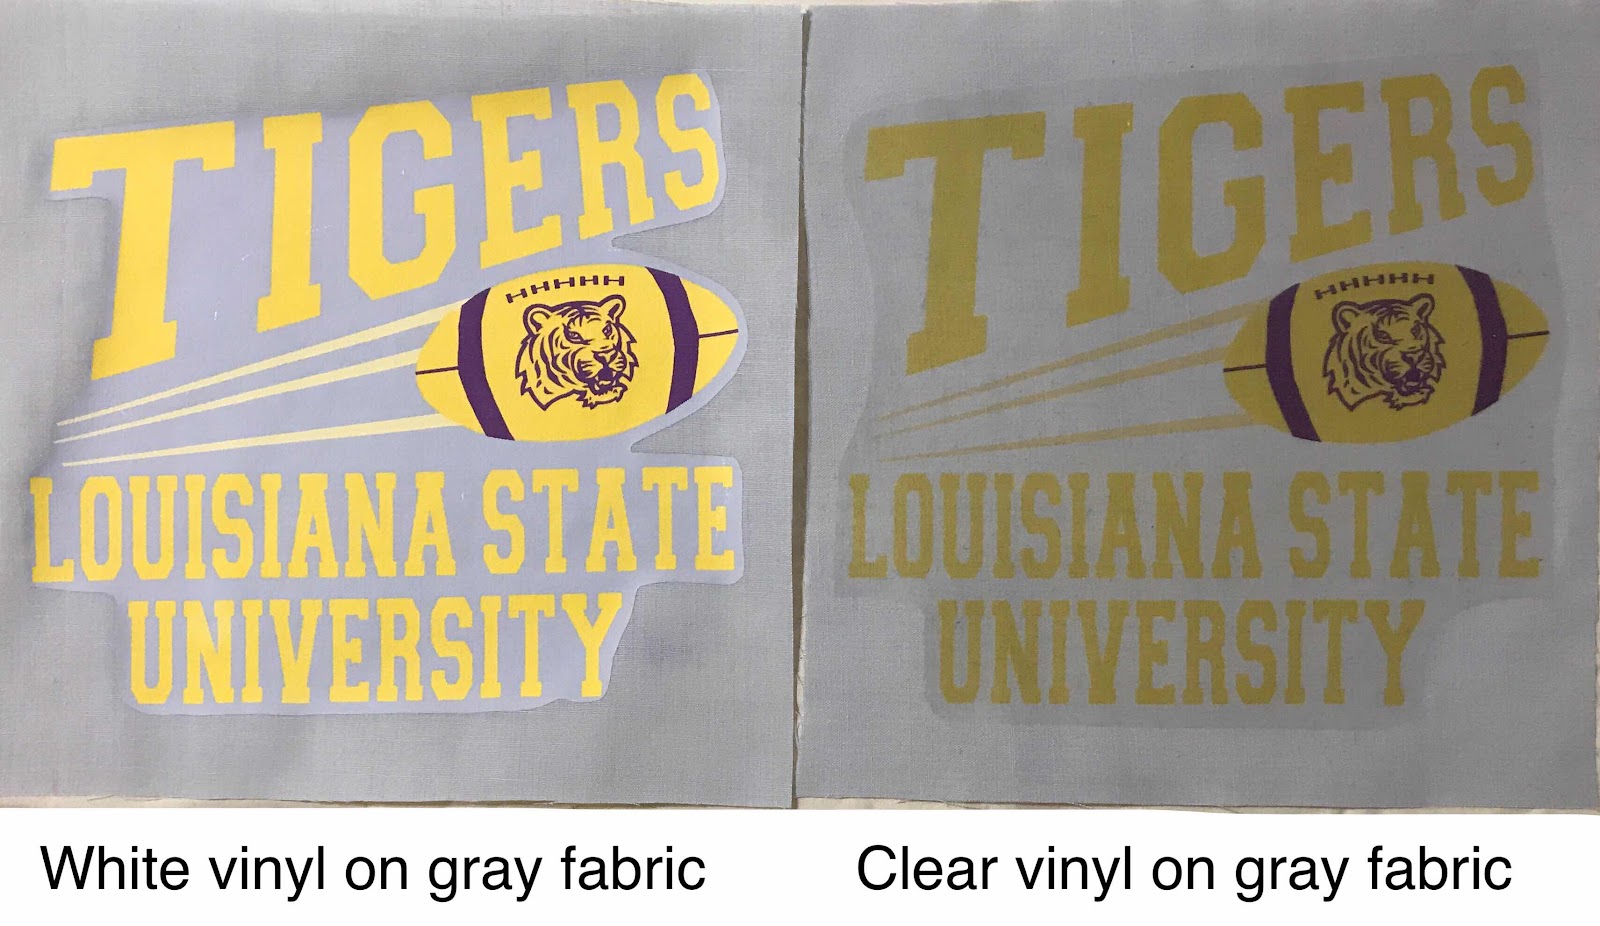
I prefer dark transfer paper for graphics on a quilt. Quilting fabric isn't thick or opaque enough for the clear to work. The image needs that opaque white ink as a background behind it for a good transfer. You can see the difference in the photos above. The colors are brighter and more vibrant with the white than they are with the clear.

You will need this paper for printing images containing white that you want to transfer to white fabric.

You'll also need this paper if any part of your image contains white that you want to retain because an inkjet printer cannot print white.

The first thing you should do is clean up your graphics. A dithered graphic will result in a muddy print. There is a lot of manual work involved in this and you may have to re-type the text. I get all of my fonts from 1001 Free Fonts and I use the free, open source Nexus Font Manager to preview them.

Make an outline around the image so you'll know where to cut. Do not mirror the image. Using the Magic Wand tool, click on the outside of the image. Selections>Invert. Selections>Modify>Expand 30 pixels. I like to expand by 10 pixels 3 times because it's faster than waiting for the 30 pixels to load on a 300dpi image. If there are any areas inside of the image that aren't selected, you need to select them manually with the Selection tool. You may also need to use the Freehand Selection tool set to Point to Point. The smoother the outline is, the better. Straighten any areas around text and widen sharp edges. Layers>New Raster Layer. Layers>Arrange>Send to Bottom. Click on the bottom layer. Fill with color matching the fabric as closely as possible. Selections>Invert. Edit>Cut. Deselect.

When printing white on white, I like to add another layer beneath the white background layer. Using the Magic Wand tool, select the white background. Selections>Modify> Expand 10 pixels. Layers>New Raster Layer. Layers>Arrange>Send to Bottom. Click on the bottom layer. Fill with black. Cut out the print inside the black line.
Make registration marks on the fabric and on the printed image with a heat erasable pen. Cut off the white paper just inside the colored outline around the image. Any white portion of the paper must be cut out or it will transfer to the fabric because the paper is coated with white ink. Remove the paper backing. Place it on the fabric, lining it up with the marks. Place baking parchment over the transfer and a fiberglass sheet over the parchment. Set with a heat press at 374 F for 12 seconds. Or, use a dry iron on the cotton setting while applying firm pressure for 1 full minute or longer per section. Flip the fabric over and heat the back as well for good adhesion. Remove the parchment while hot. If you let the transfer cool, the parchment will lift some of the transfer and leave a rough texture.

Photo Paper Direct sells 10 sheets of light transfer paper for $10.90.
Light transfer paper is clear and works best on white fabric with photographs that contain dithering (smooth transition from one color to the next). It doesn't work well with graphics that have crisp lines or sharp, contrasting colors. It also doesn't work well if there is any white in the image, even on white fabric.
This version has to be mirror imaged. Make registration marks on the fabric and on the grid side of the paper with a heat erasable pen. Cut off the white paper 1/4" away from the image. Do not leave any sharp edges. Place the transfer, image side down on the fabric, lining up the registration marks. Place baking parchment over the transfer and a fiberglass sheet over the parchment. Set with a heat press at 374 F for 12 seconds. Or, iron over the paper with a dry iron on the cotton setting while applying firm pressure for 1 full minute or longer per section. Flip the fabric over and heat the back as well for good adhesion. Let the fabric cool completely before removing the paper. Otherwise, the transfer will stick to the paper.
If clear is all you have, I discovered a way to print sharp graphics with it.
Cut out the transfer and turn it over. Place the fabric over it, wrong side up. Outline the shape with a heat erasable pen on the back of the fabric.
Place the fabric on a sheet of plastic. Dilute paint 2:1 with water. Carefully paint a light coat inside the line. I applied three coats. Apply as many coats as you need to achieve full opacity. Blow dry thoroughly between coats and scrape paint off the plastic. When you're finished, the paint on the right side of the fabric will be smooth.

Press as usual. It works exactly the same as the white paper.
Mod Podge Method
Mod podge transfers require the use of a laser toner copy/printer machine. This method does not work with inkjet. Toner sits on top of the paper, whereas ink absorbs into the fibers. Coating the paper with methylcellulose to prevent absorption might work to make it compatible with an inkjet printer. If you have access to a toner printer, this is the best technique to use. It makes beautiful photo transfers on fabric, canvas, paper, wood and leather.
Wash and dry fabric, and iron flat. Place a piece of plastic beneath the fabric to be printed. Print a mirror image on plain paper. Cut out paper around the print. Lay the paper on plastic, print side up. Use a foam brush to lay a thick coat of mod podge photo transfer medium onto the print. There should not be any part of the image showing through the glue. Carefully lift the paper, touching only the edges. Position the paper onto the fabric, glue side down and gently press into place, beginning in the center. Remove excess mod podge that seeps out around the paper with a damp cloth. Allow to dry for 24 hours. Lightly dab the paper with a moist sponge until you see the image through the paper. Absorb excess water with a paper towel. Allow the paper to soak in the water for two minutes to soften. Gently rub the paper off with the sponge. Allow to dry. Brush a thin layer of fabric mod podge over the transfer. Allow to cure for 72 hours.
Can be washed in cold water and tumble dried, but cannot be ironed over. I haven't tried this method yet.
Failed Attempts
See my experiments below before I tried these techniques.


I tried Plaid's Picture This. It's a type of rubber that sits on top of the fabric. This is my result. My poor deer looks like it just went through Willy Wonka's bubble gum machine! Plaid's Picture This didn't work either. It can't be ironed over and the rubber coating peels off. It doesn't help that all the red turned to pink.
If I have to print an image and transfer it and then heat set it, I might as well use an iron-on transfer.

I experimented with Lesley Riley's Transfer Artist Paper and my iron on its highest setting did not get hot enough to melt the glue. The polymer could also have expired. This is also a type of rubber that sits on top of the fabric, but it adheres better than Picture This. I didn't like it because it's thick and stiff.


No comments:
Post a Comment