
Rotary Blades

Never buy carbon steel; it cannot be sharpened. Carbon steel is the raw material out of the ground that has been melted and poured.


You may encounter stainless steel being marketed as high grade or industrial. Stainless steel will not hold an edge. The stainless is a coating to prevent rust and corrosion. It has no value on a cutting blade. Fiskars blades are stainless.

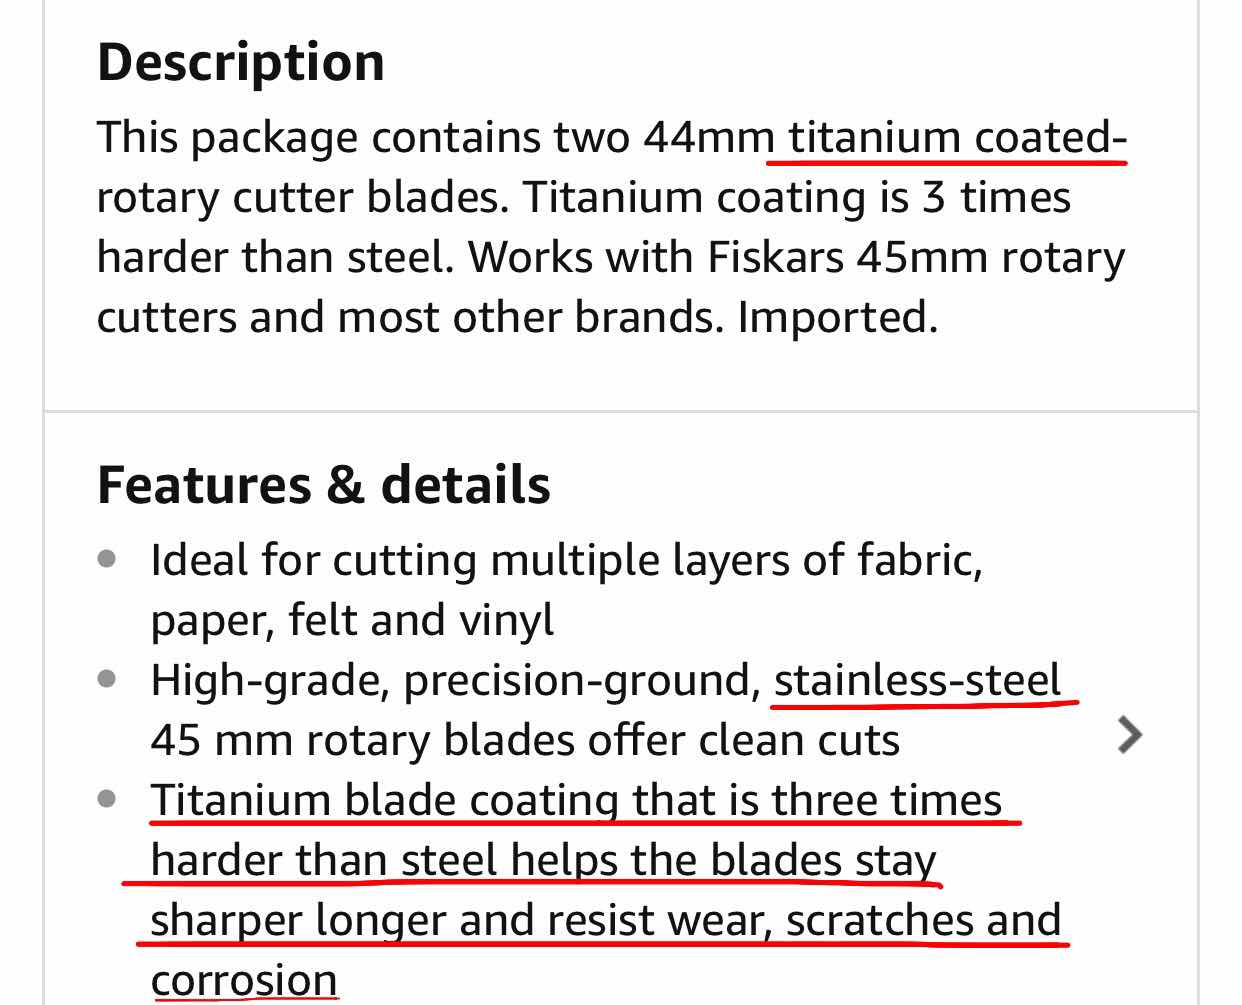
Titanium coating does nothing for blades. The purpose of coating with titanium is to protect against heat. Cutting fabric doesn't generate any heat, certainly not enough to require titanium coating. If it did, the fabric would catch on fire. Pure titanium is harder than steel, but the coating is not. This is false advertising.


I believe the titanium coating in this case is meant to conceal low quality steel and convince people to buy them for way more than what they're worth. That shiny gold is pretty right? Don't fall for it; it's a marketing ploy. These are bad blades. If they were truly tungsten steel, they wouldn't be coated with anything.

Carbide means the steel has been tempered. Machine cutting bits and wheels used for cutting steel are carbide. There are different grades of carbide, but even the lowest grade will cut fabric. Carbide tool steel is very tough, holds an edge, and can be sharpened. These are good blades.


I've also seen blades marketed as SKH-9 German steel. This type of steel contains a special alloy that makes the steel resistant to heat caused by friction. It's used for making drill bits. In this particular case, I think the manufacturer is trying to cut into the Japanese blade market.
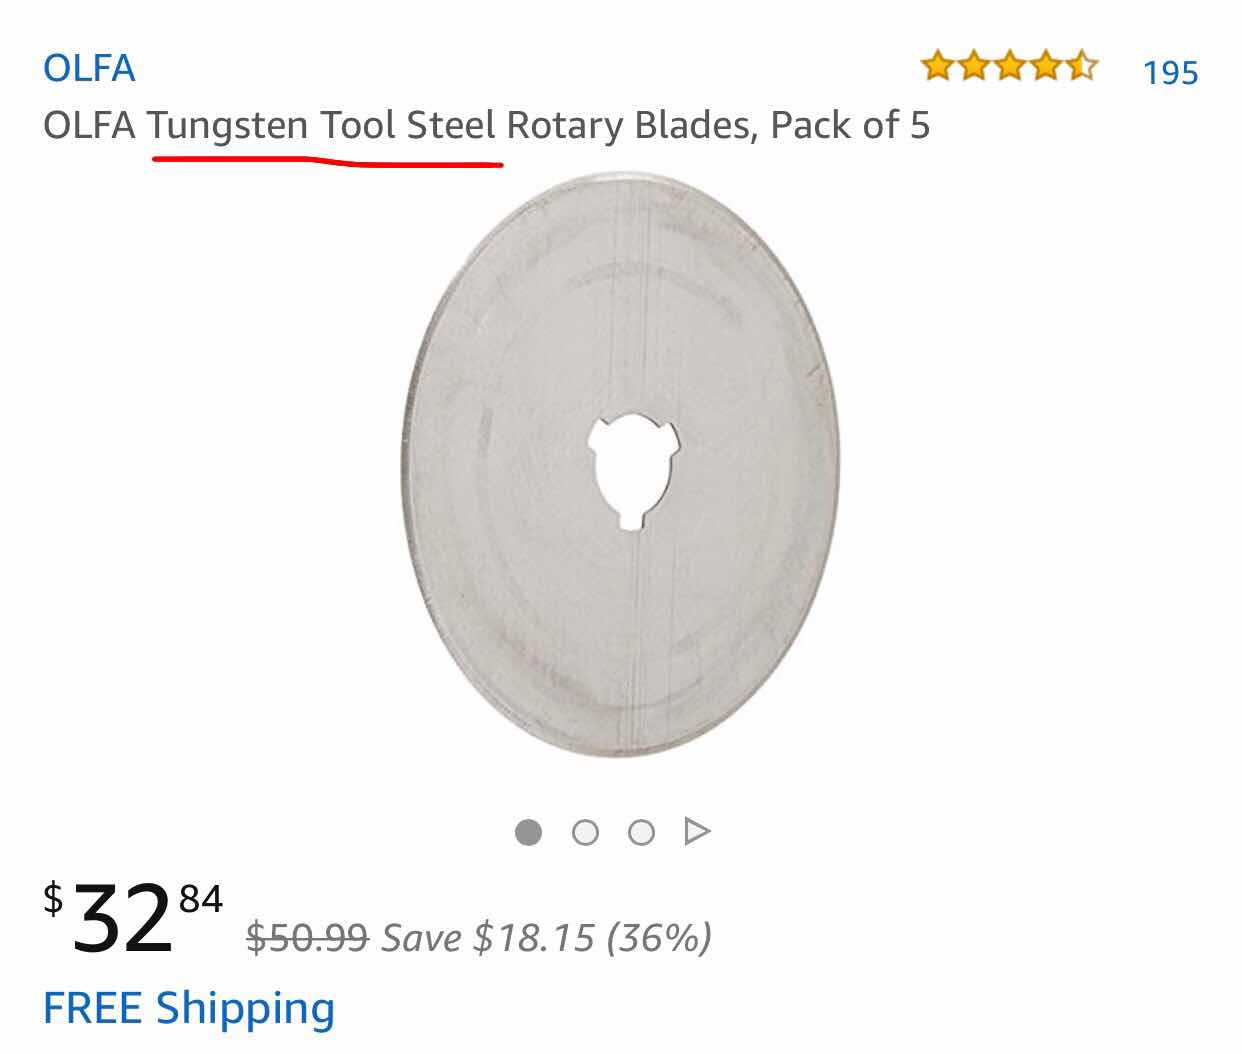
Next is Tungsten (carbide) or Tungsten Alloy. The alloy in this case, is an additive mixed in with the molten steel to toughen it. All tungsten steel blades are high quality.

You may encounter something called SKS-7. This is Japanese tungsten tool steel used to make knives because it doesn't contain vanadium. The downfall is that it has become an industry buzz word, so make sure you're buying quality blades from Japan. Think about this: the Japanese have been making the world's sharpest blades (katana) for 700 years. I think they know what they're doing.
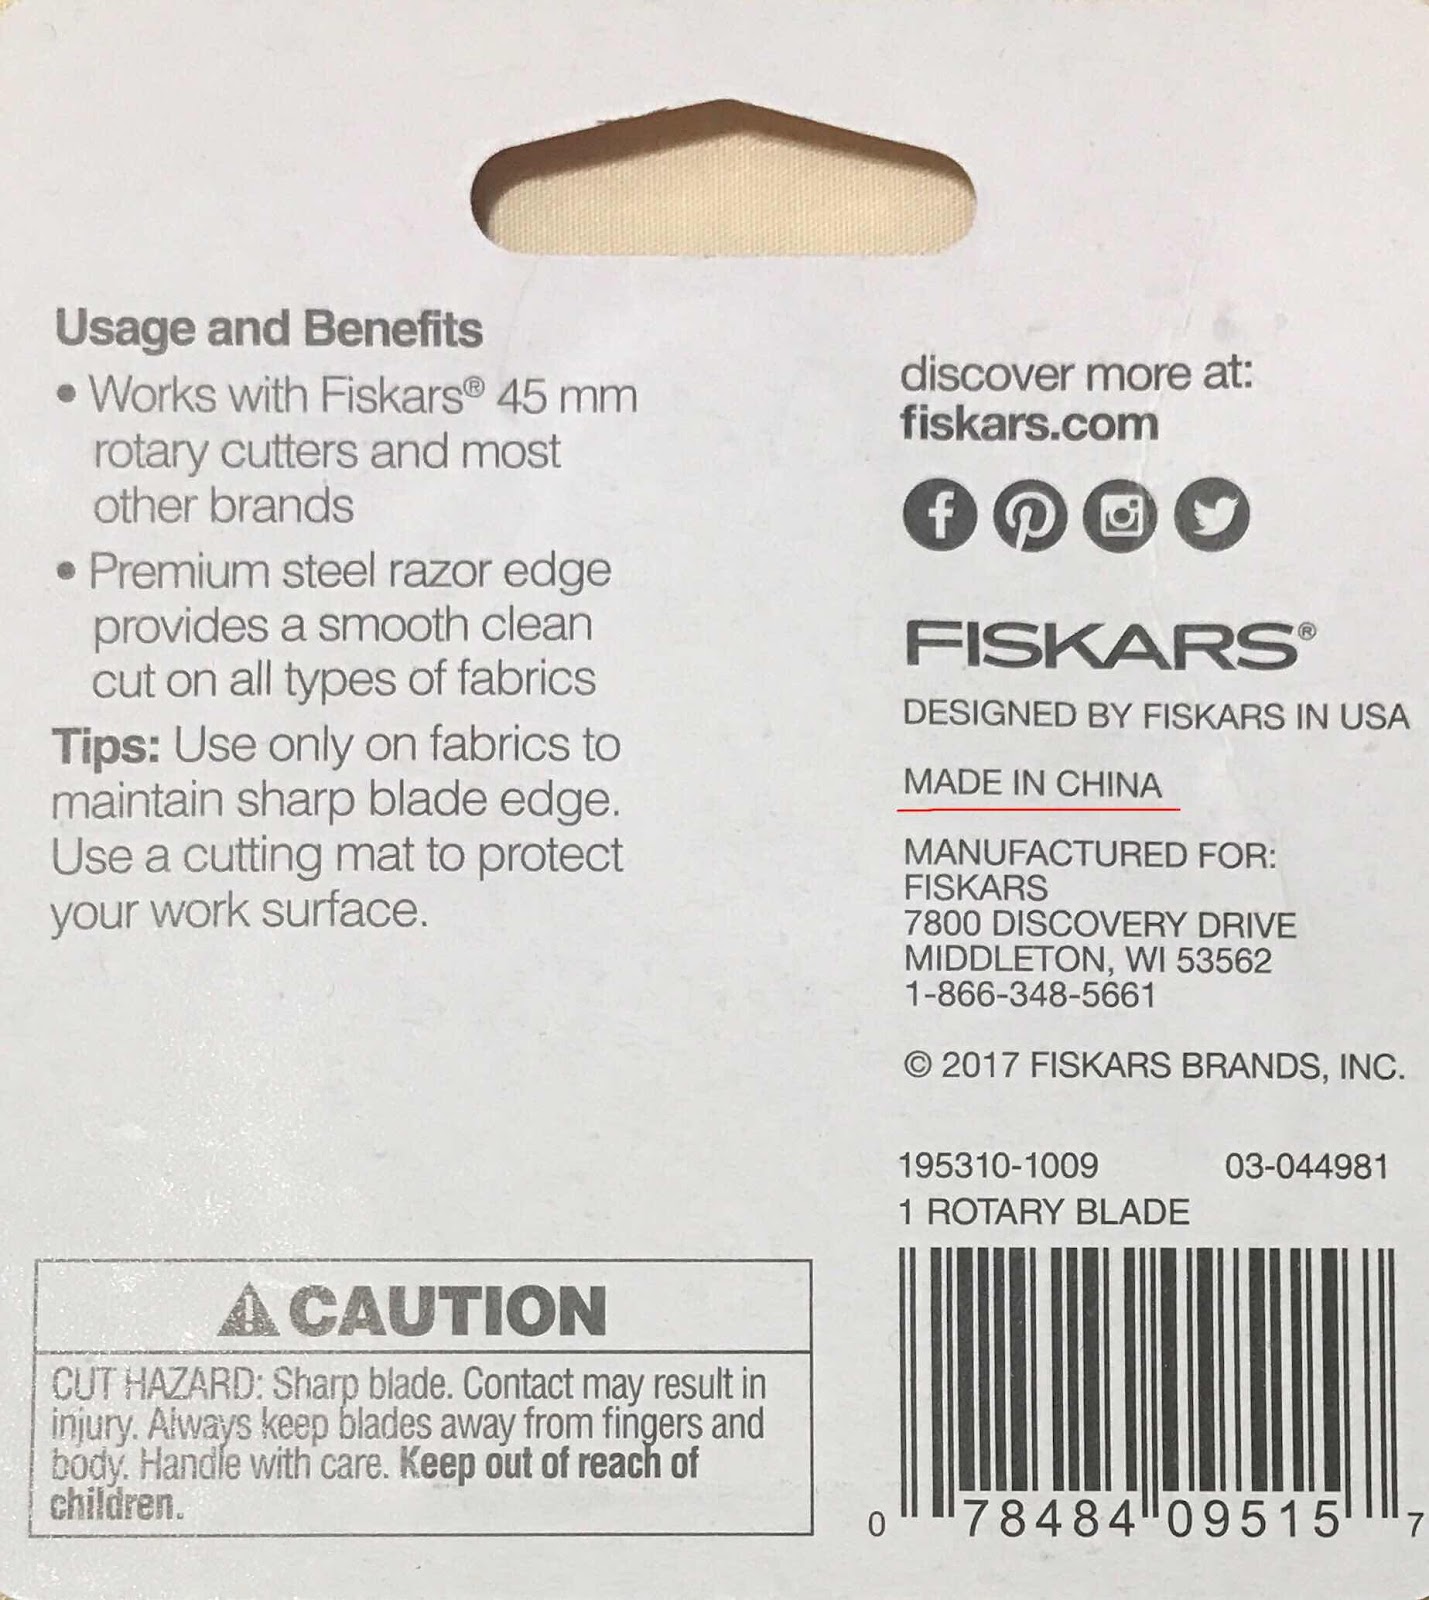
China imports all of its steel which is expensive. It reserves most of that steel for building. To offset some of the import cost, they blend a small amount of steel with aluminum and alloys when making commercial products. Therefore, Chinese tool steel is lower quality. Fiskars blades are made in China.
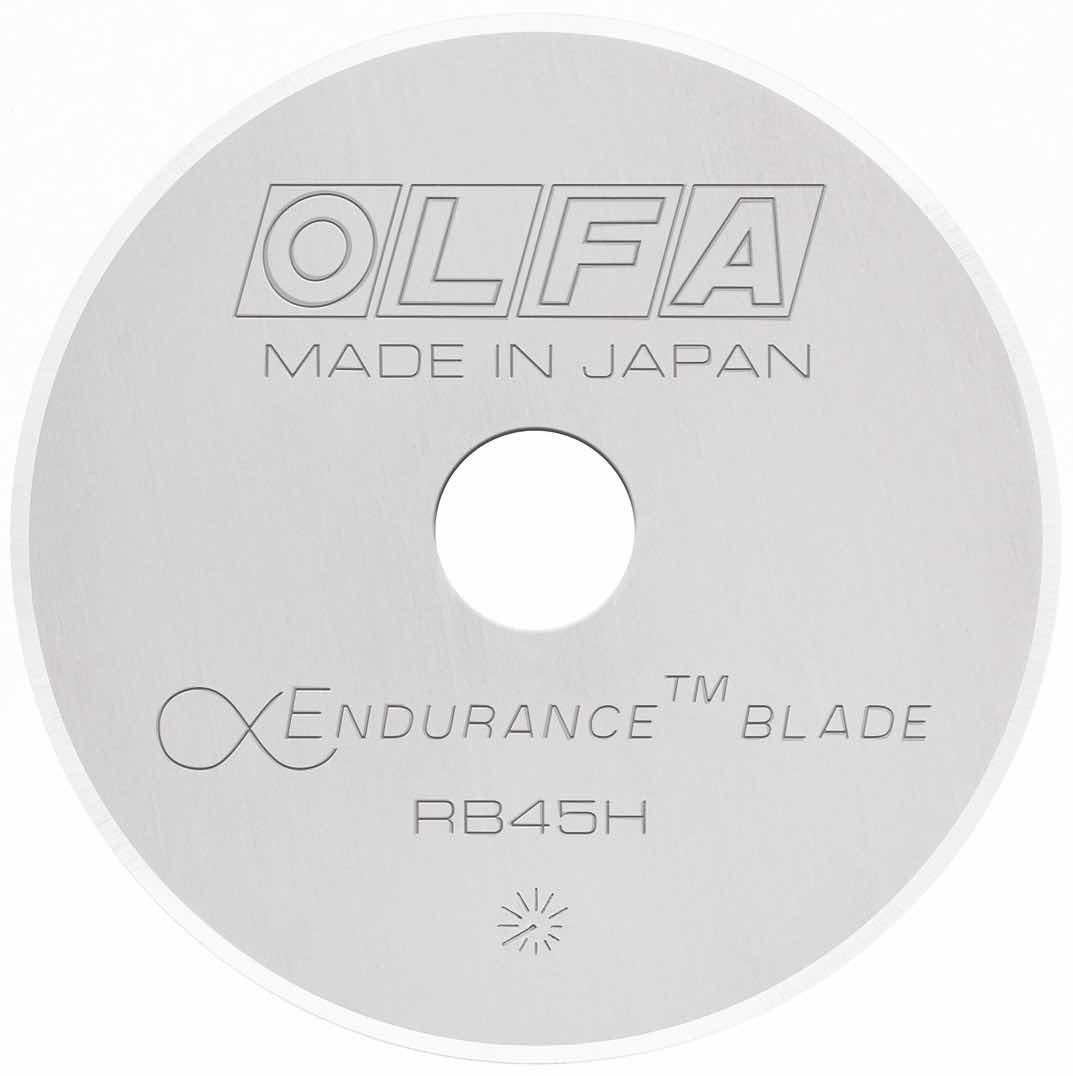

Olfa has rebranded and re-marketed their standard blades to make us think they've come up with something new and "cutting edge" (pun intended). The Endurance blade is made of tungsten tool steel that supposedly contains a proprietary metal chemistry for $14.99 per blade. Really, Olfa?!

Here's the problem I have. If these blades are only meant to cut fabric and the lowest grade of carbide is sufficient, why make blades with tungsten, SKS-7 or SKH-9? It's overkill!! If I were a blade manufacturer, I would stick with carbide. The only protective coating necessary for carbide is machine oil—low viscosity mineral oil. It's also called honing oil when it's used for sharpening knives. The kind of oil you use in your sewing machine is the same kind used by machinists on their cutting lathes. When you buy blades, they're coated with machine oil.
Cutting Tools

The best rotary cutter is the ergonomic type. It takes the strain off your wrist and places the weight of your hand over the blade.
Good quality scissors are just as important and there are several types you will use in quilting. Scissors used for cutting fabric should only be used for fabric to prevent nicks and burs in the blades.


Fabric scissors or tabletop shears are an absolute must.

Razor Edge fabric shears for cutting through thick seams.

You'll also need a pair of batting scissors and those aren't cheap.

Micro tip scissors for cutting paper and fusible appliqué pieces.

4" embroidery scissors for cutting machine thread. I keep a pair on a magnet glued to my machine.

Sidehopper Jump Stitch Scissors for cutting thread close without nicking fabric and in hard to reach places.

A lighted seam ripper with a magnifying glass will help you rip out tiny threads.

A surgical seam ripper is used for ripping out satin stitch embroidery threads.
Sharpeners
When product reviewers complain about a sharpener not working on their blades, it's probably because they're trying to sharpen carbon or stainless steel and don't realize it.

The sharpener I don't recommend is the Twist n Sharp. It's a little round sandpaper disc. Sandpaper won't sharpen anything.

My personal favorite is the Grace True Cut Linear Sharpener. It's ceramic and the stone is replaceable. It's great for keeping a blade sharp while cutting.

The True Sharp electric sharpener is best reserved for worn blades that need a new edge.
Sharpeners aren't exclusive to blades. You need to keep your scissors and sewing needles sharp too.

Get a desktop model like the one above so you don't cut yourself.

This needle sharpening pad is a joke. It's not even steel wool.

It's a Brillo pad inside a felt pocket. A Brillo pad won't sharpen a needle. Don't let this industry rip you off!

I have a better idea. Emery powder (aluminum oxide) is used in pin cushions to sharpen straight pins and hand needles, so it will also work for machine needles.

Make a bag out of premium quilters cotton. Leave the top open. Pour in 2 tablespoons of emery powder. Topstitch the opening closed. Place that bag inside a felt bag to keep the powder out of your machine. Topstitch the felt bag closed also. Your expensive sewing needles will last through several quilts.
I've been thinking about making a needle sharpener modeled after a fish hook sharpener, but someone beat me to it. Tooltron sells this diamond stone hand needle sharpener for $8.95.
Tips
1) Handle rotary blades with a magnet to prevent from cutting yourself.
2) Never press down on the blade while your cutting. This will cut through the mat and dull the blade. Use a very sharp blade and let the blade do the cutting. If a blade doesn't cut as it slides across the fabric, it needs to be sharpened.
3) Sharpen rotary blades and sewing needles often during use.
4) Cut blocks intended for embroidery or appliqué an inch larger than you need. Square them down to the cut size after embellishing.
5) Clip dog ears 1/4" from the edge to prevent inaccurate piecing and bunching of seams. This will also allow piecing without Y seams.
6) Clip curves every 1/4" to prevent gathering.
Cutting Mat

Don't buy a "self-healing" mat. Those horrid green, blue, pink and grey mats marketed to quilters are nothing but coated cardboard. They're a worthless waste of money. Buy a mat that is solid polyethylene. They're not expensive--$50 for a 36x56" mat, and you'll save money in the long run. I cut through three $30 green mats during my first four years of quilting. If I had purchased a polyethylene mat, I would still be using it.
Spray the back of your cutting mat with craft adhesive to prevent it from slipping. Use Citra Solv to remove the adhesive and then, clean with a soapy rag.
Marking and Cutting

I personally don't like the rotary system and I don't use it until I need to trim my blocks. I measure my strips and squares with an Omni Edge 4x36" ruler. You could also use a quilter's chalk wheel with a cutting mat.

I place a 1/4" ruler beside the Omni Edge to measure 4-1/4" strips.

I mark all the cut lines with a Chaco liner. Chalk has the added benefit of leaving a trace of powder on the bottom of an acrylic ruler that can be used as a registration mark. This is especially useful for marking 1/8" increments.

Square up the fabric on two sides making a 90 degree angle. Cut off the excess fabric. Align the edges of the ruler with the edges of the right angles. Find your strip width on the ruler, 2-1/2" for example.

Mark this line with clear tape. I position my tape inside the mark line. Place the 2-1/2" mark on the edge of the fabric. Mark this first line with chalk.

Hold the Chaco liner at an angle so the wheel touches the ruler. If you hold it straight, it will create a 1/16" line and your cutting will be off.

Holding the liner at an angle will produce a thin, crisp line without tugging on the fabric. A thin line forces you to be precise because you have to lean in close to see it. The wheel will stick every so often when there is a clot of chalk in the tube. Run the marker over a scrap piece of fabric to break it up. Pick up the ruler and place the tape line over the chalk line. Draw another line. Never drag the ruler over chalk lines; they will smear and distribute chalk all over the fabric. Continue until all of your lines are marked.

Spray canned air over the lines to blow away excess powder. A large goat hair brush will remove chalk residue from cut pieces. Scrubbing the lines with an auto detailing brush will diminish them. Washing the finished quilt will remove any traces of chalk left on the fabric.

I cut the strips first and then the pieces with scissors. Cut down the center of the lines. Cutting along either side of the line will cut into the pieces.

My cutting is as straight and accurate as any rotary blade.
Tips
1) Use frosted clear scotch tape to mark cut lines on a template.
2) Mark cutting lines on the wrong side of fabric.
3) Fold curved or round pieces in half and crease to mark the center.
Lots of good, helpful information. Very helpful!
ReplyDeleteThank you!!
DeleteThis is a fantastic piece of writing. Thank you for providing this important information on the carbide coating
ReplyDeleteYou're welcome!!
Delete