
Stencils & Templates

Spray printed acetate stencils with clear acrylic sealer to prevent ink from smearing.

Spray mylar stencils with tack adhesive to prevent them from shifting.

Scotch tape will hold acetate stencils into place long enough to pounce them.
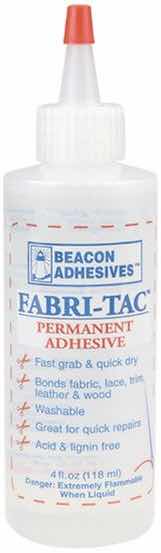
Place a bead of Fabri-Tac on the back of acrylic templates to prevent them from shifting.

Remove adhesive from plastic with Goo Gone or Citra Solv. Clean with soapy water.
Make Chalk Lines Last Longer

Spray fabric with hair spray after marking quilting lines. The chalk won't smear or rub off so easily and the hair spray washes out. Use the cheap plain 1980s type with no oils or styling additives. Rave and Aquanet are good choices.
Sizing Appliqué or Embroidery Blocks
If you have a block that will be appliquéd or embroidered, cut the block a 1/2" larger than what the pattern calls for. After embellishing, cut the block down to the size it's supposed to be.
Fusible Appliqué Without Fusible Web

Trace or print your shape onto freezer paper. Brush white washable glue onto the plastic side of the paper. Adhere fabric to the glue and heat set. Cut out the shape. Remove paper from the fabric. The glue sticks to the fabric, not the paper! Lightly moisten the glue side of the fabric with water. Place the piece onto your quilt and iron into place. Sew as usual with a satin or blanket stitch. This method works for printed photos and quilt labels as well. The freezer paper is reusable. Simply brush on a new layer of glue.
No Batting Tape? No Problem!
If you don't have batting tape, cut 1" strips of muslin and adhere them to each end of the batting with washable glue. Heat set with an iron. It actually adheres better than the tape.
Cutting Seam Allowances

Echo Quilting

Echo quilting is usually done to accent appliqués, but measuring the 1/4" around them can be difficult. Almost every bobbin is exactly 1/4" from the outside edge to the hole edge. Insert a marking tool into the hole and move the bobbin along the edge of the appliqué. A felt tip water erasable marking pen fits inside the hole perfectly. The line will be about 3/8" from the appliqué, which is fine. Stitching inside the line will give you a 1/4".
How to Replace a Broken Spring Needle

This is a Schmetz spring needle that I use for thread painting. The spring is delicate and breaks easily.

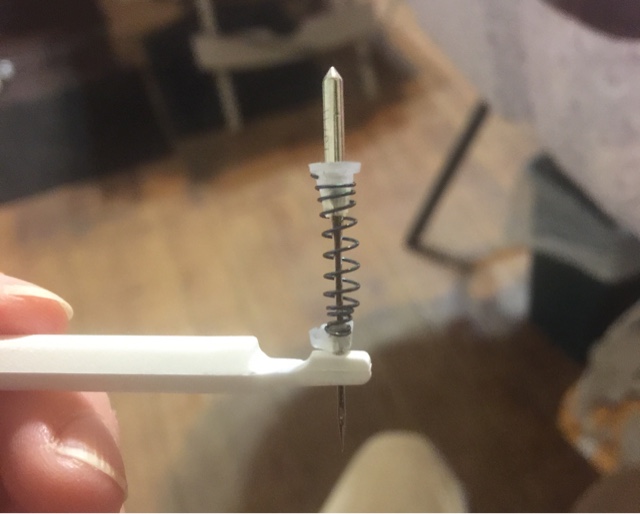
If it ever breaks, take the spring out of a mechanical pencil and resize it with a micro coil jig (the kind for winding electronic cigarette coils). Heat the wire slightly with a lighter to make it easier to shape. Let it cool and work it to the size you need. Mine was 2.5mm at the top, 2mm in the middle and 1.5mm on the bottom.
Winding Bobbins Evenly

Place a small bubble level on a sidewinder to make sure it's level before winding your bobbin. Tighten the tension discs. They can loosen with use and loose tension can cause uneven winding. Use the AC adapter instead of batteries for increased speed and power, the lack of which can also cause uneven winding.
Keep Your Needles Handy

Don't throw away your needle cards. Place the needles you use most often in a card and label it. Stick it to your machine with double sided cushion tape. Use a piece of pipe cleaner in the space so you'll know which needle you're using. I purchased my card saddle from Colonial Needle.
Machine Settings

Write down your favorite needle and machine settings on sticky tabs and tape them to your machine.
Thread Labels

I label every spool of thread I buy so I always know the color I'm using for a project. If it runs out, I know exactly which color to buy. For specialty threads, I write down the needle used for that thread so I don't forget. Tension and weight is important for some threads as well.
Beeswax

It isn't just for hand quilting. Keep it at your sewing machine to stiffen threads before inserting into the eye of a needle. It makes tying knots easier too. It's especially useful for handling unruly clear polyester.
Block Organization

Use safety pins to keep your block pieces together and in order. String those pins together and you have all your quilt pieces in one place.
Basting Overspray

Use roll plastic or newspaper to protect your work area from basting overspray.
Tension or Rhythm Problem

If you don't get the tension right or move your hands too slow, you'll get the top thread on the back. You can seal the loose threads and cover them with paint. It also fills in needle holes.

However, all of the stitching on the back may have to be painted over to make it look like an intentional design element. Washing will scrub the paint and fade it a bit and it should blend with the fabric.
Choosing Top Thread
Match your top thread color to the backing or vice versa to avoid top threads showing on the back. Never use a white backing unless your top thread is white. See my mistake above.
Brush Care
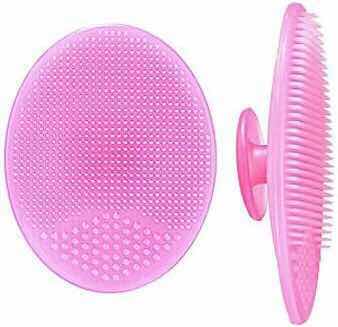
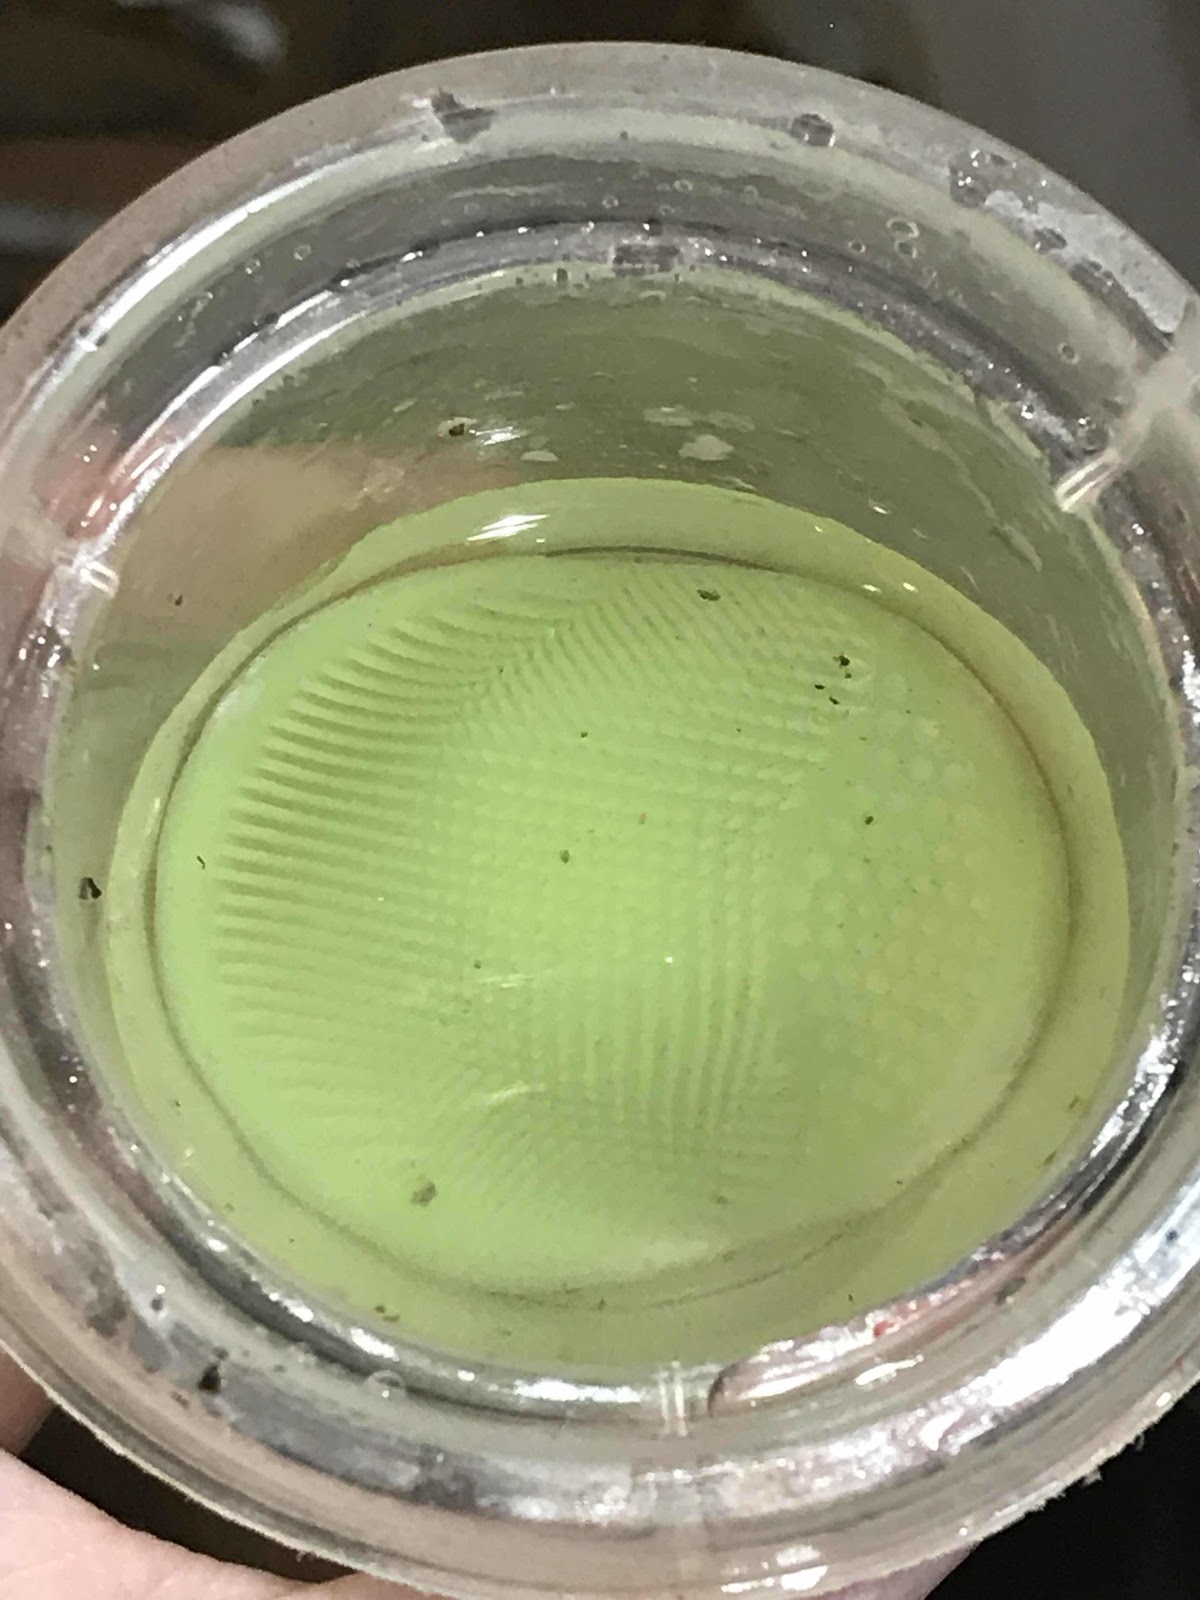
Place a silicone exfoliating facial pad in the bottom of a cup full of soapy water. It has its own suction and the bristles will clean your brushes. It works great for makeup brushes too.
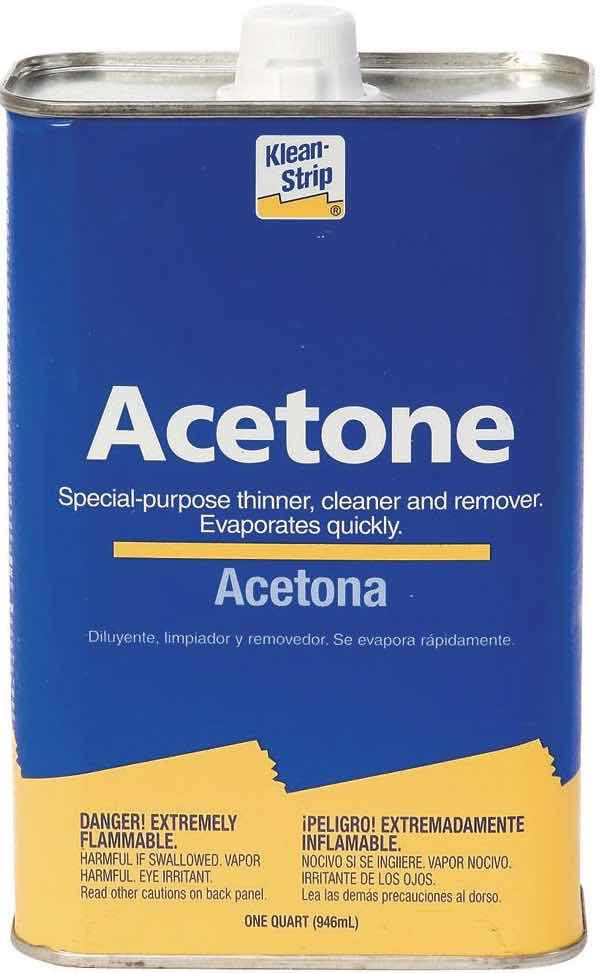

To preserve your brushes, use Masters Brush Cleaner and Preserver after soaking in acetone. Murphy's Wood Soap also works.

Use a disposable mascara brush and a bent cotton swab dipped in acetone to clean a precision bottle.
Paint Pens

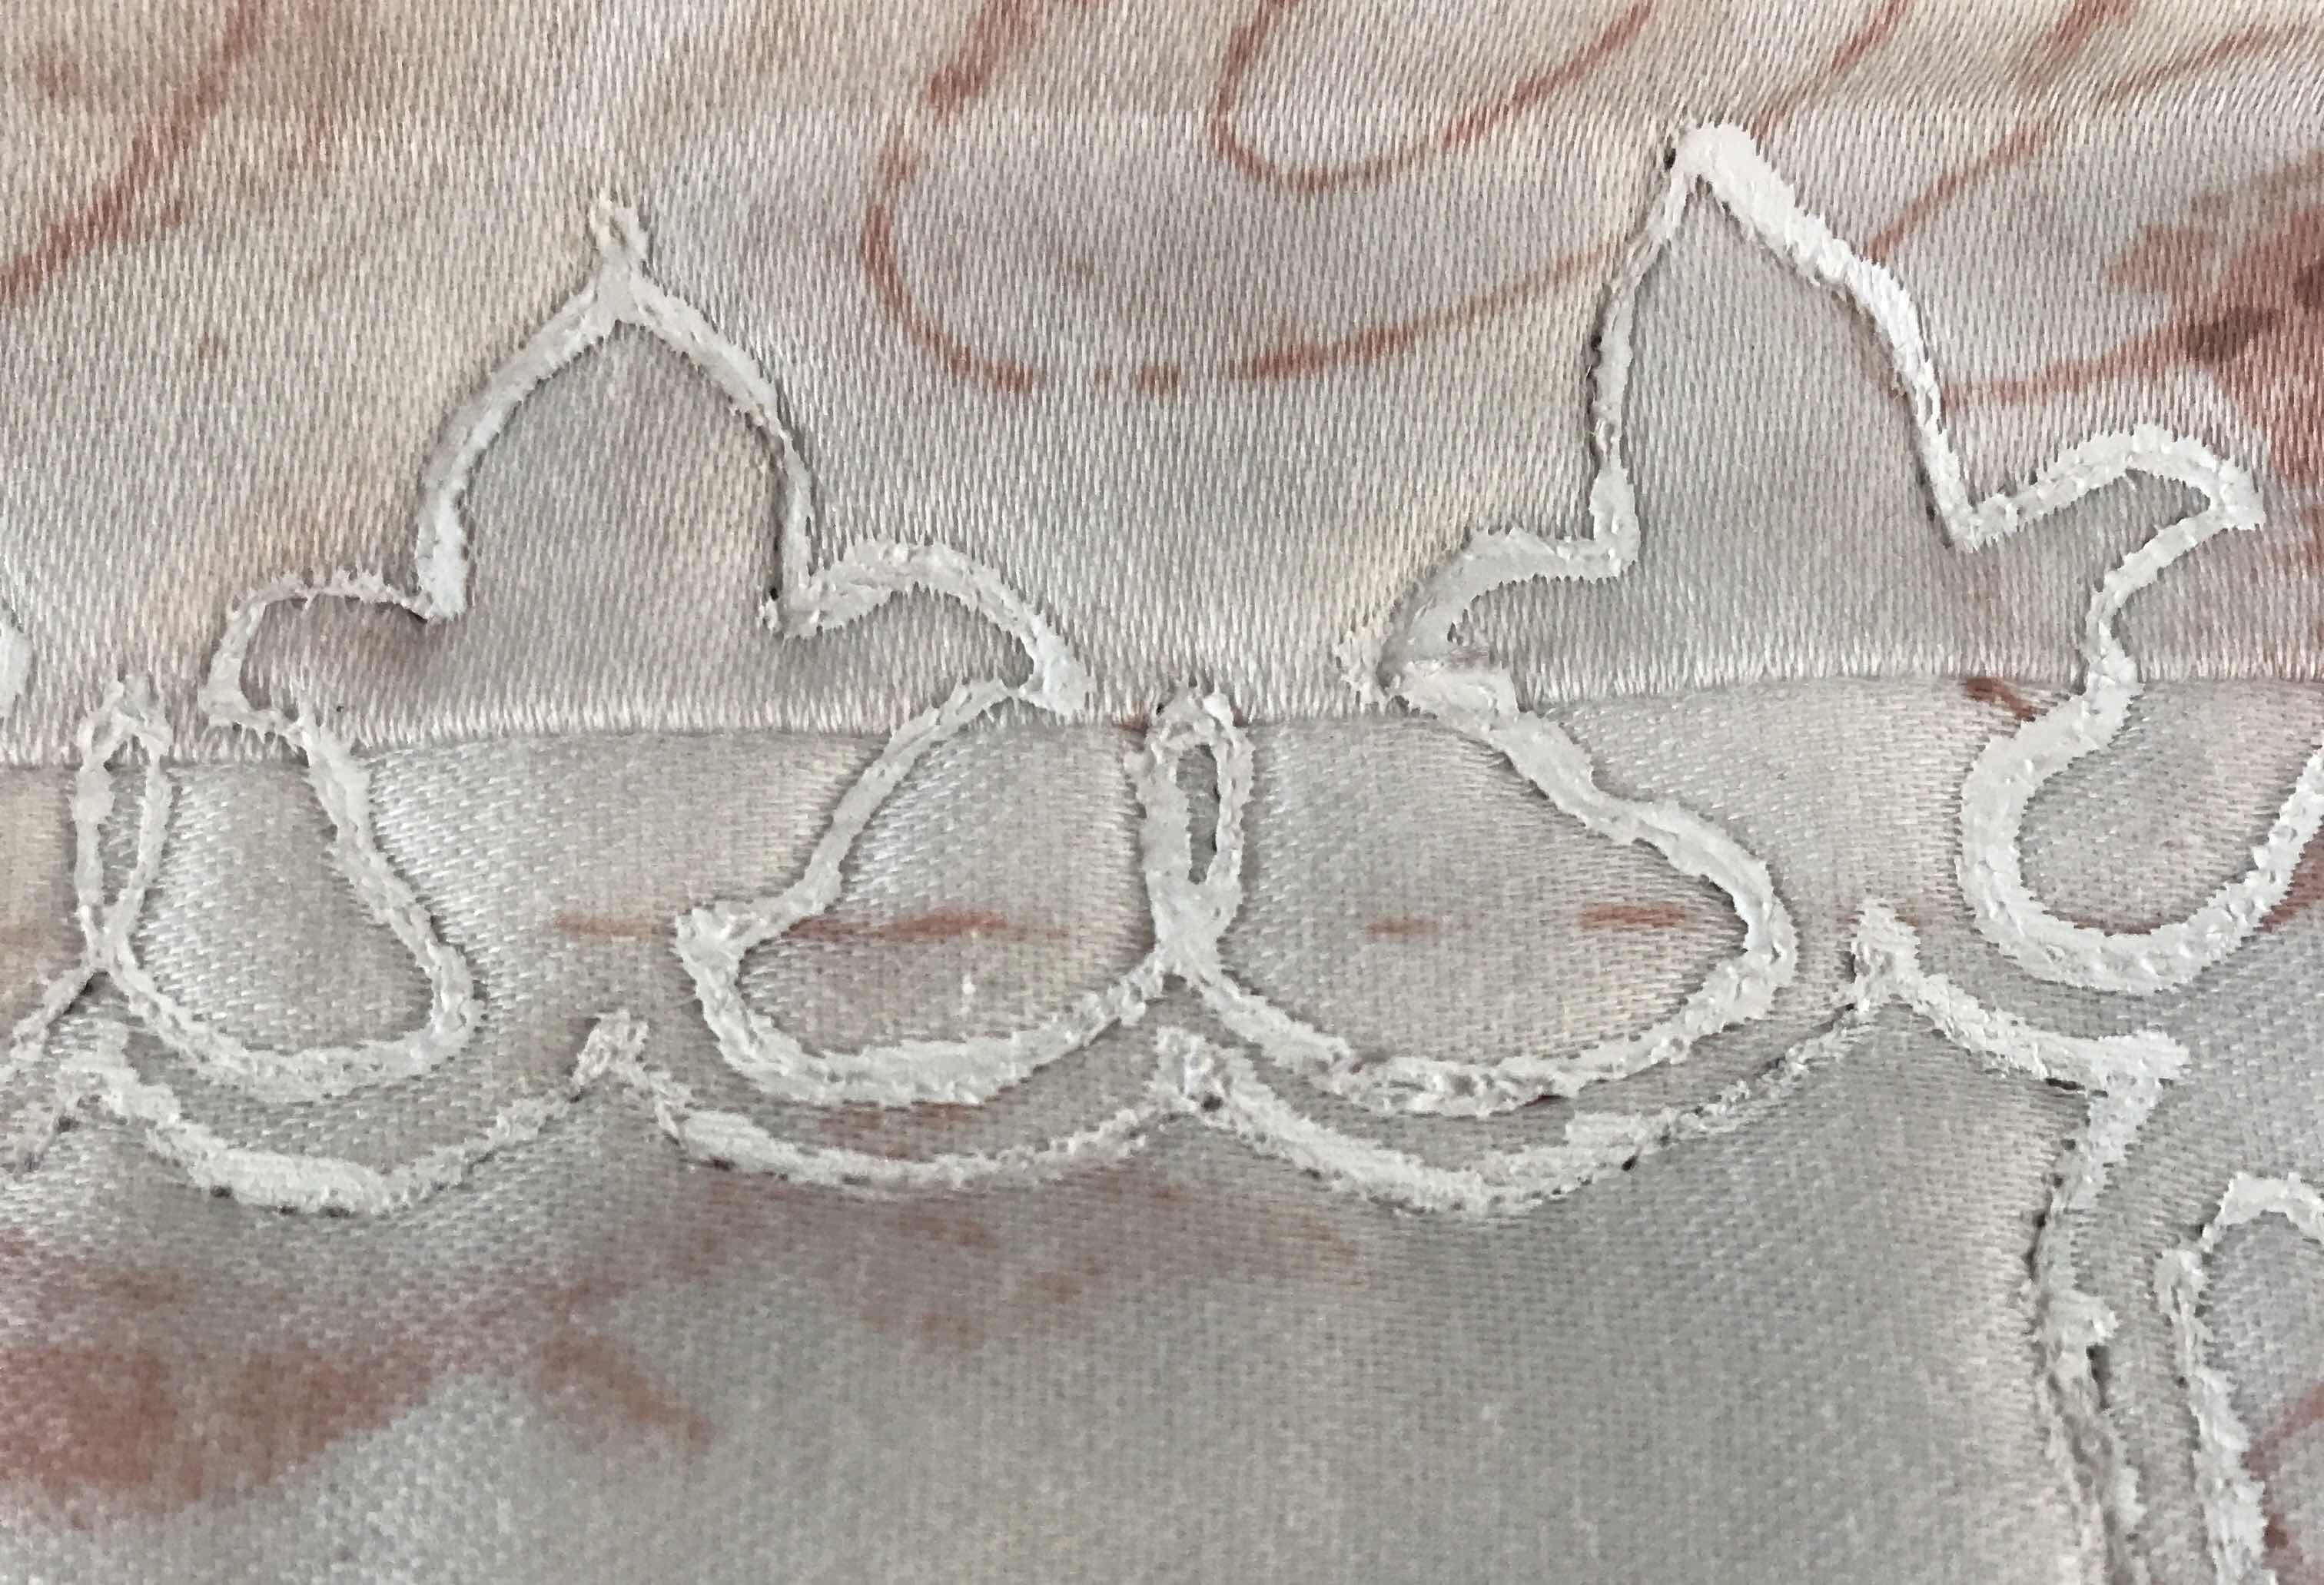
Erasing Washable Media

Empty Montana Black Marker $2.25-6.52 at Blick Art.
Fill a 2mm empty paint marker with water and textile detergent. Place an absorbent towel under the fabric. When washable watercolor or marker bleeds, you can make it less noticeable and easier to cover by scrubbing it with the pen. Blot with a tissue and blow dry. Repeat until the color is faded. It will not disappear entirely. Clean the tip of the marker with the tissue. A marker filled with acetone will remove enough acrylic paint to make it less noticeable. A marker filled with vinegar will erase water soluble quilt marks that don't come out with water.
Retarder Substitute


Retarder does not contain a polymer so it's not really a medium at all. It's actually vegetable glycerin diluted 2:1 with water. Aloe Vera gel mixed with glycerin is used to make the gel retarder.
Aloe Vera Gel

Aloe vera gel is like gelled water. It increases paint volume, but makes the color dull. It changes paint to a smooth, creamy consistency, lightens the color, and leaves a very soft hand. Add a drop of ammonia to raise the pH. Use it to control the bleed of Inktense and watercolor pencils.


Before washing After washing
Digital Ground Substitutes
White craft acrylic diluted with water is a substitute for matte digital ground. Airbrush medium alone is a substitute for clear digital ground.
No comments:
Post a Comment