

1853 Yale Engine Company fundraising quilt
Contrary to popular belief, the quilt as you go method isn't new. As a of 2019, it's at least 166 years old and seems to have been a common practice even then. The Yale Engine Company quilt pictured above is made up of individual blocks that were appliquéd, backed, quilted and bound before being sewn together into rows. Today, these are referred to as Pot Holder quilts.

Quilt-As-You-Go frames were sold in quilting magazines. The one above is from a March/April 1982 edition of Crafts 'n Things. Quilts in the 80s were still being made by hand, but large frames and quilting bees were no longer in vogue as families grew busier and further apart. It had become a pastime for elderly women with limited mobility.
If you want 2" sashed blocks, add a 1-1/2" border to the blocks. If you want framed blocks, add a 2-1/2" border to the blocks.


Iron the backing fabric smooth.

Cut the backing 3/8" larger than the block on all four sides.

Press 100% or 80/20 cotton batting on the rayon setting.

Cut the batting pieces the same size as the blocks.

I like to cut templates out of poster board for this.

If you run out of batting and need to piece it together, use a zigzag foot and a joining stitch (#16; 2.5, 5.0 on my Brother machine). I also used 50 wt thread and a 75/11 universal needle.

Place the two pieces of batting under the line on the foot. I have mine marked. I prefer the zigzag foot because it has a flat smooth sole that doesn't distort the batting the way a joining foot does.

This is something you can't do with polyester batting.

Lay the backing block down wrong side up.

Place the batting on top of the backing.

Place the top block onto the batting. Cotton batting doesn't require basting spray.

Place your quilting design on the top and pin it in place, securing all the layers. You can skip the design paper if you're not using this method and just pin the layers.


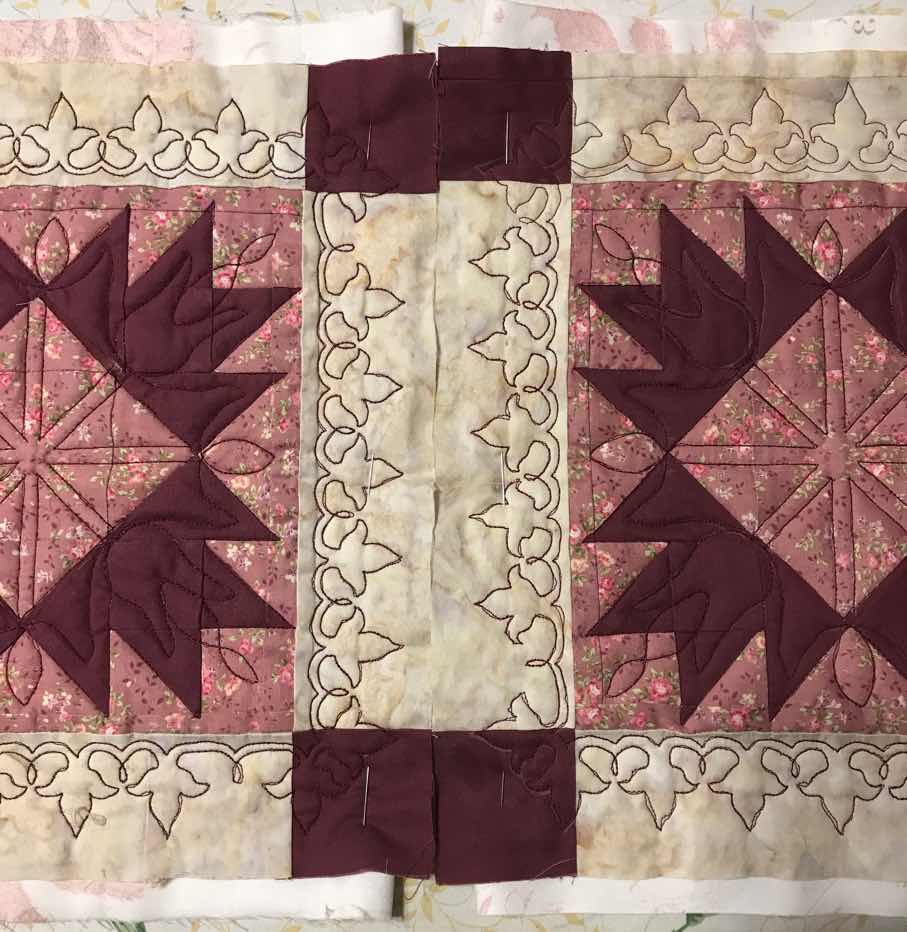
These are close ups of the front and back. I love the lack of wrinkles. The fun part is over. It's about to get complicated.
Joining the Blocks

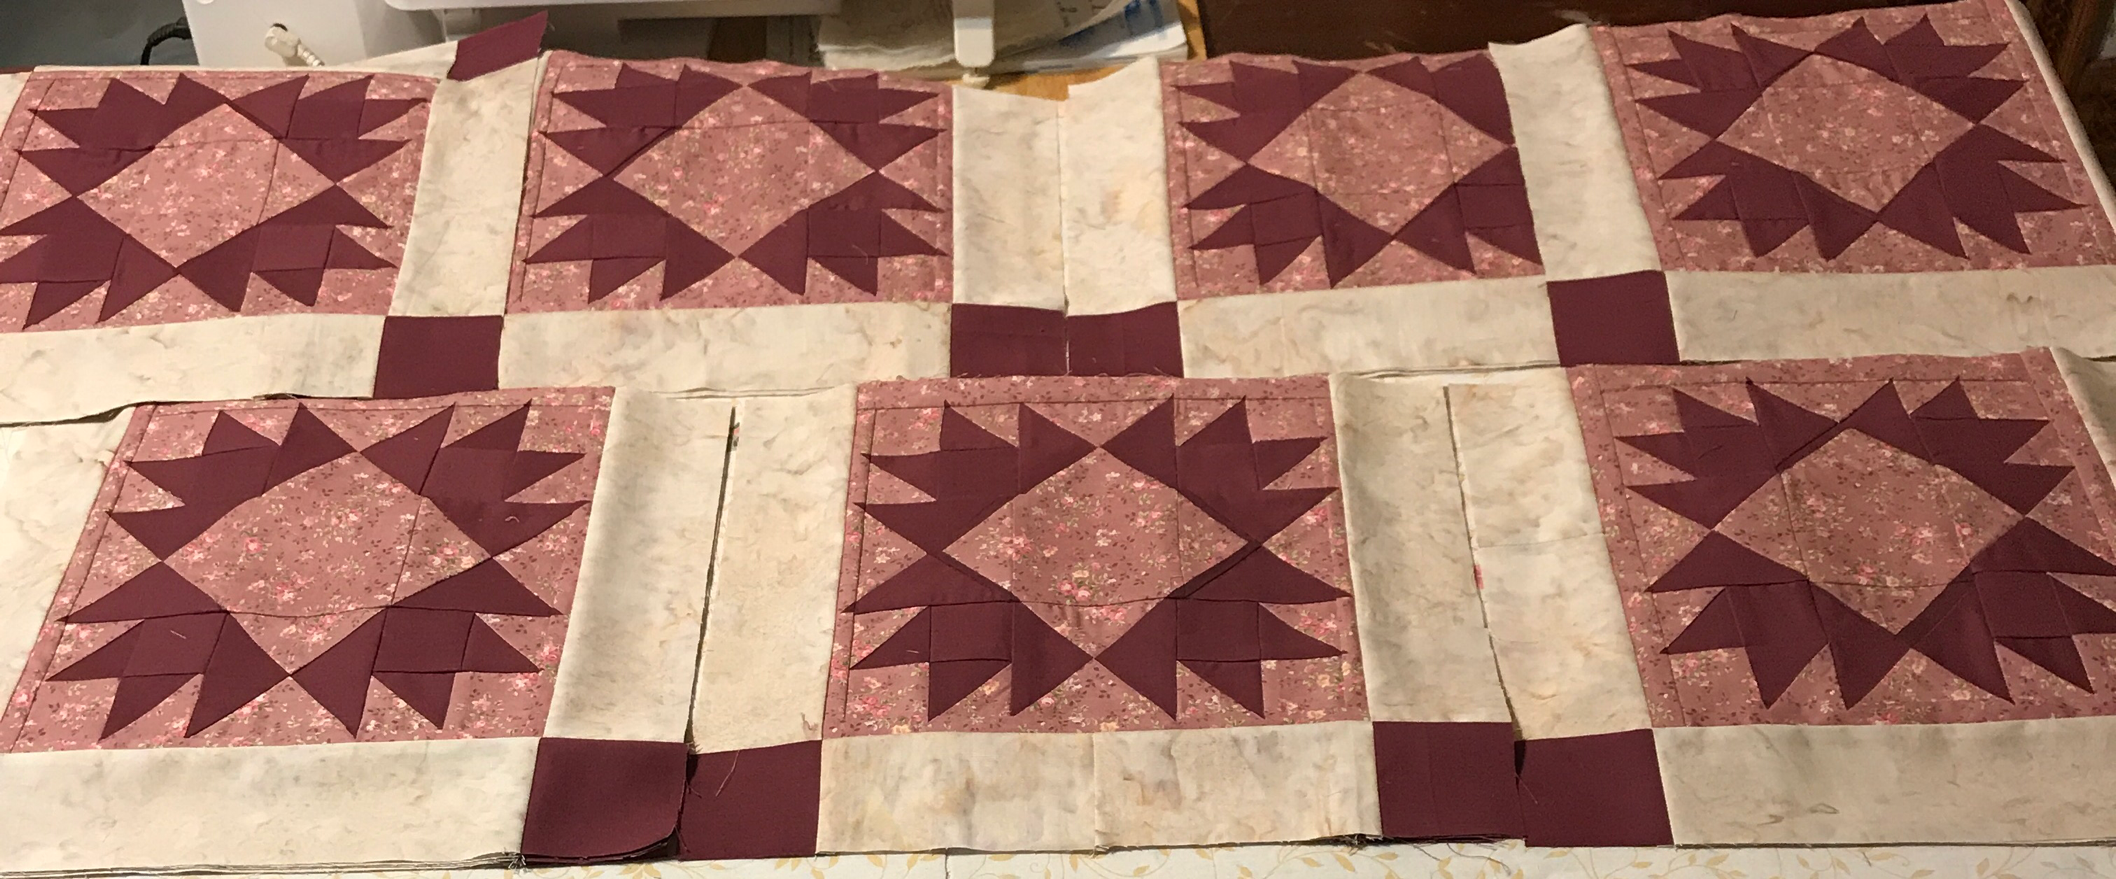
Lay two blocks beside one another. Pin the backing and batting of both blocks out of the way.
Flip left block over facing right side up. Place the right block over the left block wrong side up.

Sew the seam like you normally would. Iron the seam to one side. I like to alternate seams on the blocks rather than have them all facing the same direction.

You shouldn't need to trim the batting. The batting from each block should meet at the seam.

Lay the backing and batting from the left block over the seam. Iron a crease into the backing.
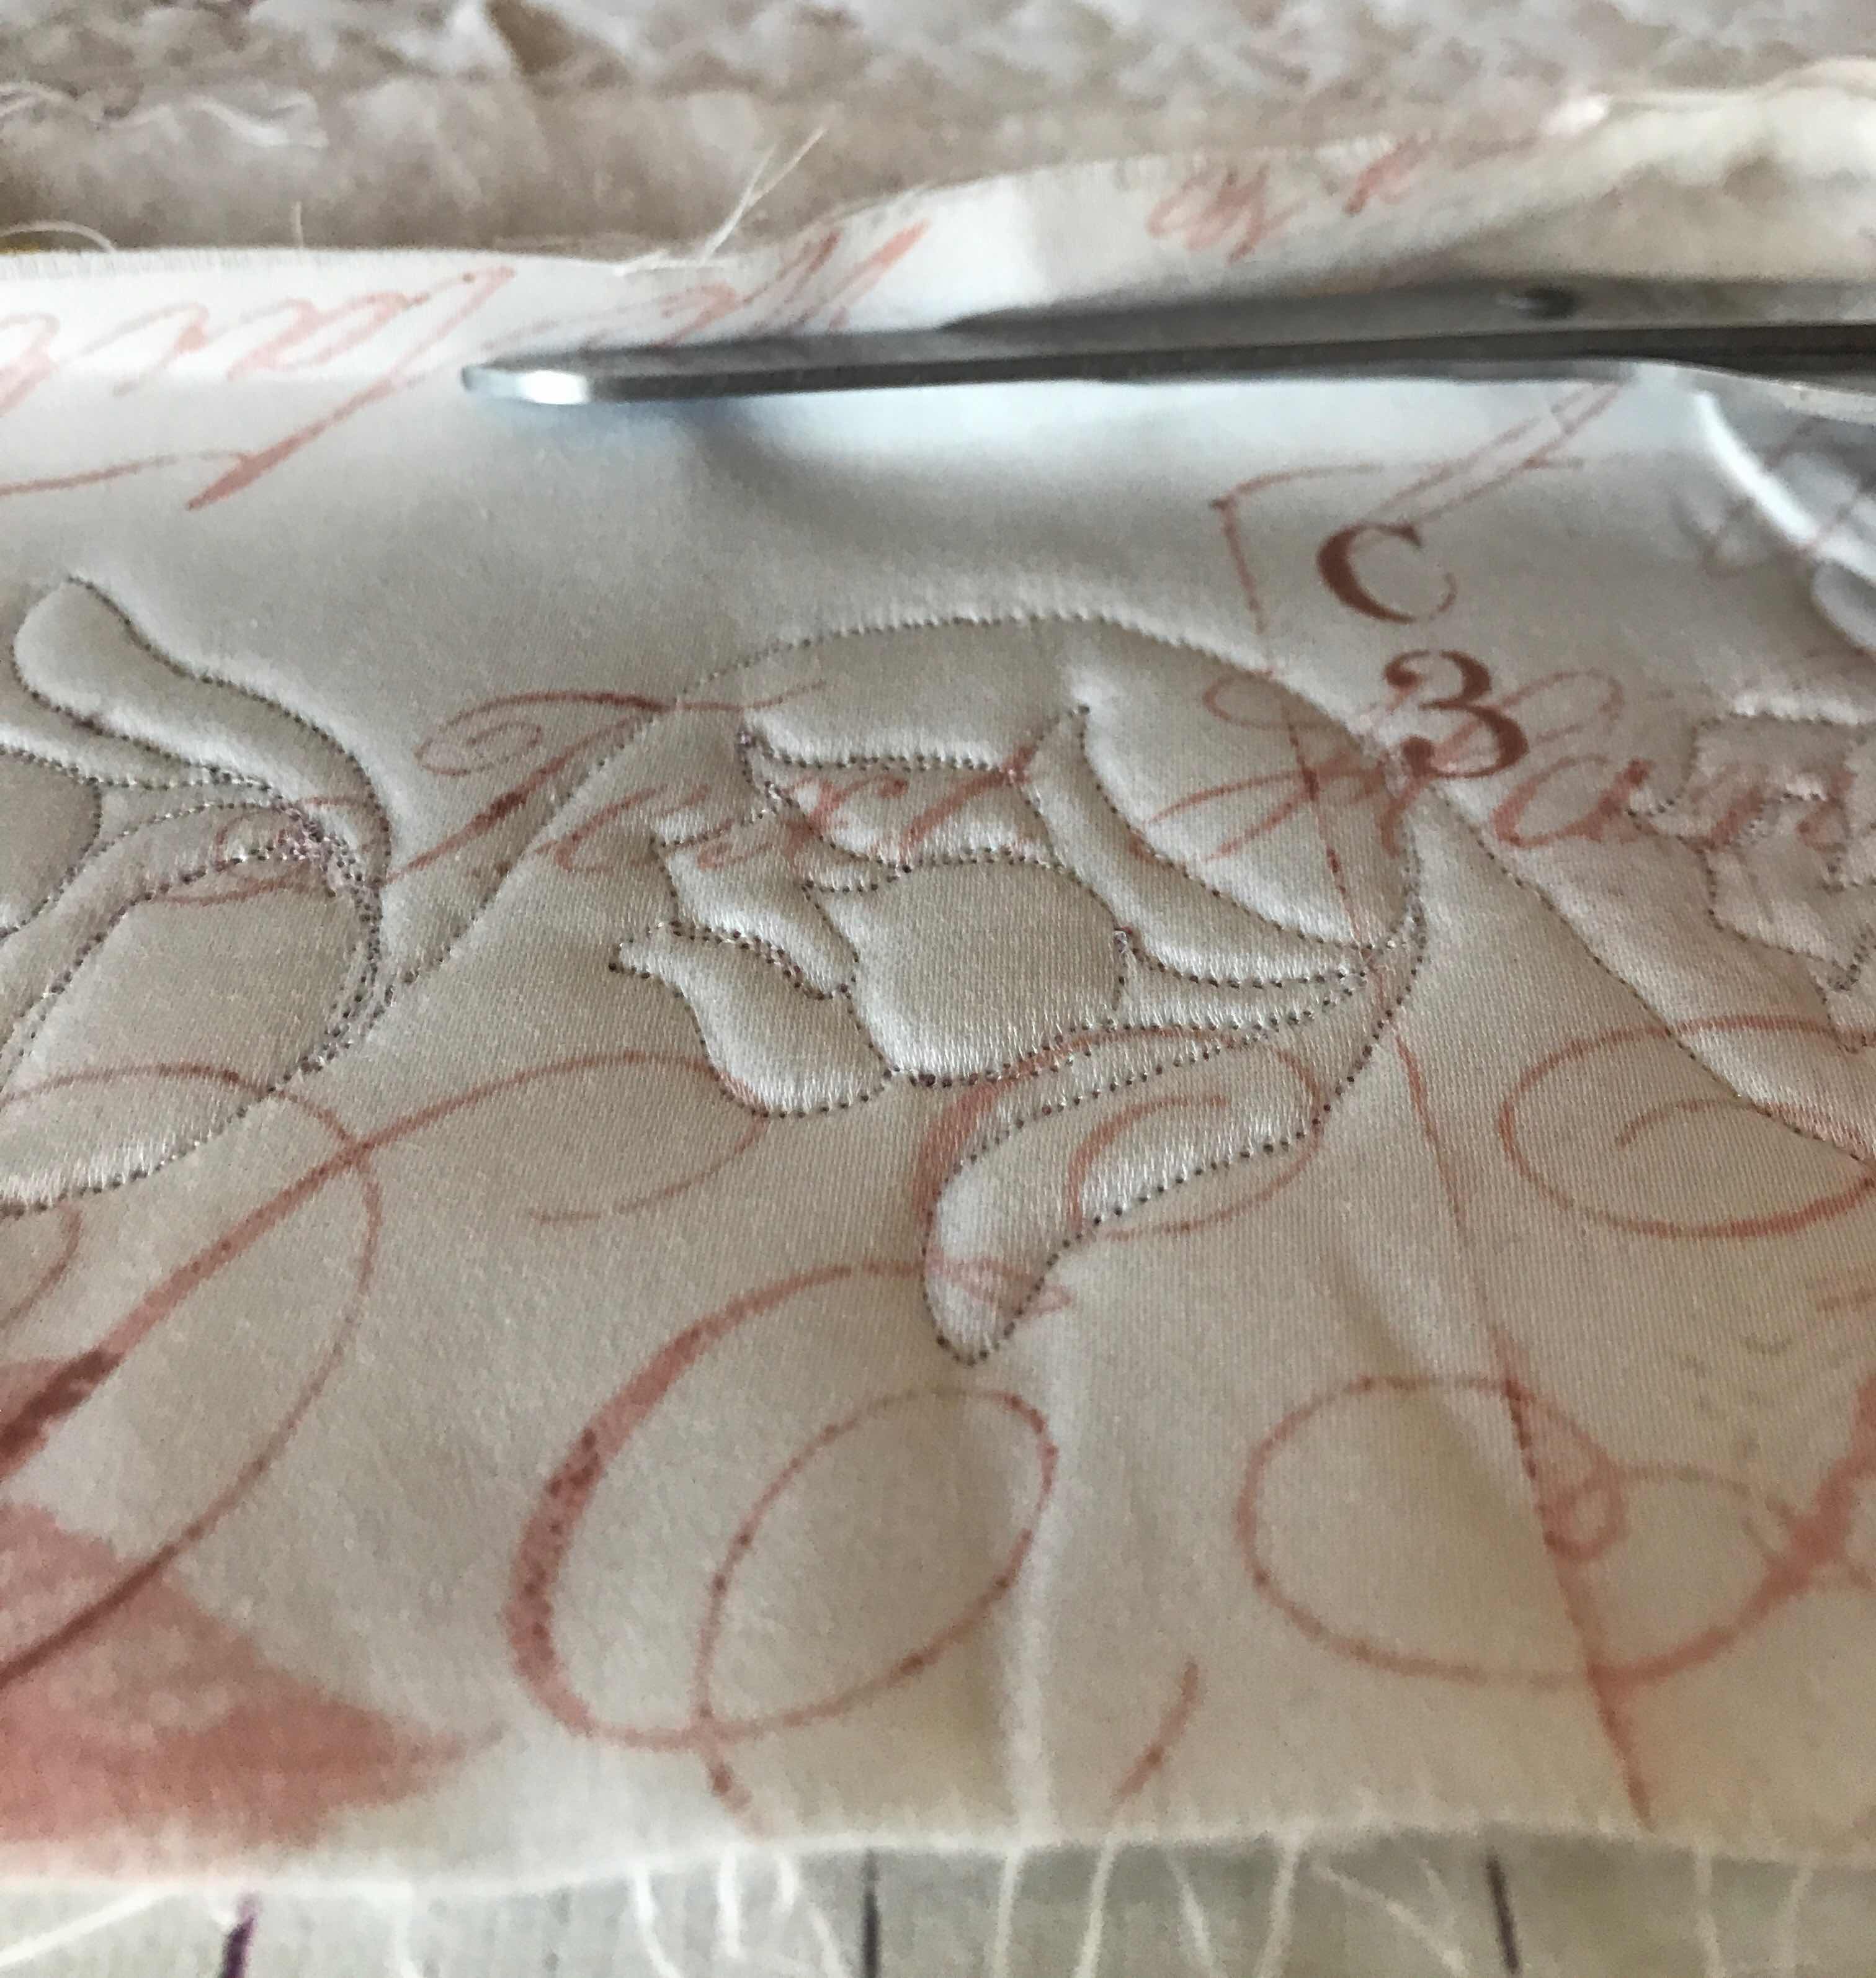
Trim the backing flush with the right block. Position your scissors parallel with the block to prevent from cutting into the fabric.

Place a 1" wide steel ruler just above the quilting on the right block.

Mark a line.

Cut off the excess fabric.

Fold the fabric in half and crease with an iron.

Fold the fabric over the seam and crease again. Pin in place.

I use clear polyester with a 70/10 microtecx sharp needle. Use masking tape to hold down the thread and keep it out of the way. Remove the masking tape from the machine after the first few stitches.

Using a zipper foot, sew the seam as close to the fold as possible. Start and stop about 3/8" from each end.


This is the front and back of the seam.

This is the first row of blocks finished.
Joining Rows
This part is a little more complicated because all of the rows may not be even.

If you sewed passed the seam, you'll need to remove some of those stitches before you can sew the rows together.

Sew the rows together the same way you did the blocks. Press the seam toward the end of the quilt, not the top. This is to protect the seams from the stress of the quilt being pulled up by the top.

Cut away the batting on both sides. Cut batting strips about 1" wide.

Lay batting strips over the seam.

This time, you're going to fold the lap seam facing the end of the quilt. This is to protect the seam from the stress of being pulled on from the top. Cut the backing of the bottom row flush with the top row.

Straighten the backing fabric on the top row.

Fold the backing of the top row over the seam of the bottom row.

You may have to do this in sections.

Follow the steps above for sewing it in place.

This is a problem I ran into after joining the rows. Removing stitches creates a gap in the lap seam. You can correct this by sewing the seams down or use Fabri-Tac. I chose the glue method.

This is the first two rows finished.
Joining Borders
The borders require a bit of planning because they often have a corner design. Cut the backing and batting strips 1" wider and longer than the top strips.

Place the top strip a 1/2" from the top of the backing.

Mark 2" from the end and begin quilting the design at this mark.

Sew the border to the quilt like you did before. Press the seam toward the quilt.

If you over estimated the amount of fabric you needed, you can fix it.

Remove the stitches a little beyond where the corner design will be.

Cut the excess fabric even with the opposite border.

There will be excess batting on the border. Cut it flush with the quilt batting.

Fold the lap seam toward the quilt. This is to protect the seam from the stress of being pulled over the side of a bed. Sew as before.

Stitch the corner design onto the border. Bind as usual.

This is the finished quilt. It's 90x102 making it a queen size. I had to pin it together to take this photo.
Assessment
It takes twice the amount of backing and batting making it costly. The extra steps make it time consuming. It took me longer to do this than if I had done it the traditional way. This technique is fine if all you have is a small sewing machine and you want to make a large quilt. I don't recommend it for the professional.
No comments:
Post a Comment