Showing posts with label Embroidery Floss. Show all posts

Sunday, May 26, 2019

Tying and Tacking

Stitching isn't the only way to secure quilt layers. Tying and tacking have been used for years to secure block corners because they couldn't be stitched through.

Tying is a method of securing a quilt that is intended to be visible. The yarn is fed through the quilt layers with a curved needle and then, tied with a square knot on the top. The tails are either cut an inch long or close to the knot.

Heavy denim quilts are typically tied with yarn. Red is still the most popular yarn color because it hearkens back to a time in the South when indigo and turkey red were the only dyes available. It's the most accurate Civil War quilt you can make.


Dutch Girl quilts may incorporate yarn tying as part of the girl's hair. My great grandmother might have been the only woman to do this because I couldn't find a photo of one anywhere. The above photos are the only ones I found. Apparently, they're not very popular.

Quilts may also be tied with several strands of embroidery floss.

Ribbon may be used as well.

That ribbon can also be incorporated as part of an appliqué piece.

Tacking is a method of securing a quilt that is intended to blend into the fabric. You can use thread, but I prefer embroidery floss. 

Old wool and cotton batting required elaborate stitching to prevent it from shifting. Today's needle punched batting can be quilted every 4 inches. That means, you only need 1 tack in the center of an 8" block that has been stitched in the ditch. The above block is from a faux t-shirt quilt that I made with vinyl heat transfers. Stitching through them would've destroyed the vinyl. They had to be tacked.

Place a ruler across the block about halfway down and mark 4" with a needle.

Place the ruler down the block to the left of the needle and mark that 4" with a needle to find the center.

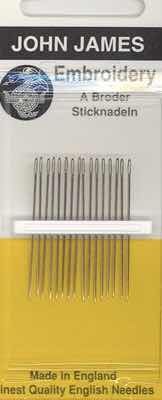
Pull a single 12" strand of floss from a skein and cut. Thread a size 5 embroidery needle and leave about 2" hanging. Don't tie a knot in the thread. 

Insert the needle through the quilt layers and bring the point back up through the top. 

Pull the floss through, leaving a 4" long tail on one side. 
Feed the floss through the layers several times going through the same holes. You can make an X or French knot, if you like. 

To end, run the floss through the first hole and stop. Remove the needle.

Thread the needle with the beginning tail and run it through the opposite hole. Remove the needle. 

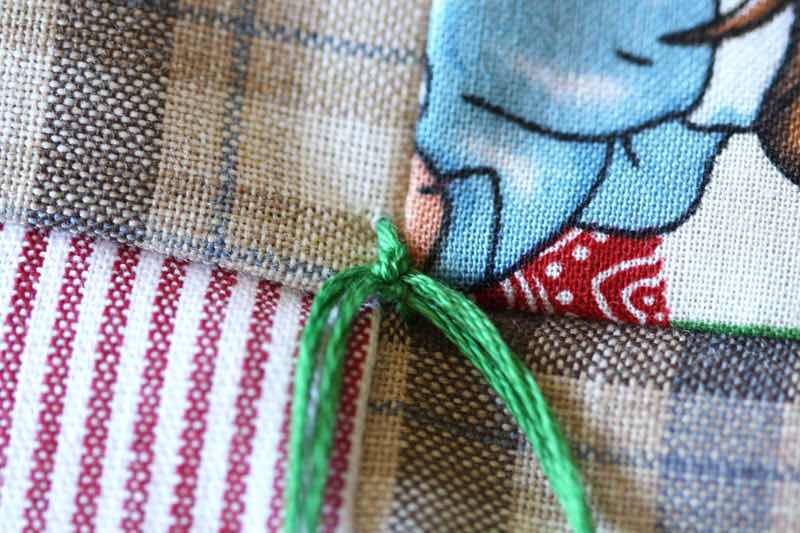
Flip the quilt over and tie the tails in a square knot.

Cut the tails even.
Thread the needle with the tails.

Insert the needle beneath the fabric about a 1/2".
Pull the thread through and back to gather the fabric a bit.

Cut the tails and release the tension to conceal them.

Buttons are another method of tacking that are commonly found on crazy quilts.

Bedazzling is an 80s innovation that is perfect for tacking a quilt.

Glue fabric or wrap embroidery floss around 5mm spots.

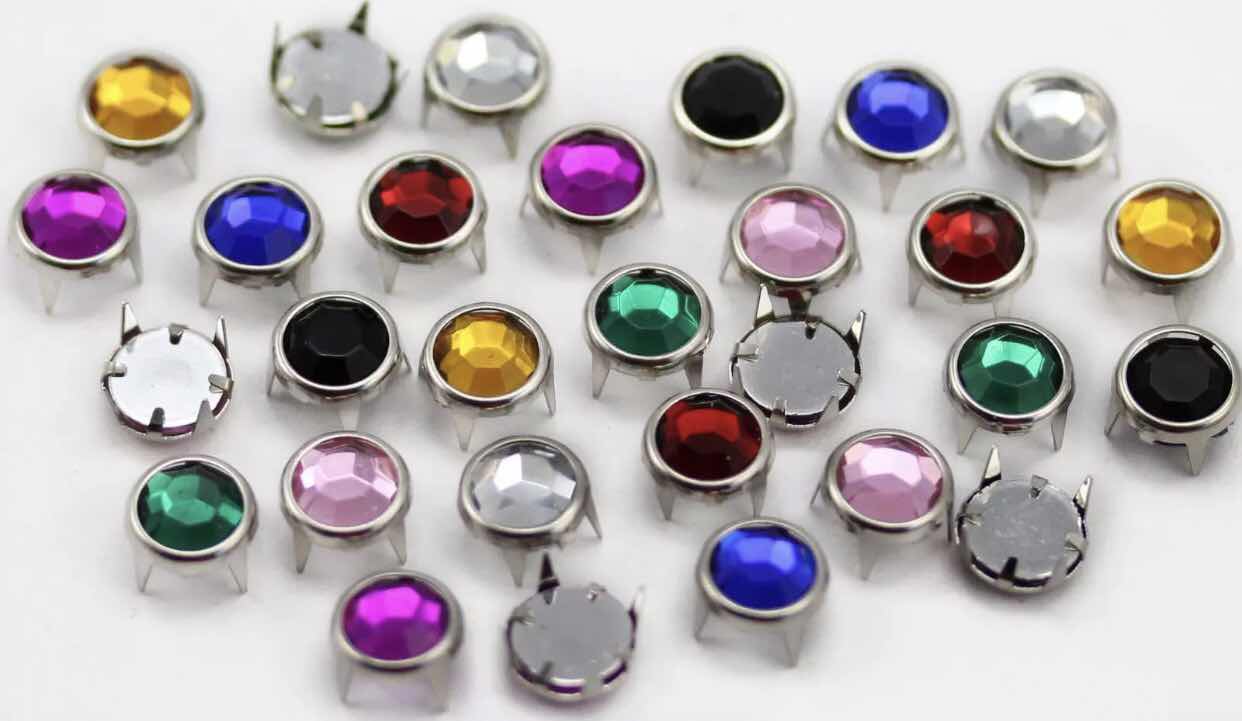
Use rhinestones to make a girl's quilt pop.

Friday, June 1, 2018

Quilt Repair

There are several options for quilt repair. Some are more aesthetically pleasing than others.

Mending Tape Method

Mending tape is available in different colors and widths. Iron the fabric flat to remove wrinkles. Cut the tape a 1/2" longer than the tear. Use a dry iron on the wool setting. Heat the fabric. Apply one strip under the tear and iron it into place. Apply a second strip over the tear and iron into place. You can get by with one strip on the top, but using two makes it more durable.

This is a quilted pillow case that I was asked to mend.

It was cut on the back with pinking shears and it had a zipper that was cut through as well. It was too jagged to sew up.
This video shows how to do it.


I ran out of blue and had to use white to make up the difference.

Glue Method

Use Fabri Tac if you have the original fabric the quilt was made with. Dilute the Fabri Tac with a small amount of acetone. Brush it onto the back of the mending fabric. Apply the fabric onto the quilt. Hold it in place until it bonds.

Hand or Machine Darning Method
If you need to stitch a hole closed, cut a piece of fusible sheer weight stabilizer a 1/2" larger than the hole. Place it under the hole and iron it in place. This will allow you to mend the fabric without the support slipping. Stabilizer is necessary to prevent the darning threads from ripping out of the frayed fabric. It is used for both hand and machine darning.
 
Hand mending allows you to get under the top fabric on a finished quilt so the thread doesn't show on the back. Pick a thread color that matches the top. Use a size 4 embroidery needle and several strands of all purpose thread to satin stitch over the hole. Insert a stiletto under the stabilizer and lift the fabric to make stitching easier. Move the needle out from under the stitches as you go so there's no gap. Remove the stiletto when you're done. 

Machine darning is best for mending fabric that is not quilted. For machine darning, you need a closed toe darning foot. The open toe is an embroidery foot. The closed toe is a darning foot. The darning foot has a spring action that lifts the foot so it doesn't get caught on the raised threads as you stitch. The foot is closed so it doesn't get caught on the threads or fabric while moving in multiple directions. Both the embroidery and darning feet are wrongly advertised as free motion quilting feet. They are not quilting feet. Using them for quilting causes irregular tension and stitch problems. The problem with machine darning is that the top thread will always show on the back of a finished quilt. If the back fabric has the same colors as the top, a matching thread color in the top and bobbin will work.

Large Wrinkles

No one likes large unsightly wrinkles on a quilt. Fabri Tac undiluted will close them. 

If the wrinkle is close to a seam on the quilt top, iron it to create a crease.

Squeeze a small amount inside the wrinkle close to the fold and hold it down a few seconds until the glue bonds. The process is the same for wrinkles on the back, minus the ironing.