
Before you jump into straight grain binding, I want you to understand how fabric is made. It starts by winding threads around two horizontal beams. Think of a beadwork loom; it might be a little easier to visualize. The warp threads are vertical and are wrapped very tight to create tension.
Another thread, called the weft, is woven over and under the warp threads from left to right. The weft threads are pulled tight at the end of each row and are wrapped around behind the warp threads to start a new row.
You may have heard quilters referring to straight grain, cross grain and bias in regards to cutting direction. This can be very confusing if the grains aren't clarified. The straight grain refers to the warp threads because they are always straight and they run the full length of a roll of fabric. One yard is 36 inches long.
The cross grain is so called because the weft threads run across the warp threads. They are also short compared to the warp and aren't always straight. The width of fabric can be from 44-120 inches depending on the width of the loom it was woven on.
Here's why it's important to know the difference and apply it when cutting fabric.
When you cut along the 36" length, you're cutting along the straight grain. You're also cutting through the weft threads. A severed weft will retain its tension so the fabric remains rigid. Only the weft threads will stretch. Straight grain binding is cut along the straight grain. It is the strongest binding suitable for heavy quilts or ones that will be used a lot.
When you cut along the 44" width, you're cutting along the cross grain. You're also cutting through the warp threads. A severed warp thread releases its tension. The fabric will have a 2-way stretch. This cut is used for special effect bindings like prairie points on display quilts that will not be used much.
When you cut diagonally at a 45 degree angle, you're cutting through both grains. Quilters call this the bias. It has a 4-way stretch. Bias binding is best used for scalloped edges.

Binding Strip Chart

Single Fold


Single fold is best for delicate quilts, wall hangings and miniatures that will not be used a lot. It's also useful if you don't have a lot of fabric left over. Cut strips 1-3/4" wide.
Mark the 45 degree angle and the 1/4" seam before sewing the strips. I didn't mention this in the double fold instructions, but I find it easier.
Sew the strips together and cut the seam allowance.
Do not fold the strips before attaching them.
Fold the strip back at a 45 degree angle. Hold it in place and fold it back over itself at a 90 degree angle to create a mitered corner. The double fold instructions are more detailed.
The ends may be joined with a straight seam because the binding is so thin.
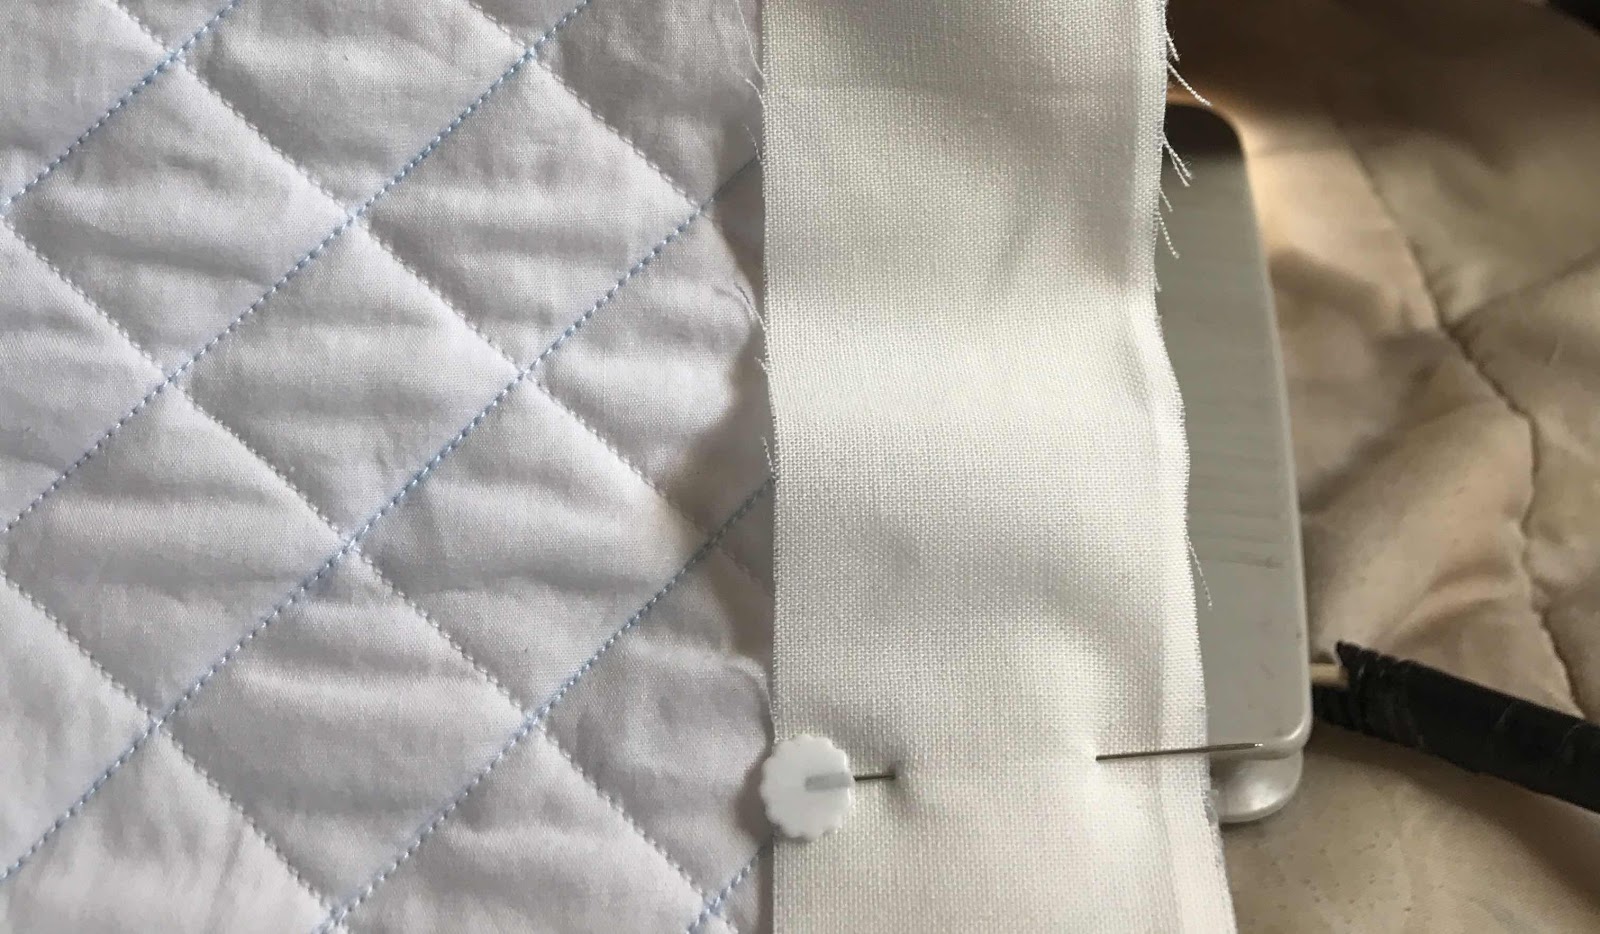
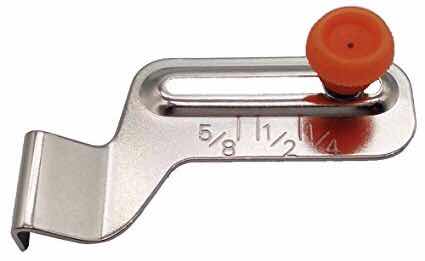
Sew on the binding 5/8" from the edge. Place tape on your machine's 5/8" seam guide to make this easier.

After sewing on the binding, fold the raw edge so it touches the raw quilt edge.
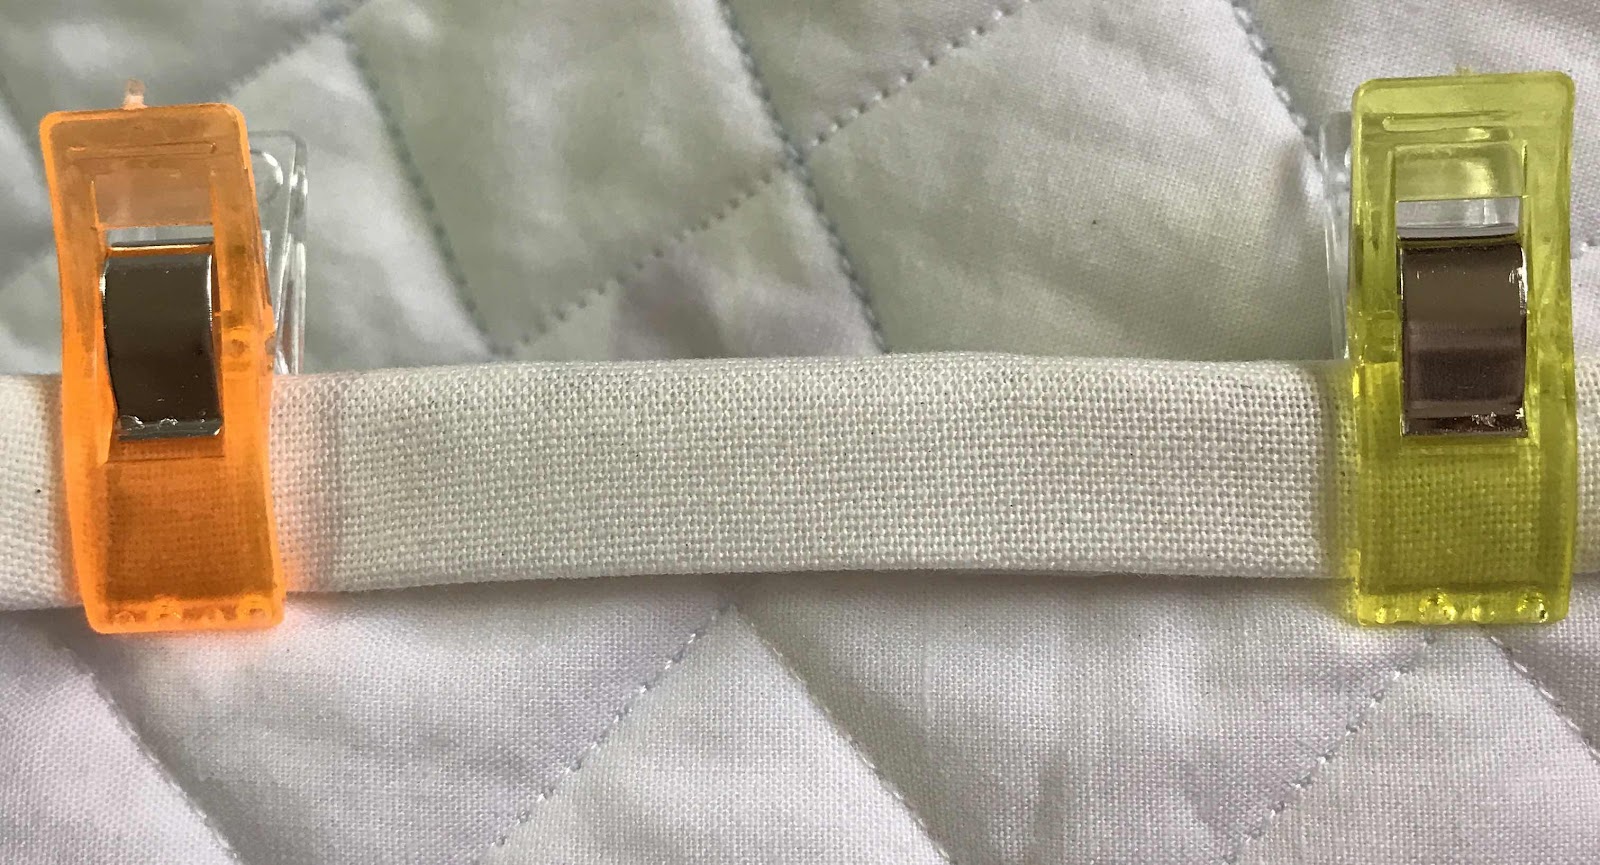
Fold it over again so it overlaps the backing and secure with clips.
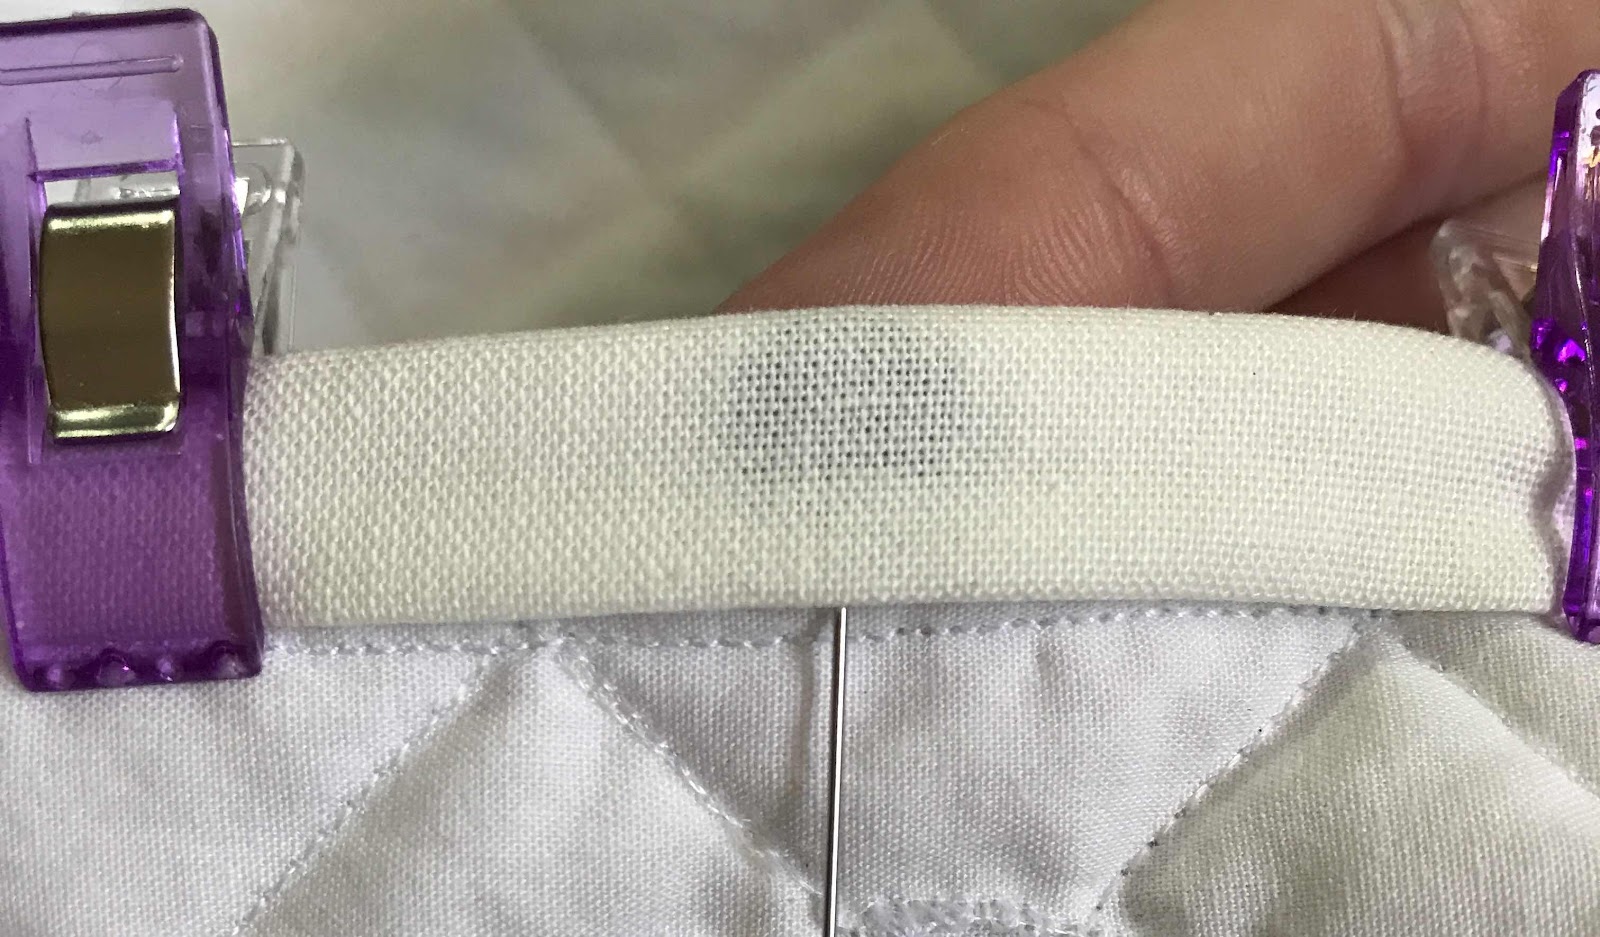
You'll have a scant 1/4" interior crease.
Cut the corners at a 45 degree angle.
I'm left-handed, so I fold the right side over the corner first.
Fold the left crease over.

Fold it over again and you'll have a perfect mitered corner.
Follow my Securing the Binding tutorial to finish.
Double Fold
Double fold is best for quilts that will be used frequently. If you want stuffed binding, the strip needs to be 2-1/4" wide. If you want flat binding, the strip needs to be 2-1/2".


Trim all sides of the quilt even before attaching binding. Cut strips from the 36" length (straight grain) of the fabric.
Separate your fabric strips so that you have a strip in each hand. Place the strip in your left hand right side up and position it horizontally. Place the strip in your right hand wrong side up and position it on top vertically. Fold the top right corner so that it touches the bottom left corner. The right side of the fabric will be straight along the bottom and there will be a 45 degree angle. Crease hard with your thumb nail or iron.
Always sew from the top left corner to the bottom right corner. This is very important to get the fabric to lie horizontally in a continuous strip. When it's on the machine, the line will be straight.
Sew on the line. Open the fold to make sure the edges line up.
Use an Add a Quarter ruler to measure and cut a 1/4" seam.
Fold the vertical fabric to the right and crease. Press the seam open and trim any excess. This creates a smooth seam that a needle can go through easily. Continue joining the remaining strips the same way until you have one continuous strip.
Fold the strip in half and crease with an iron. Use a steel ruler to hold the cut ends and to protect your fingers. Place the iron straight down onto the fabric and gently pull it towards the fold.
This is where glue basting really comes in handy. You'll understand why when you sew. Place a fine line of glue close to the edge of the quilt.
Lay the strip on the quilt. Hold down one end with your left hand and pull the strip tight with your right hand. The binding will be straight even if your quilt edges aren't. Heat set with an iron. Place a pin about every 6" to make sure the binding is secure. Glue sometimes skips a bit. Stop gluing 2" from the end. Use a pin there instead.
When you come to the end, measure and Mark 1/4" from the edge. Mark a diagonal line to the corner.
Fold the strip back so you have a 45 degree angle. Pin in place.
Fold the strip back over itself so it lines up with the edge. You may need to move the inside corner a bit so the fold is straight. Pin in place. The inside fold is 45 degrees, but the outside fold is 90 degrees. This is necessary to create the mitered point. If the folds are off, the corner will be sloppy. Place another pin 2" away from the corner pin. Resume gluing. Do this for each corner.
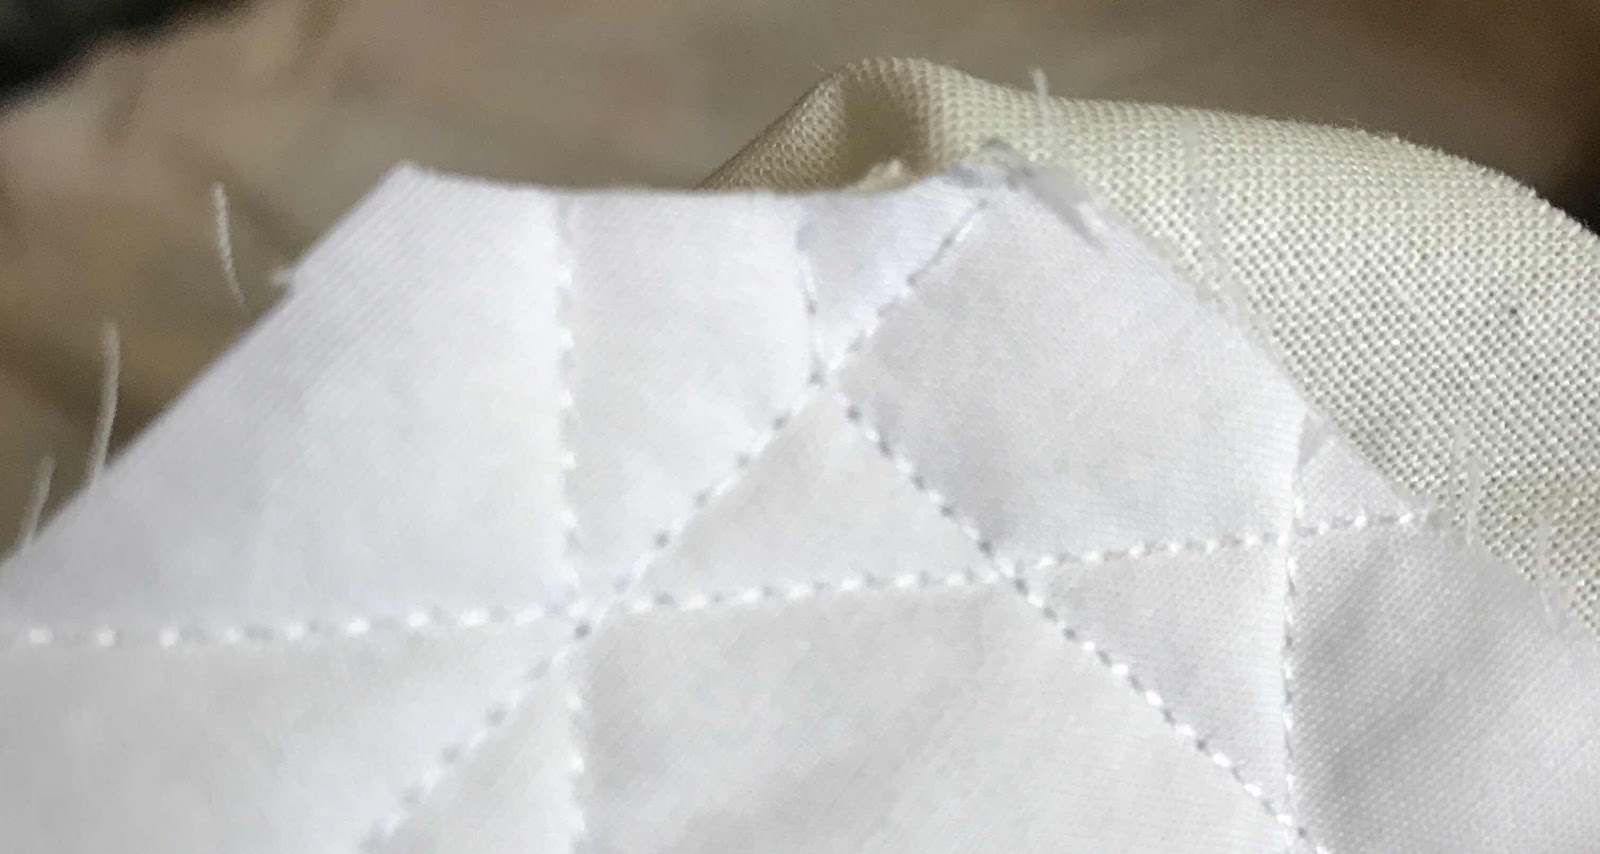
This step is very important. By joining the ends first, you won't have to do it after you've sewn the binding on. Give yourself 6" of room to maneuver the binding. On the beginning of the binding, measure and mark 6" from the end. This is where you will start sewing. Now mark 2-1/4 or 2-1/2" from your starting point.
Lay the other end over the beginning and mark the same 2-1/4 or 2-1/2".
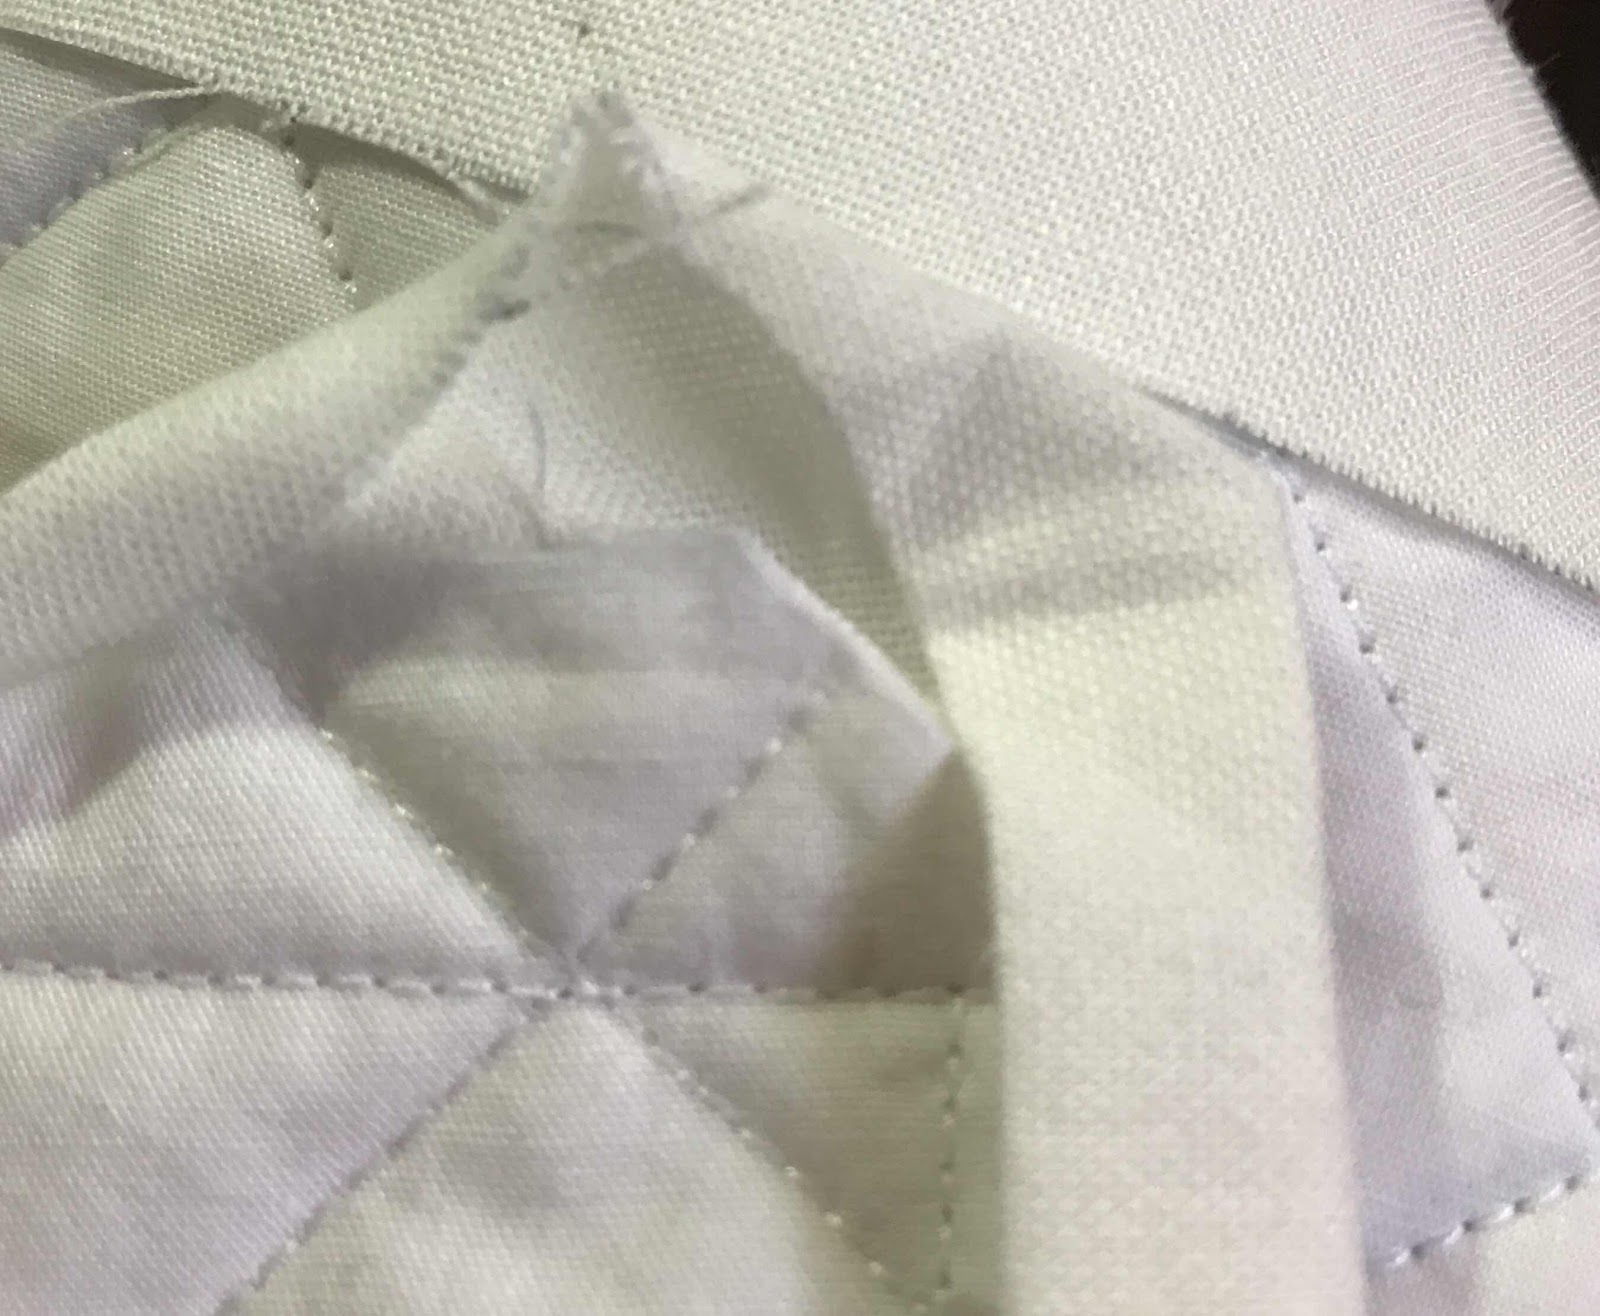
Lay the quilt right side up so the end strip is on the left and the beginning strip is on the right. Bunch up the quilt to give yourself some slack. Now unfold the end strip and position it horizontally right side up. Unfold the beginning strip and position it vertically wrong side up between the two marks. You're doing the same thing you did when you joined your strips, but it's a little harder this time.
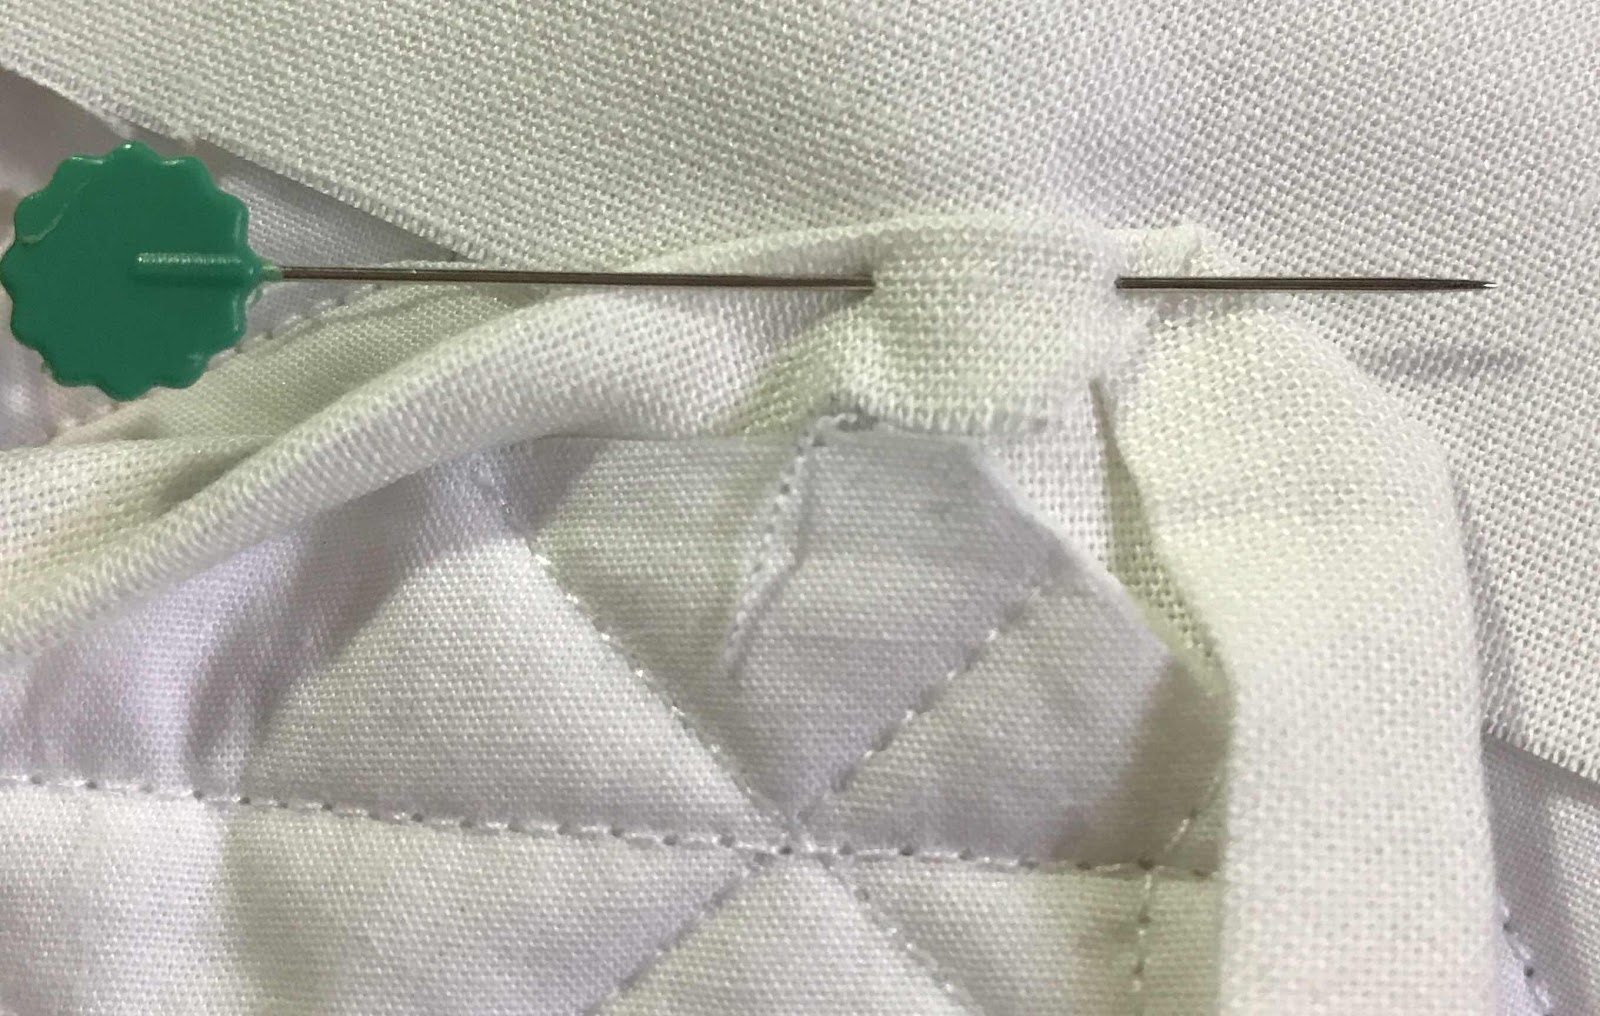
Pin the two ends together so they don't shift. Fold the vertical strip so the edge is even with the horizontal strip. Repeat Step 3. When you've found the crease, iron it.
Now that you have your crease, place pins along the edges.
If you end up with too much slack, that's okay. You have a crease to go by. Pull the ends inside one another until the binding lies flat.
You'll end up with this. Pin in place.
From this point forward, it's easy! Sew along the edge of the binding, not the quilt edge.
When you come to the corner fold, remove the pin and move the fold back.
When you come to the 1/4" mark, stop. Raise the presser foot with the needle down and pivot. Sew to the end.
Raise the presser foot and pivot again with the needle down. There is no need to remove the quilt from the machine. Place the fold back where it was and continue sewing. You may have to raise the needle and presser foot to get over this hump. Continue sewing until you come to the end and you're done. Perfect binding!
After sewing on the binding, fold the creased edge so it overlaps the backing. Follow my Securing the Binding tutorial to finish.
No comments:
Post a Comment