
When I made this faux t-shirt quilt, I discovered there wasn't enough fabric along the length to fold. The selvage was even with the batting. This problem is easy to fix. Cut 4 strips or however many you need from the backing fabric 1-3/4" wide for 1/2" binding or 2-1/4" for a 1" binding. Sew them together on the bias to minimize bulk.
Fold the top and batting out of your way.
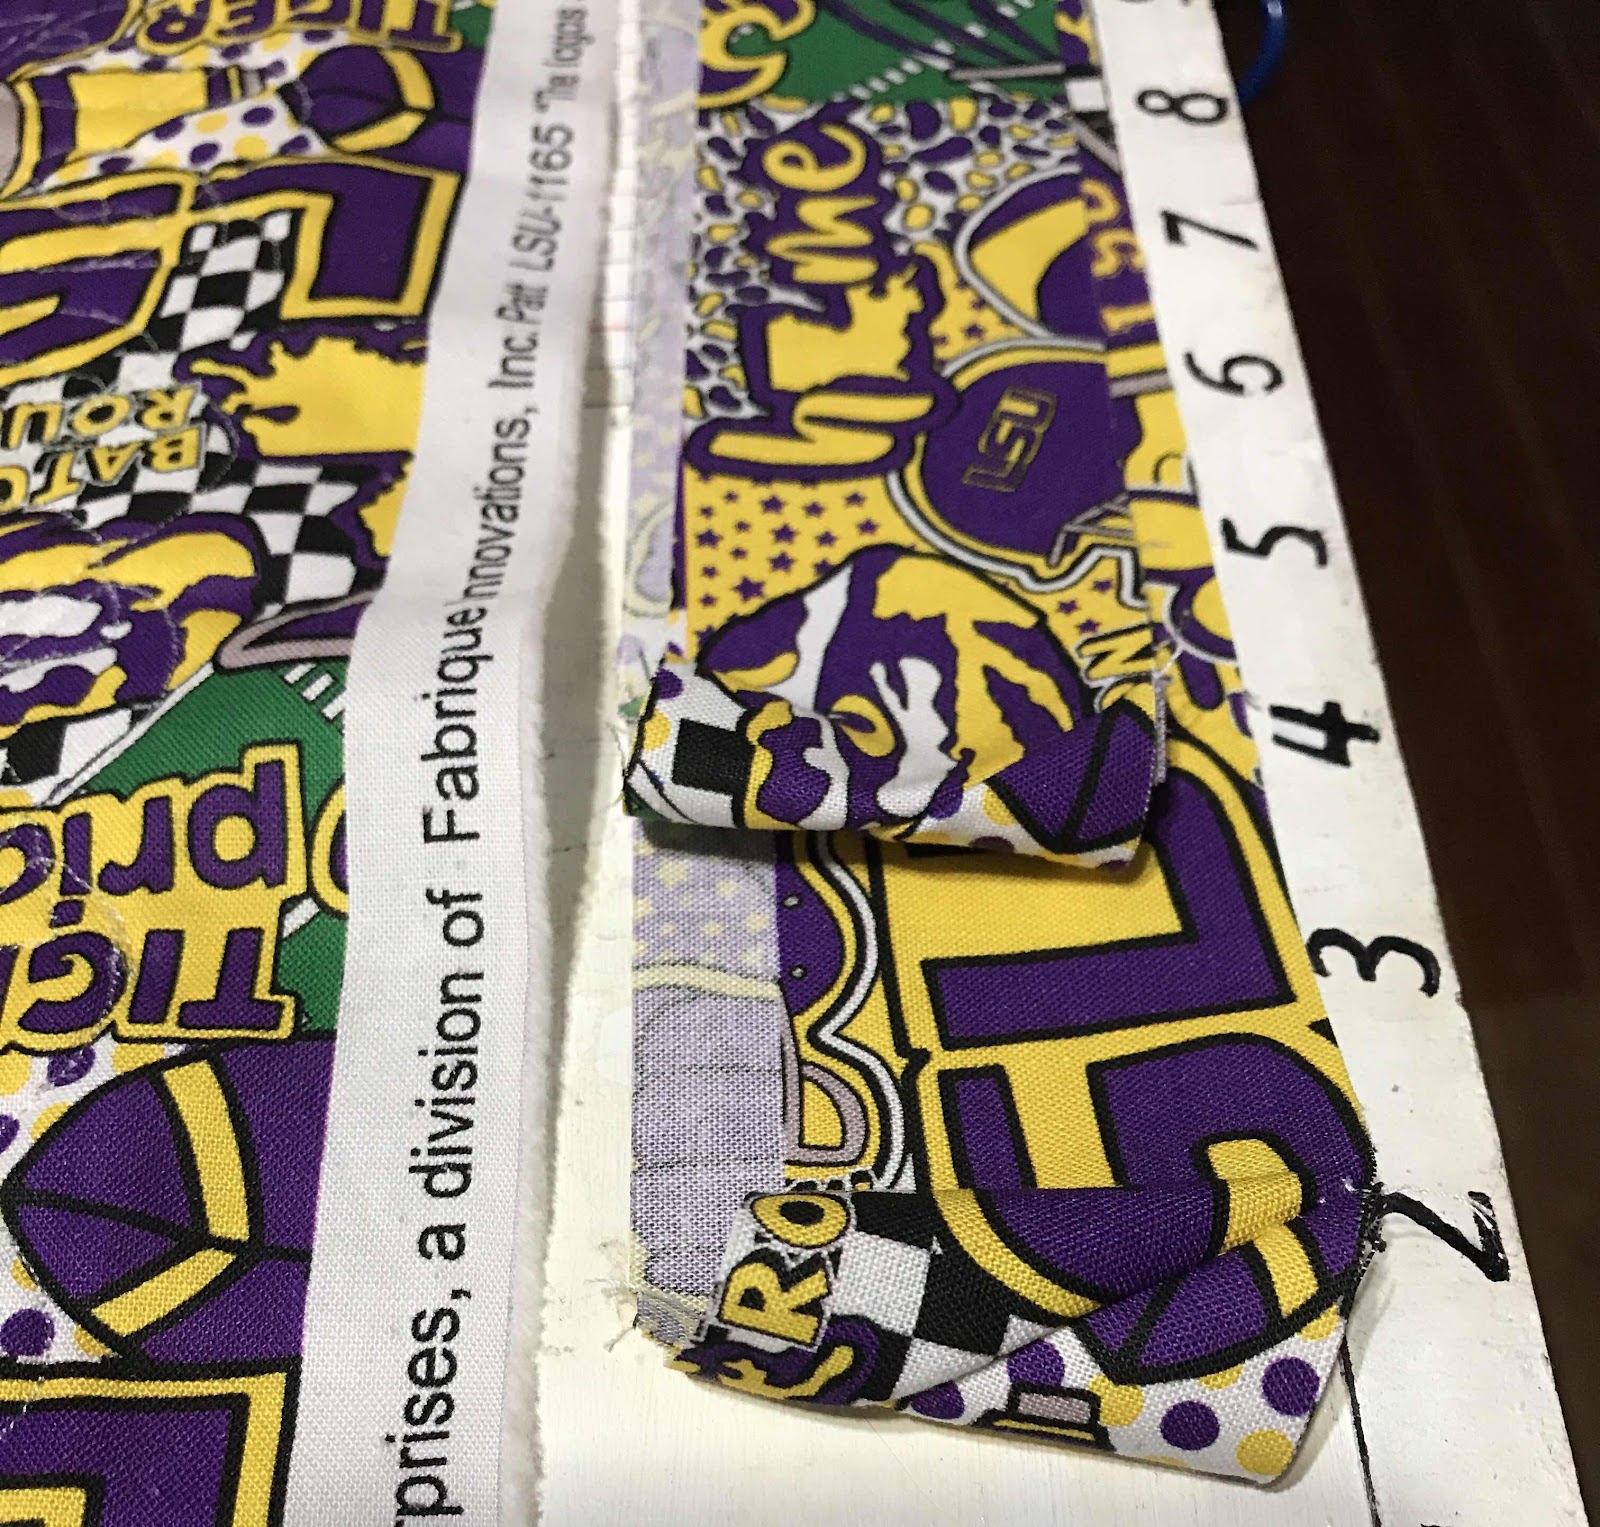
Cut off the selvage exactly where it meets the fabric. I should've done this in the beginning and sewed the strips onto the backing fabric before I quilted it. I'll remember to do this in the future.
Pin the top and batting out of the way and sew the strips onto the backing with a 1/4" seam allowance. Press the seam to the outside so it will be inside the fold. If the seam edge is facing the quilt, it may get caught by the needle when securing the folded edge.

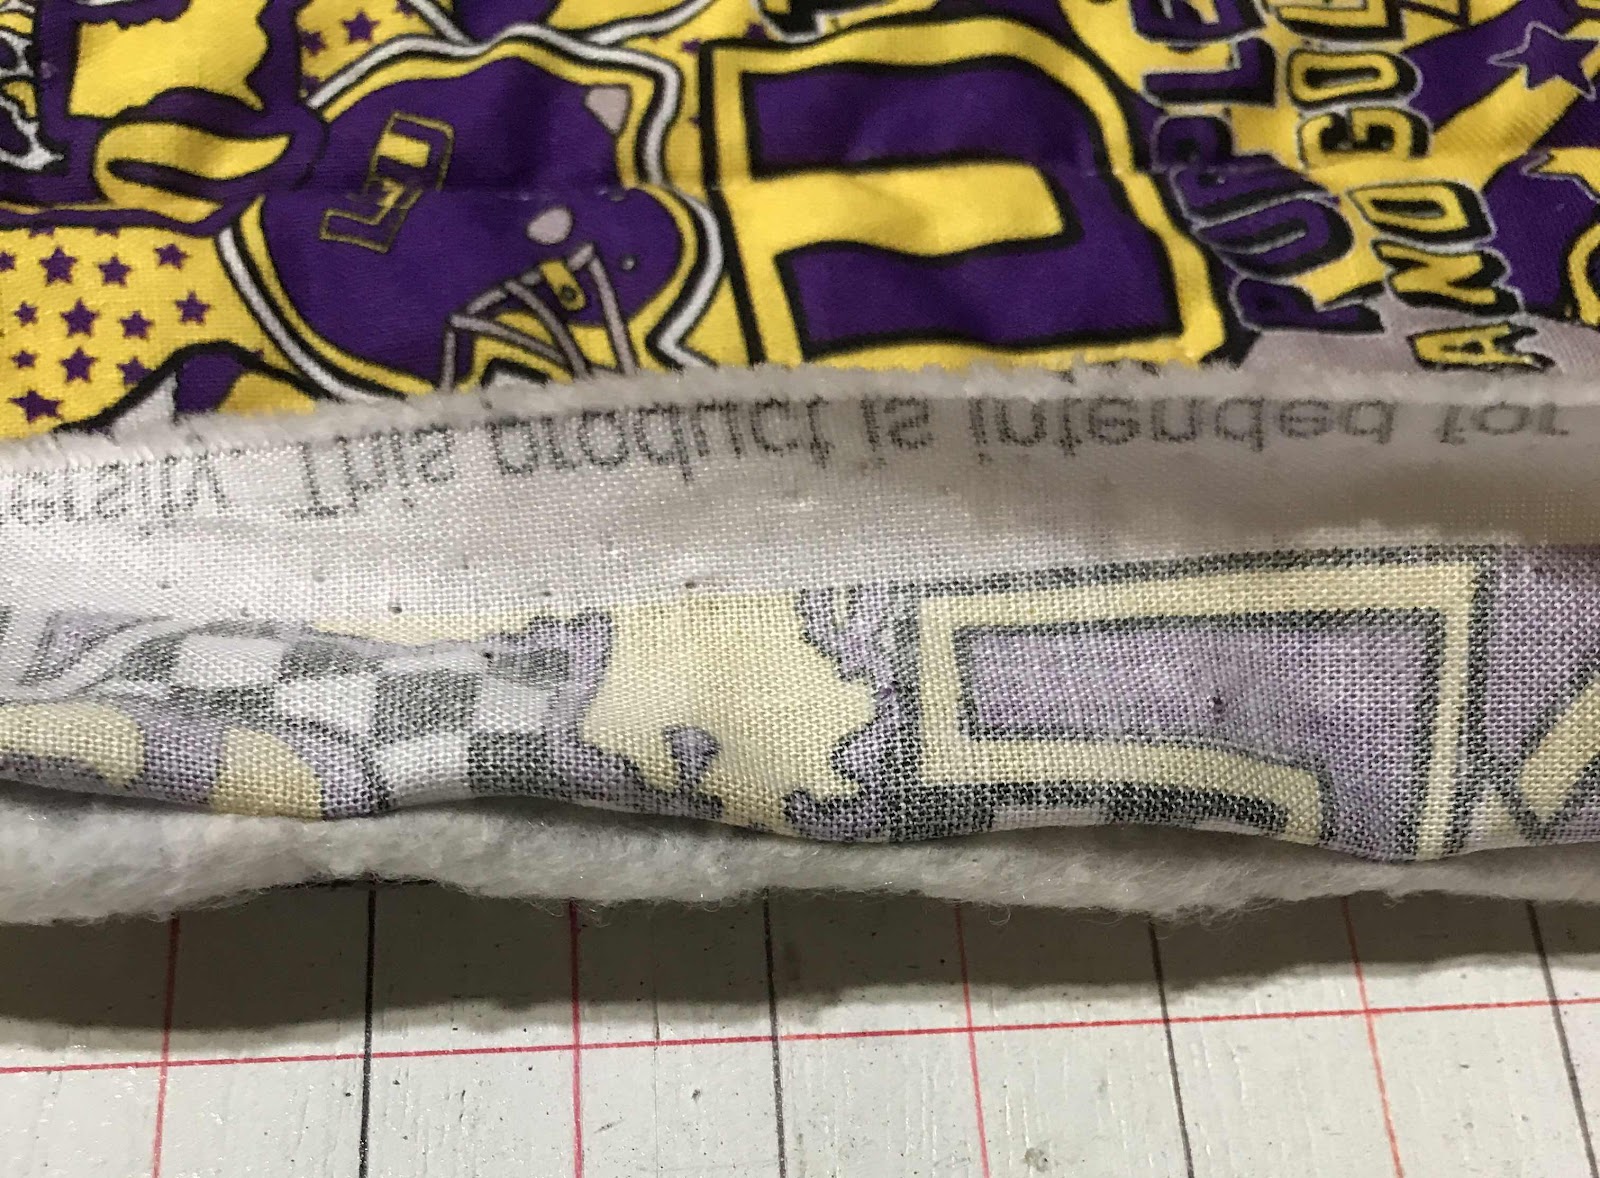
Cut the batting even with the top edge. Cut the backing 1" from the top edge. This will give you a 1/2" binding. Cutting it 2" will give you a 1" binding. If you cut off the selvage right, you should only need to trim the backing to get it even.
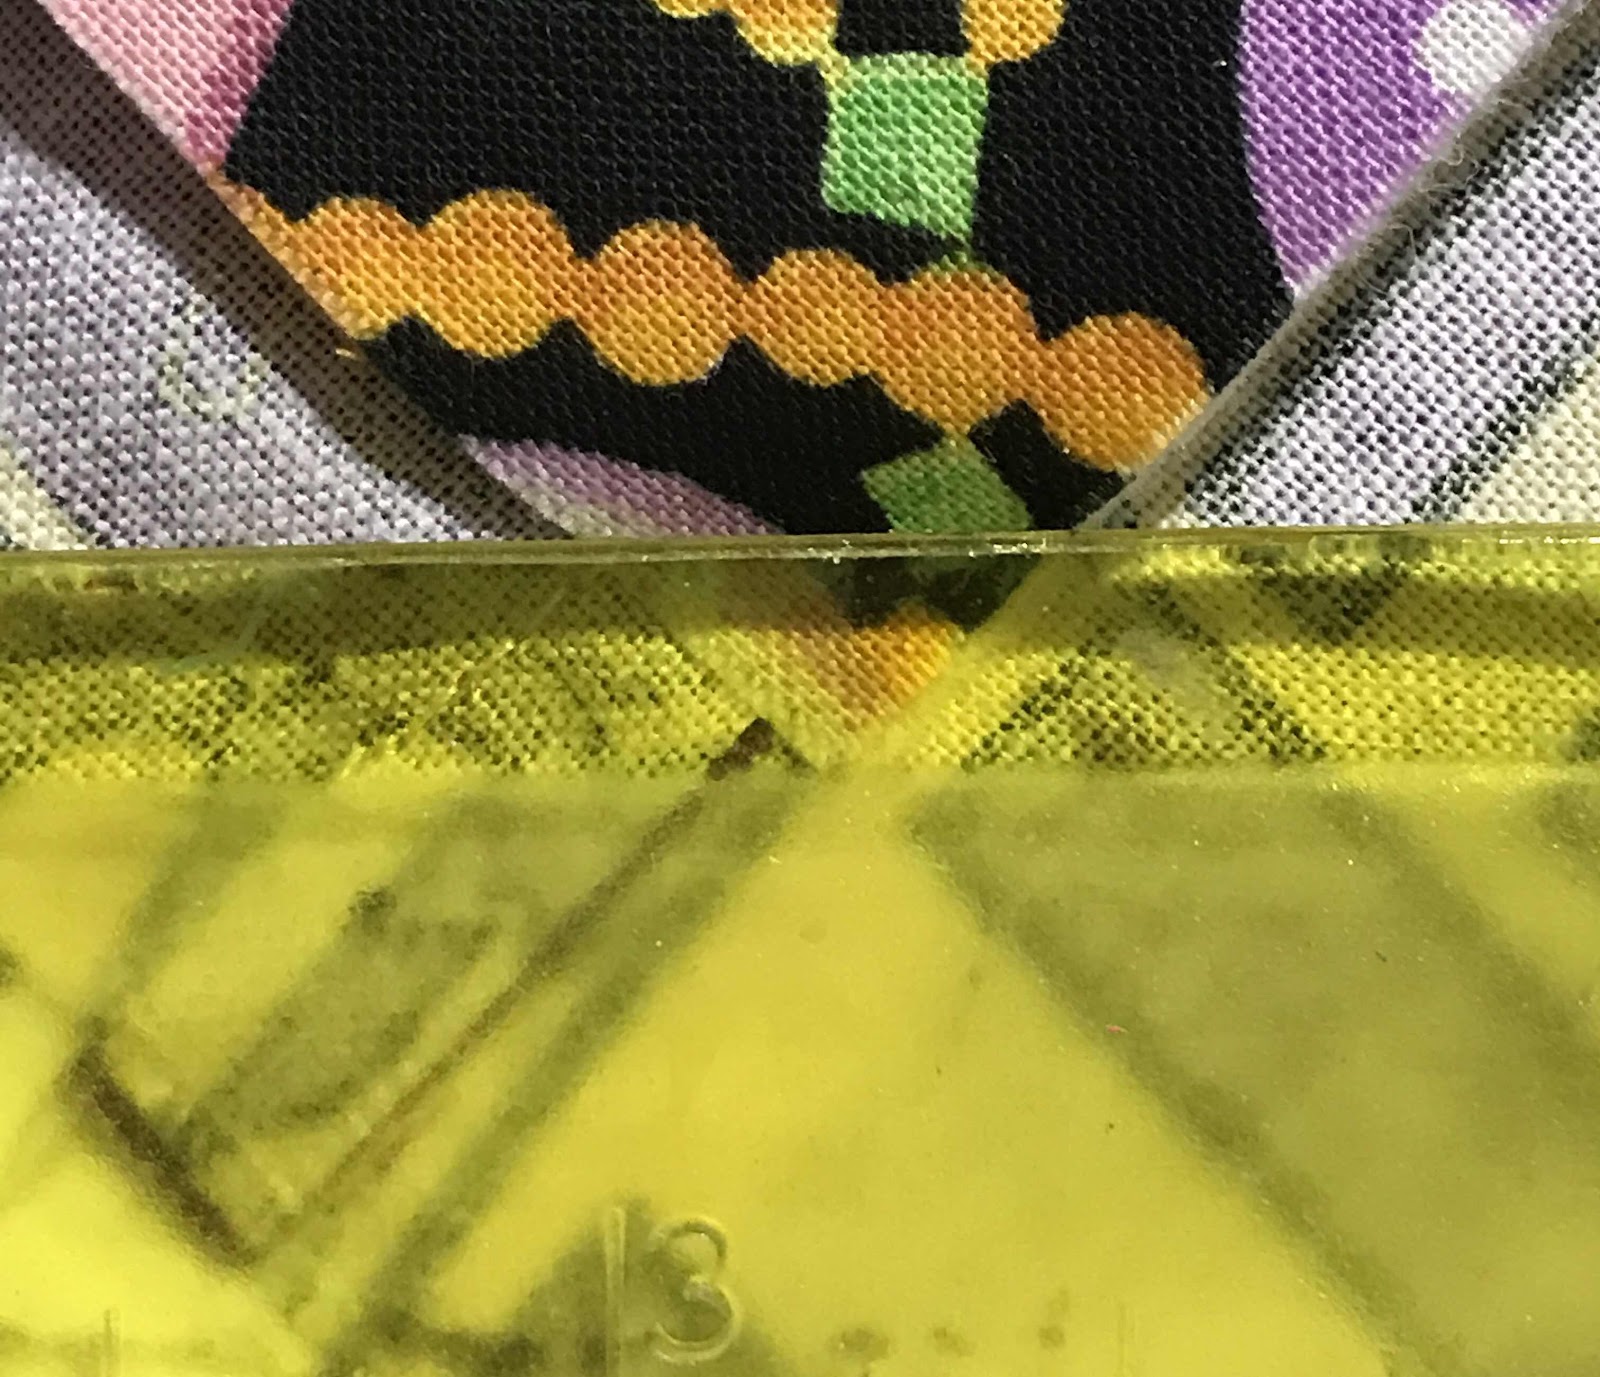
Trim 1/4" off each corner of the quilt.

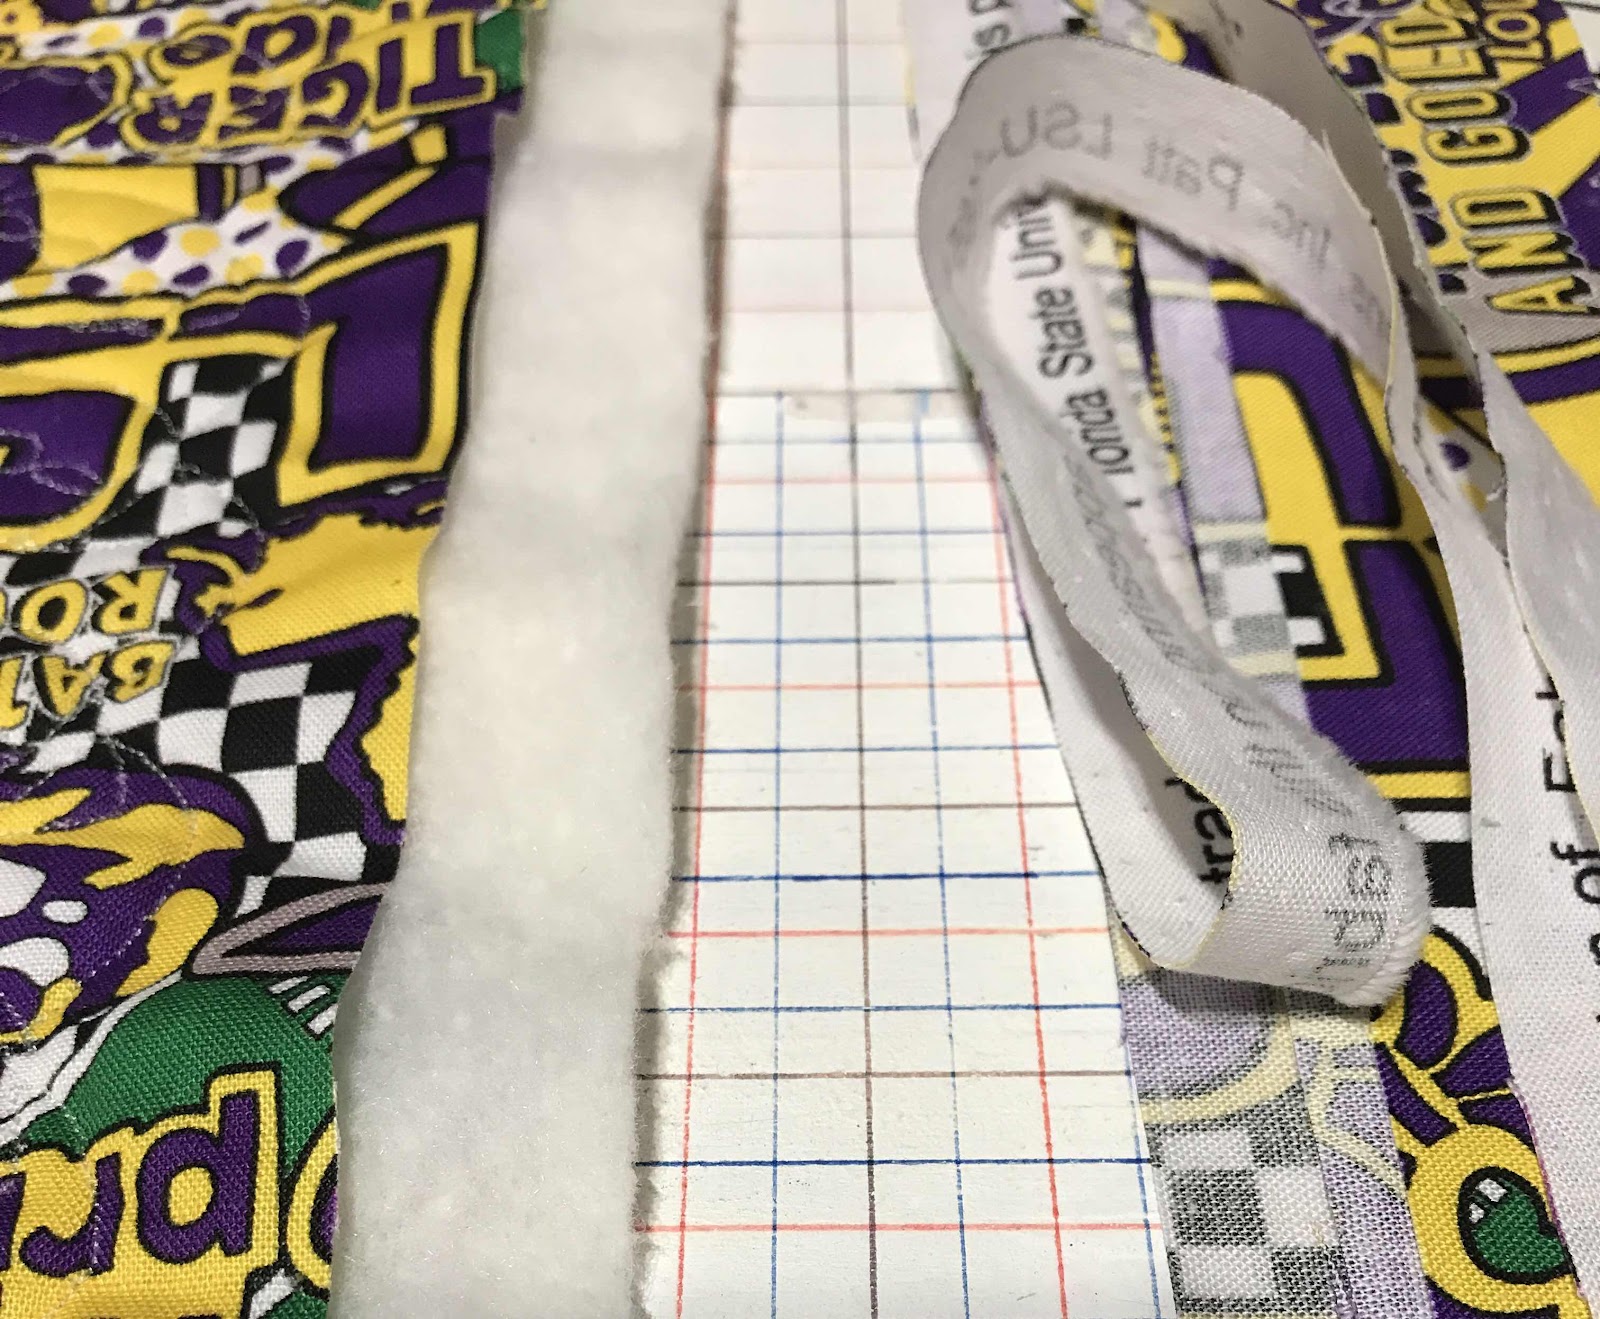
Trim 1 or 2" off each corner of the backing. Only trim the width of the binding.

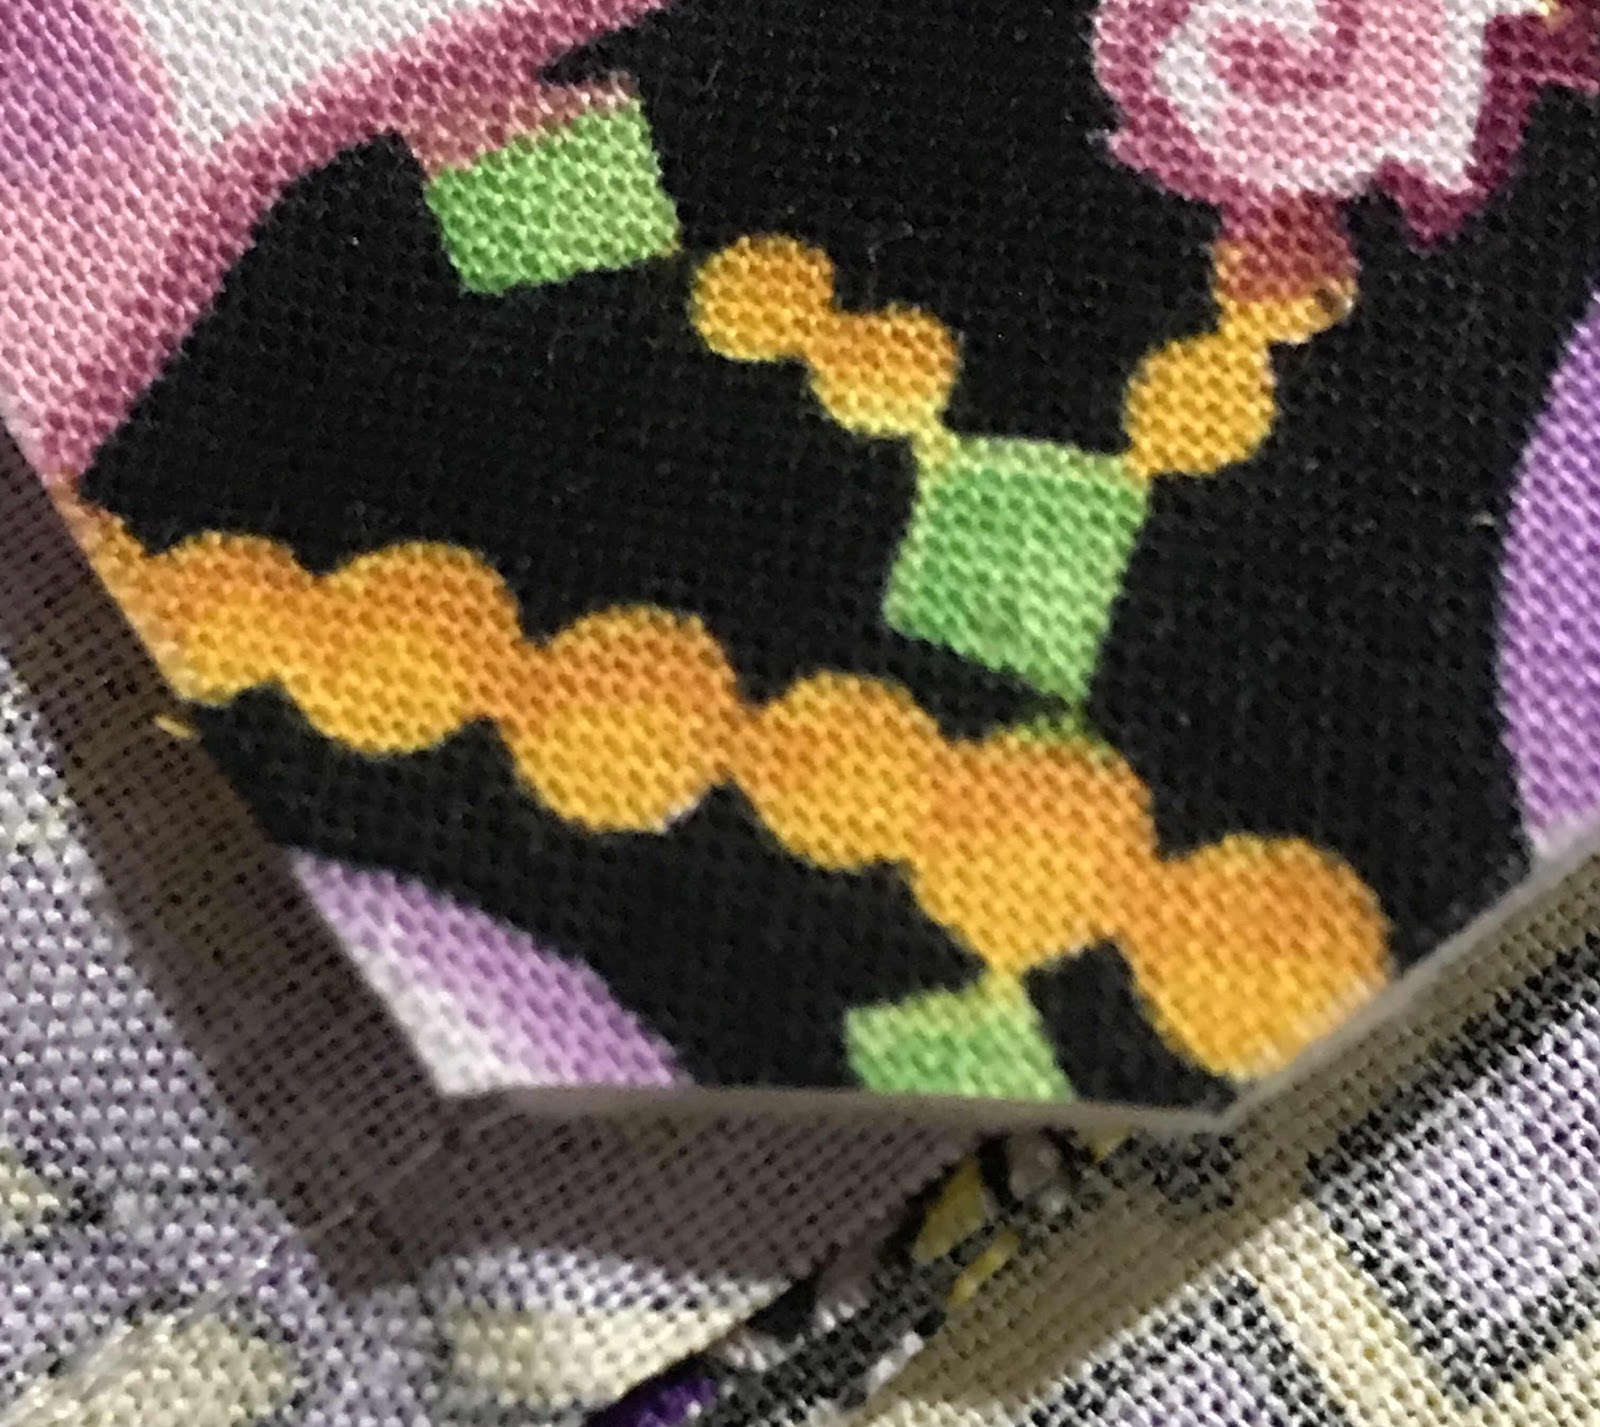
To make this easier, draw a line from the quilt edge horizontally and vertically to the backing edges. Then, draw a diagonal line connecting the lines at the ends.
Cut on the line. If your line looks catywompus like mine, it's because your backing isn't even. Either sew a strip on or trim some off. I didn't bother with correcting mine because I can make it look even when I fold the binding.

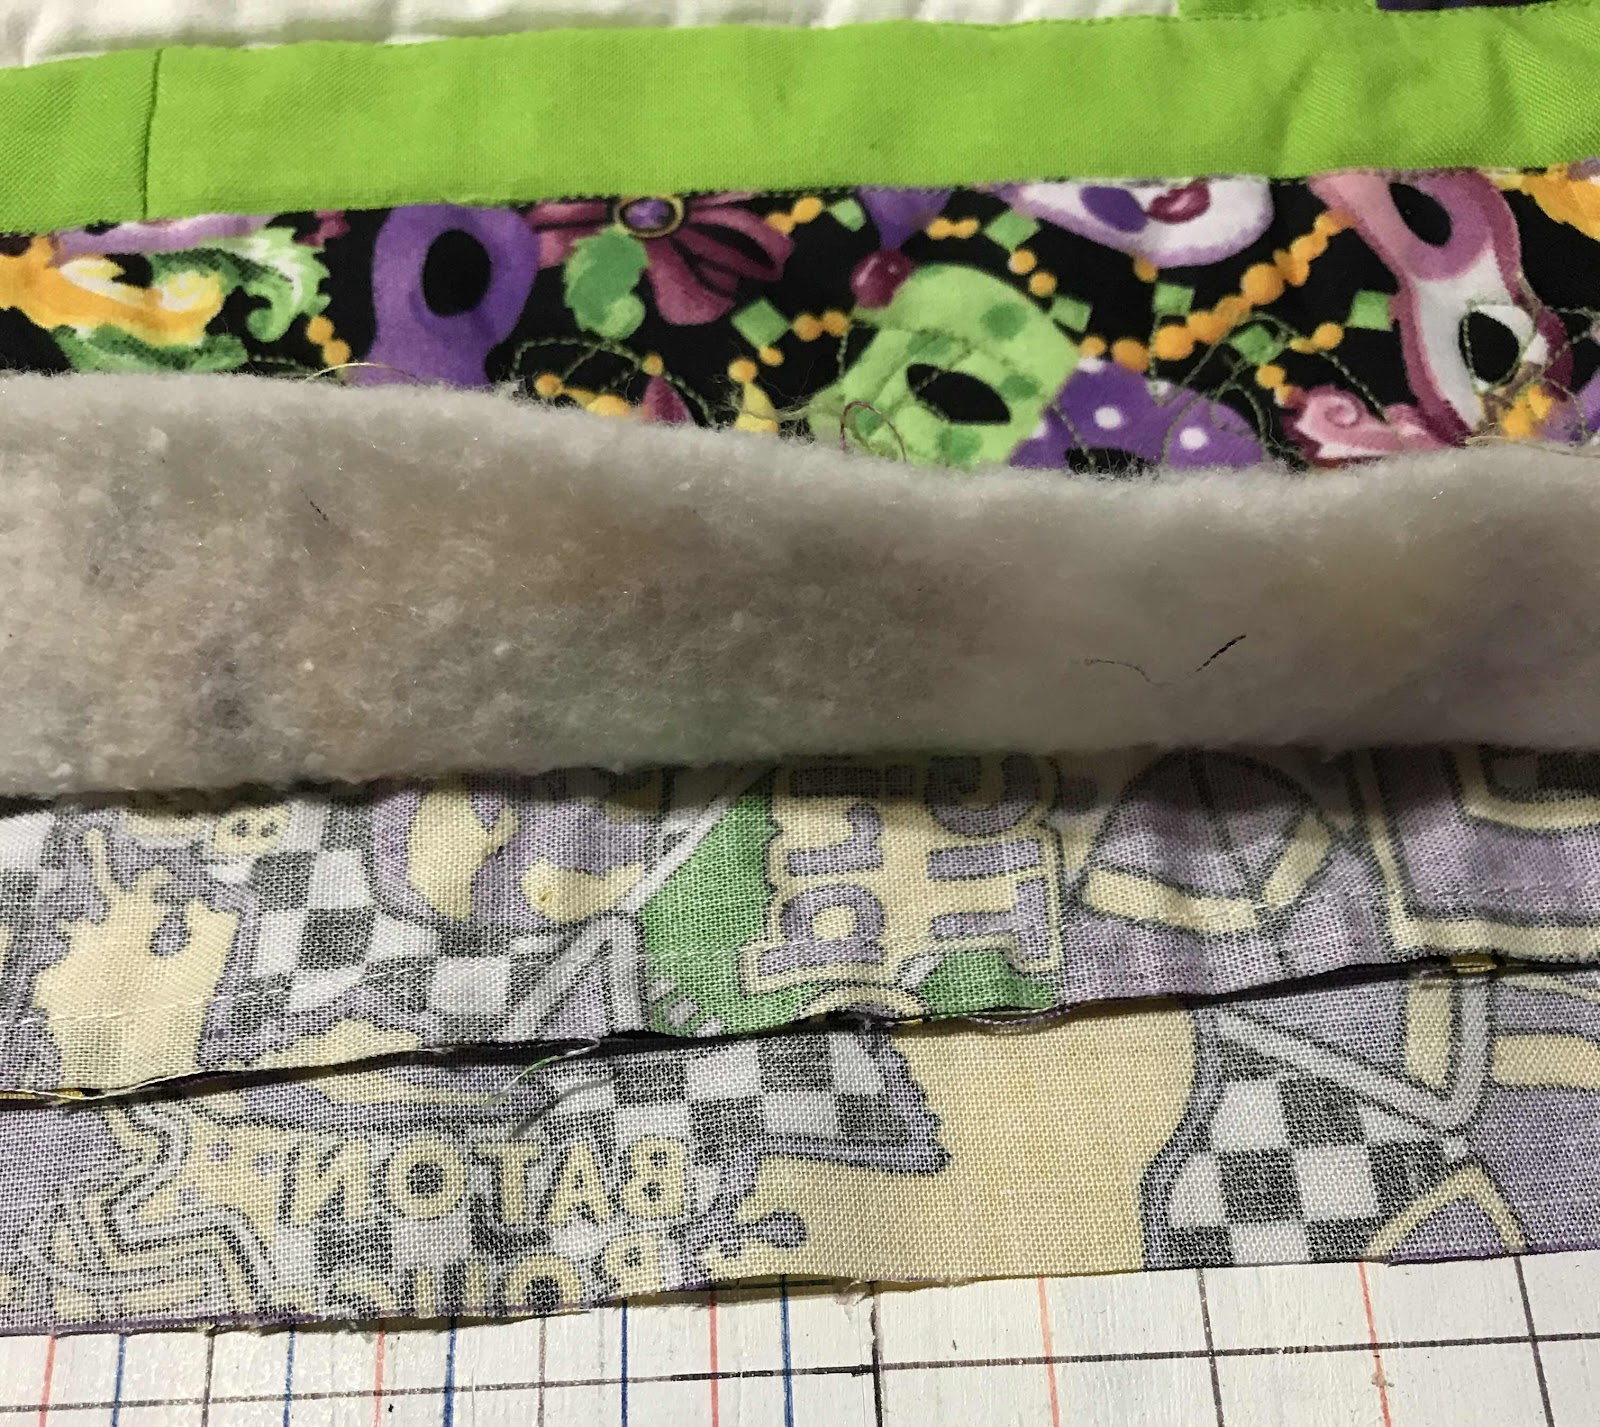
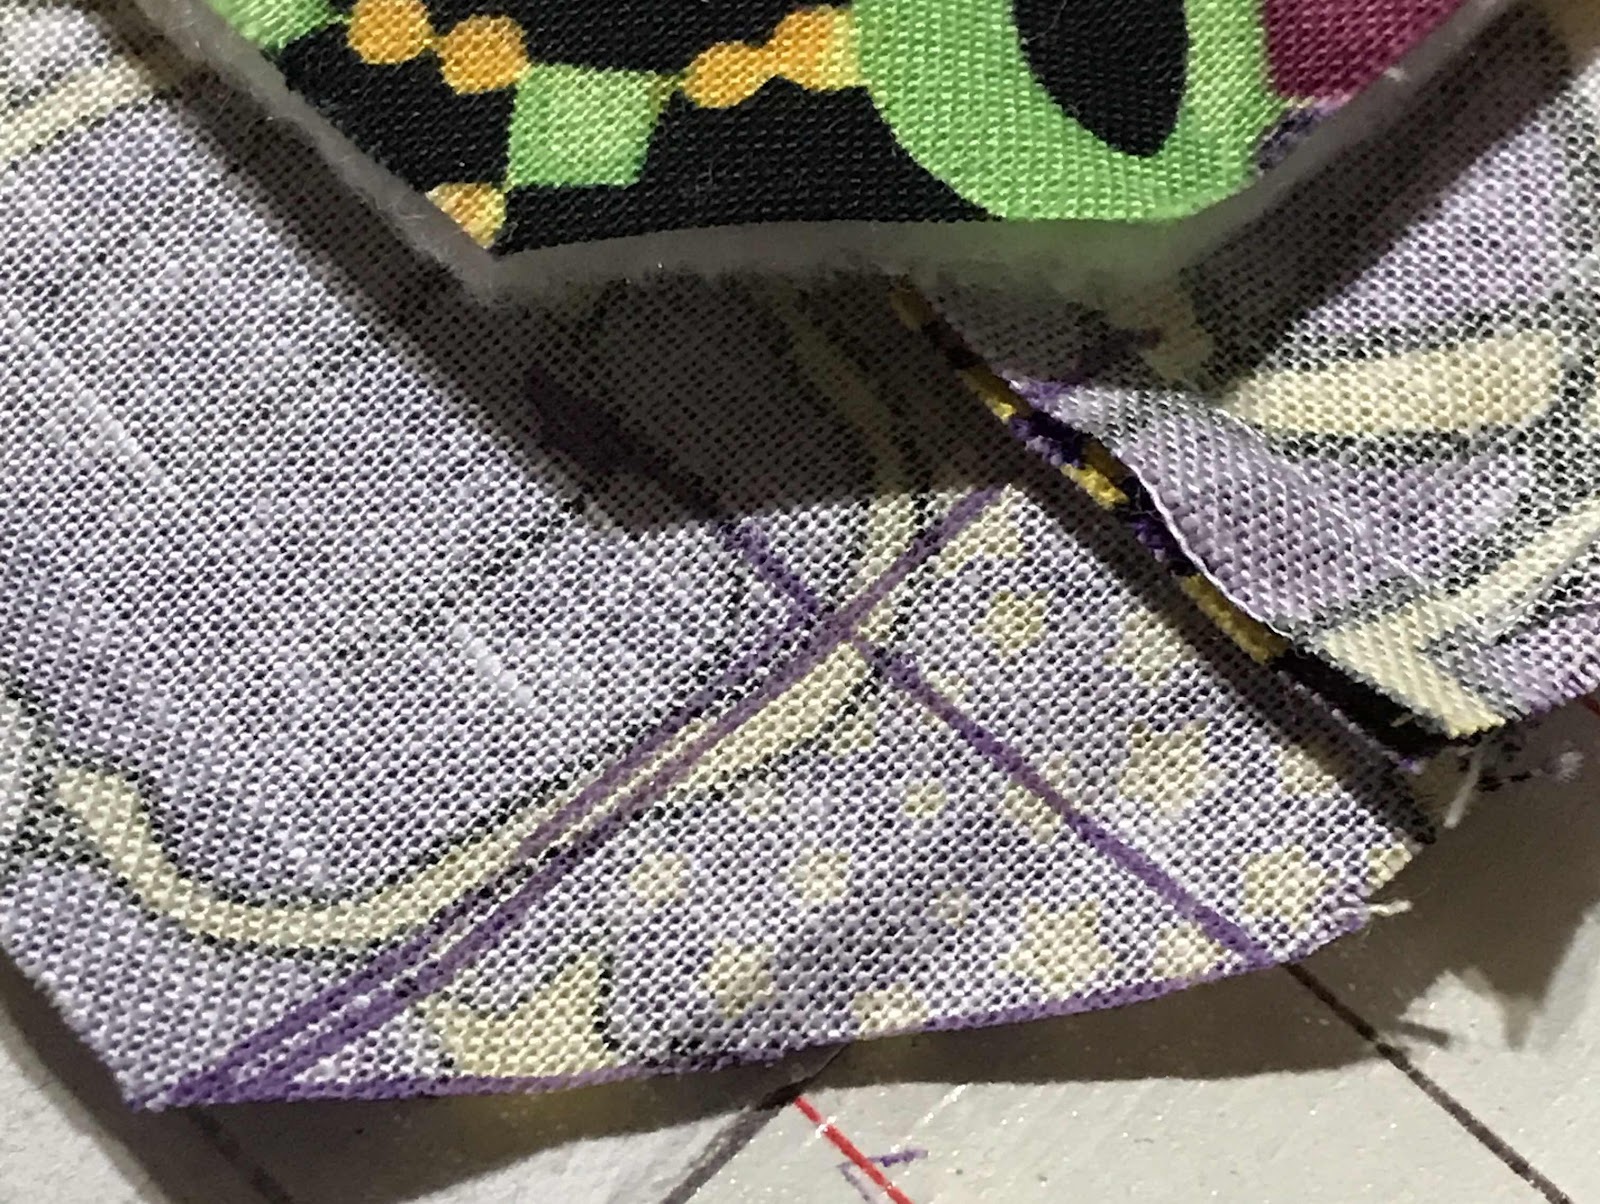
Fold the raw edge of the backing over flush with the quilt edge and iron to crease. Continue until you get to the other end.
Working from where you started, fold over again and pin in place.
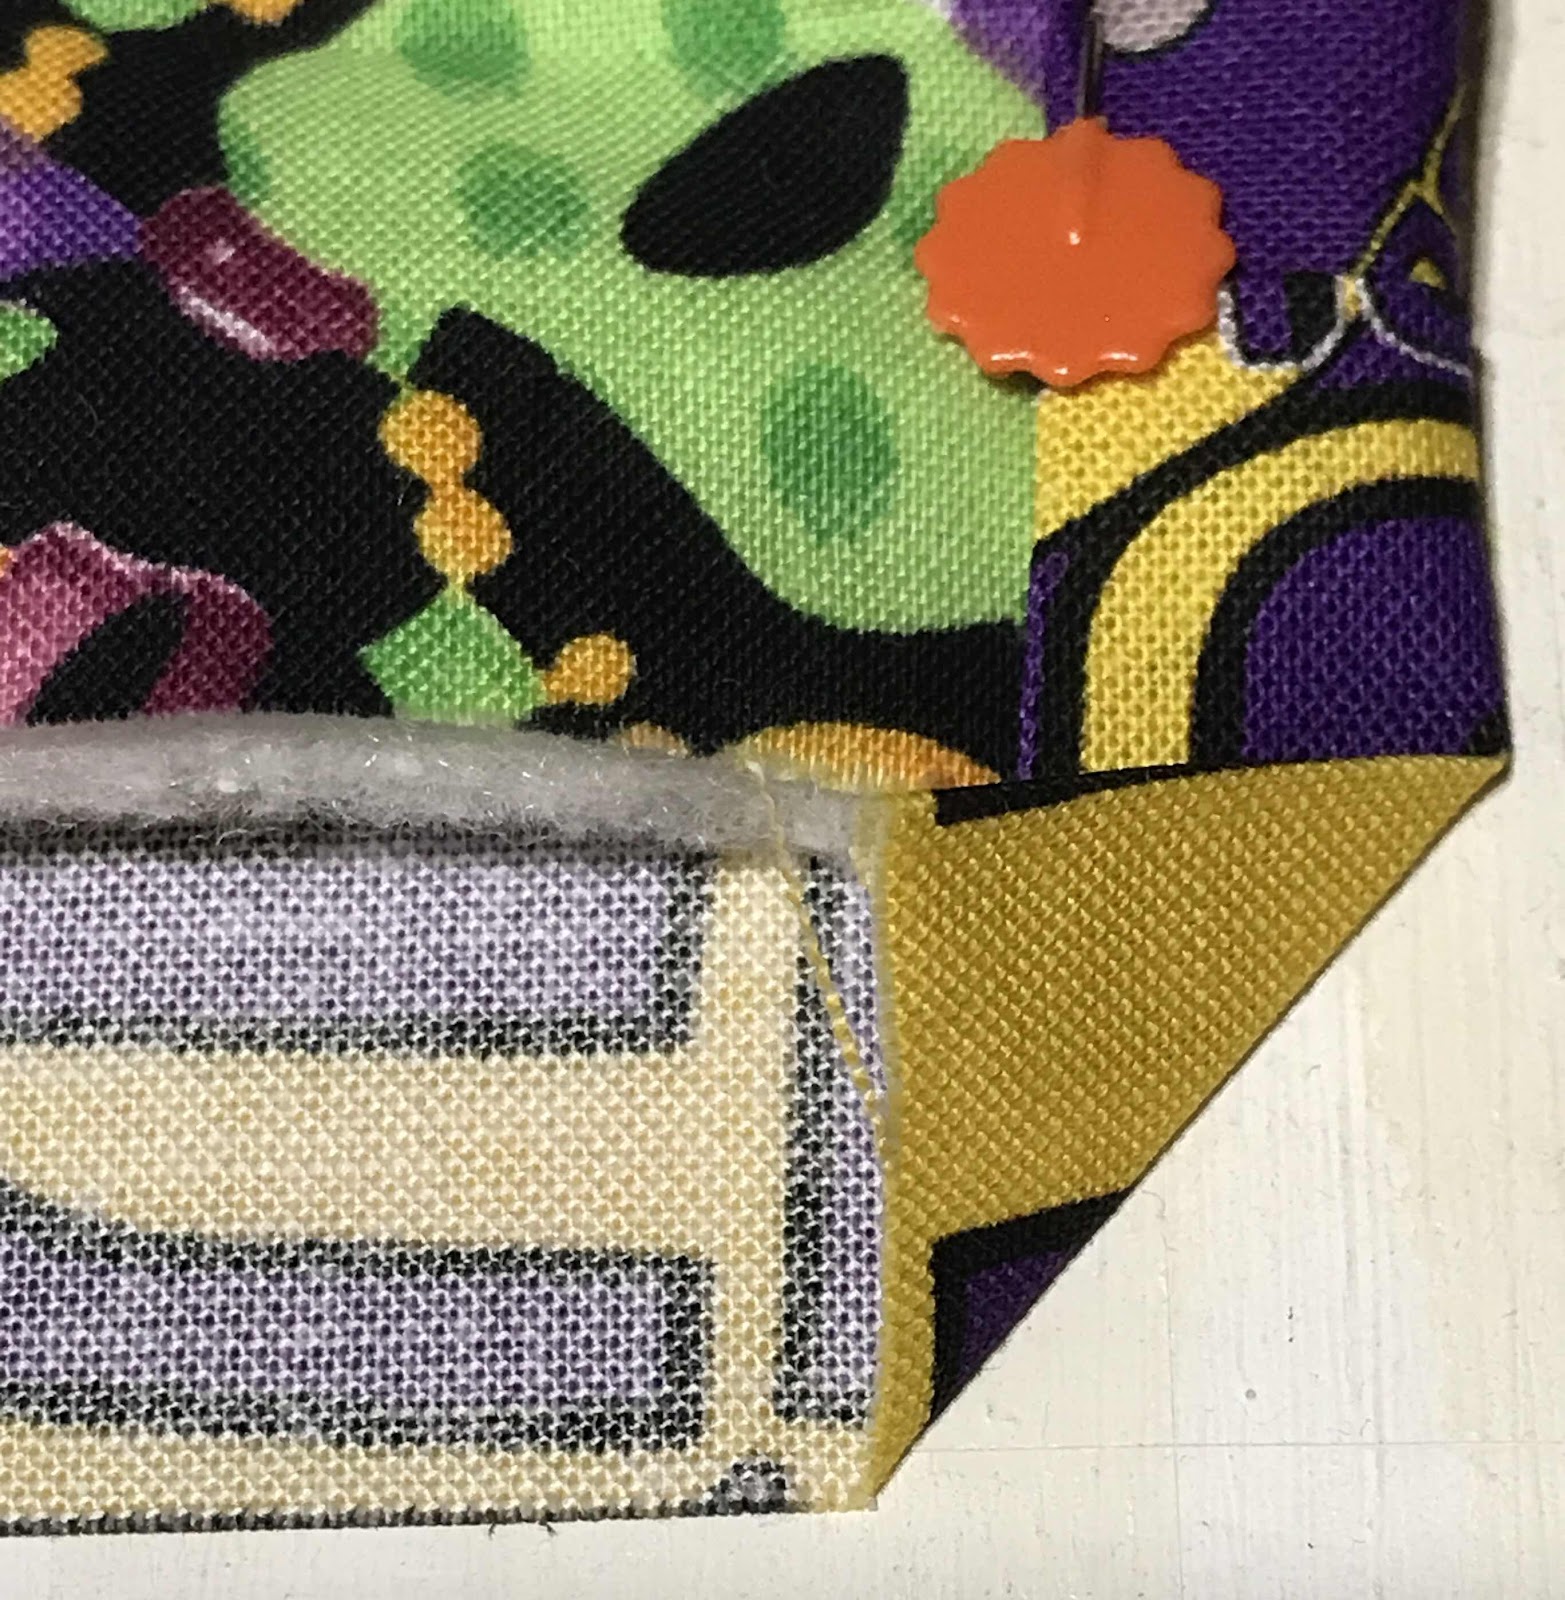
Go back to the corner where you stopped and fold it at a 45 degree angle.

Fold the raw edge of the other side over the corner. Continue folding the raw edge until you get to the other end.
Go back to the folded corner and fold the crease over to make a mitered corner. Pin in place. Continue folding until you come to the next corner.

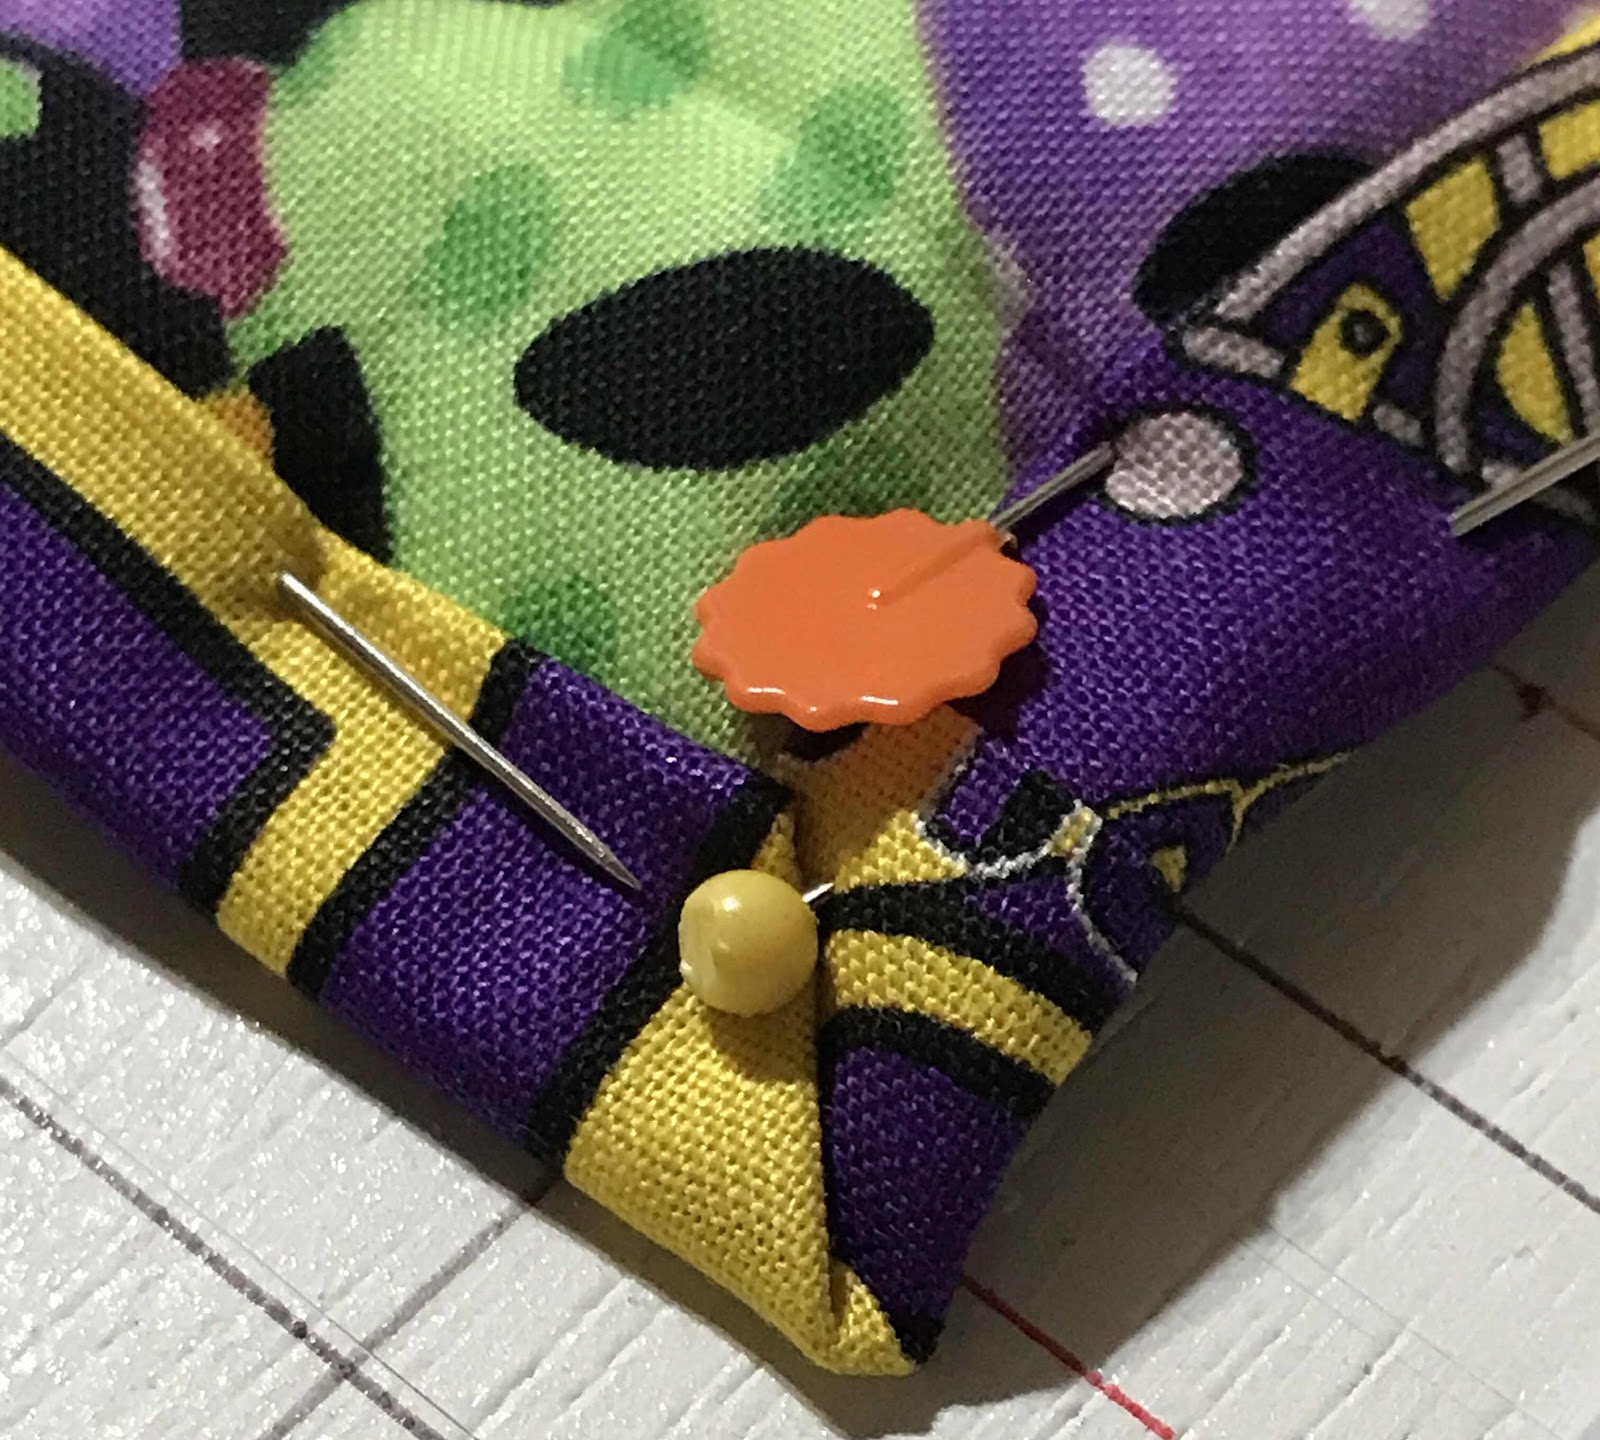
Fold the last two corners at the same time. This photo is from an older project, but it's small and easier to illustrate than a quilt.
Fold again and pin in place.
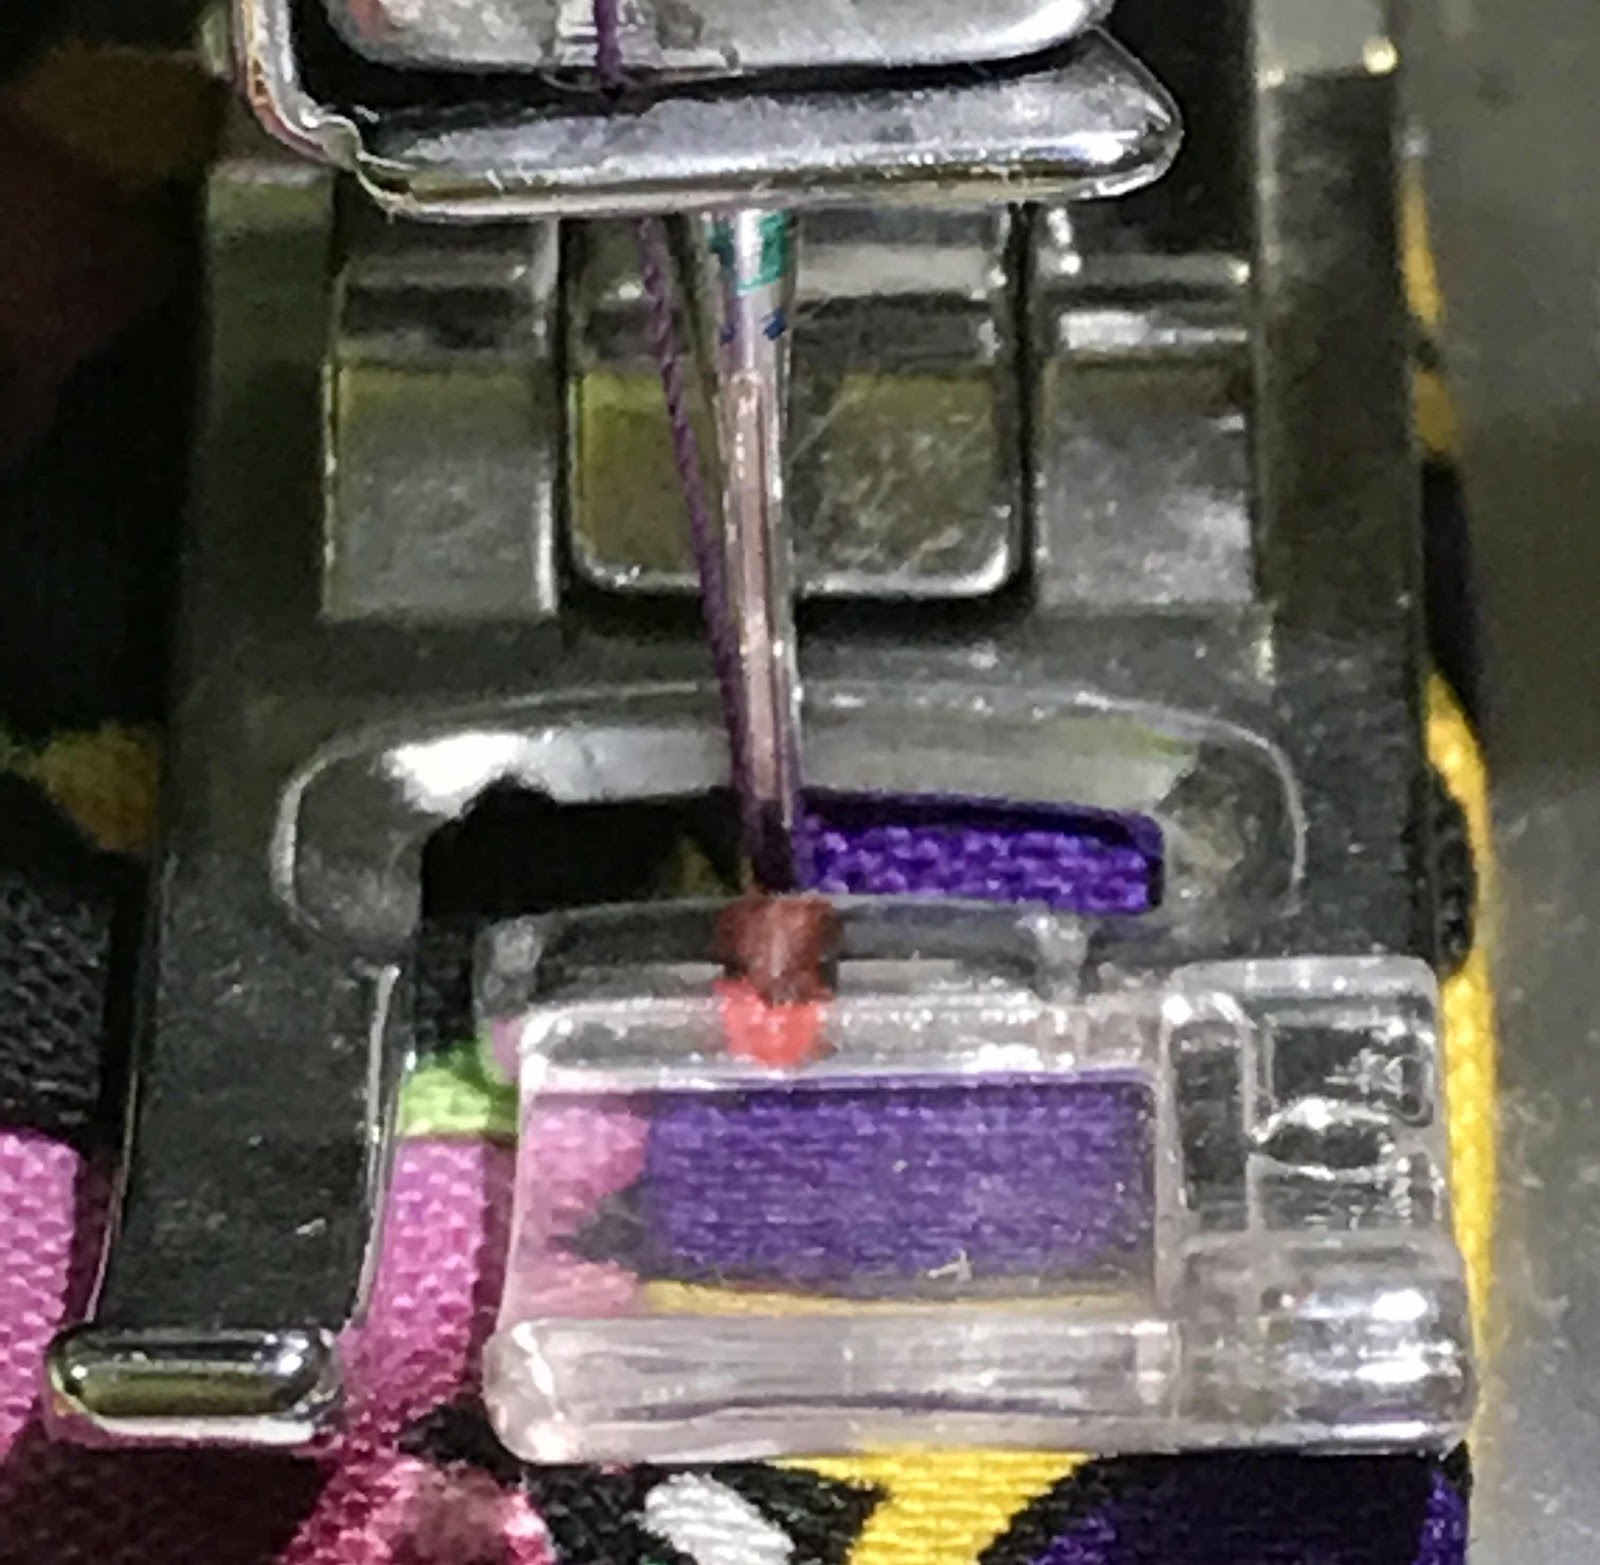
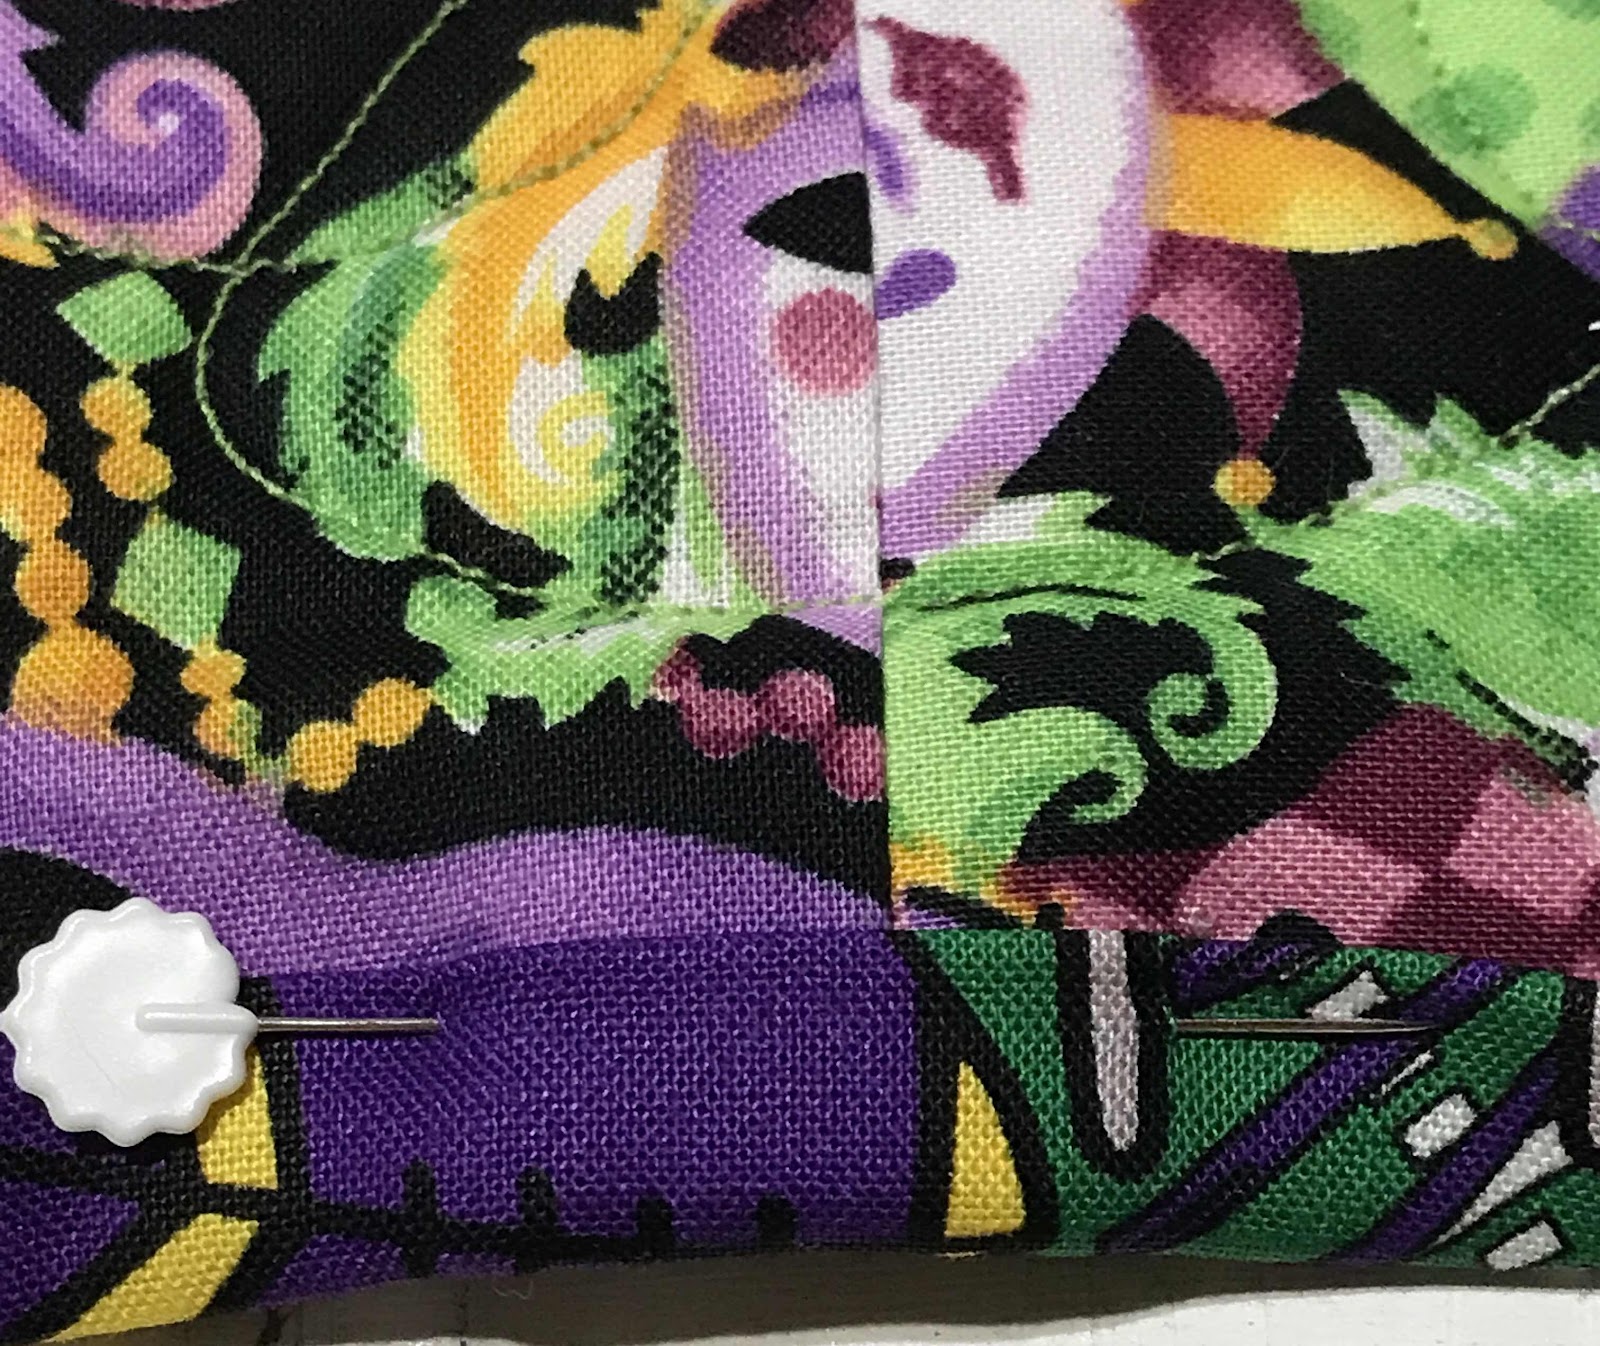
Self binding is attached with a blanket or straight stitch and you only have one row of stitches. I normally use a zipper foot to attach my binding. For self binding, I use a clear zigzag foot so I can satin stitch over the corners for extra security. My needle is just to the right of the crease.

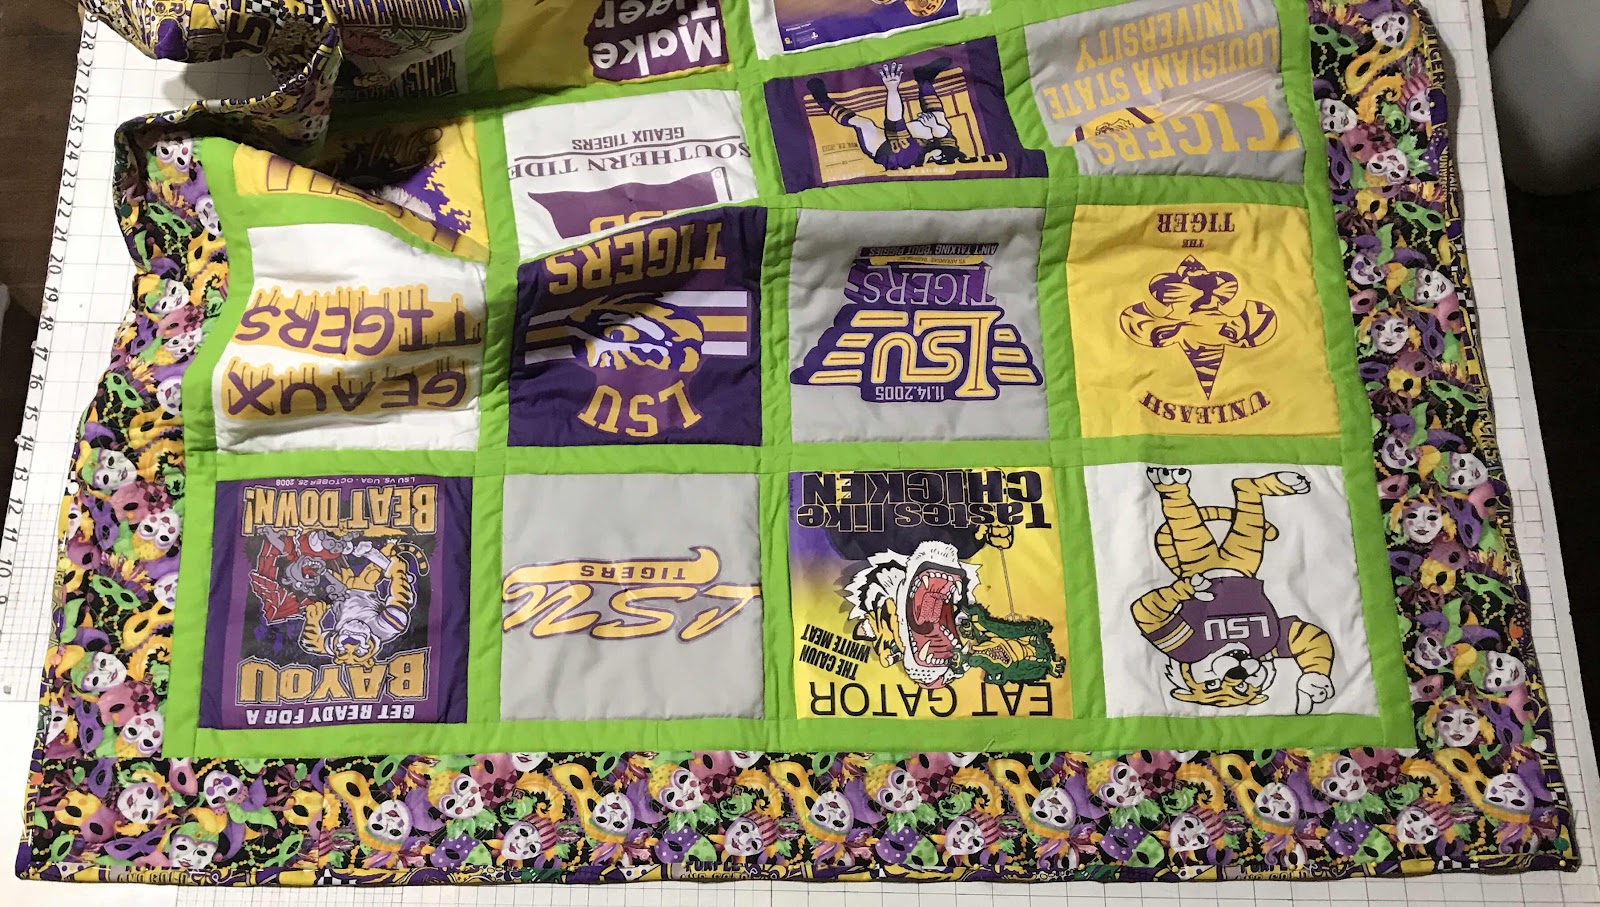
This is what my corners look like. I decided to have fun and use two different thread colors.
No comments:
Post a Comment