

Liquithick Thickening Gel boasts a unique polymer formula that thickens acrylic paints and mediums without adding transparency. Used in small amounts, it produces handling characteristics very close to that of oil or encaustic paint. At higher concentrations, it can thicken paint or mediums to a "cake-like" consistency. It dries to a matte sheen in anywhere from 24 hours to 7 days, depending on the amount used. Available from Blick Art for $14.69/8 oz
Materials:
Acrylic Paint in matte and metallic colors
Liquithick
2oz mister
Palette knifeSmall cups for mixing
Flat Acrylic Wash brush (3/4 or 1")
Stencil brushes (2, 4, 6, 1/8, 1/4, 1")
Foam brush (1")
Stencil brushes (2, 4, 6, 1/8, 1/4, 1")
Foam brush (1")
Acetate sheet
Non Porous Digital Ground
Acrylic sheet, 1/4" thick (for printing)
Craft knife
Craft Bond Spray Adhesive
Bowl of water with detergent
Bowl of water with detergent
Bowl of clean water
Paper towel
Roll plastic
100% Cotton Fabric*Let dry and heat set. Wash in hot textile detergent. Rub the fabric between your hands or on a wash board for large pieces to soften the fabric. Rinse in cool water. Let dry and iron smooth.
Stencil Paste
1/2 tsp Acrylic paint
1 tsp Liquithick

Use with a stencil brush.
Stencils
Make stencils based on fabric you own.

Scan a swatch of fabric and open it in an image editor. Use the Magic Wand tool set to Add Mode, Tolerance: 50, Anti-alias, Inside to select the fabric pattern. Disregard partial patterns that were cut. Expand selection by 1 pixel.

Add new layer and fill with black. Make the background layer invisible. Copy and paste the black layer as a new image. Save it as a png file.
Brush an acetate sheet lightly with non porous ground and let it dry. Load the image in the Print Layout and center it on the page.

Print the pattern onto the acetate sheet with the following settings: Inkjet transparency film, Fast Draft, Black Ink Only. Blow dry the ink. Spray with acrylic sealer.

Cut out the pattern with a craft knife. I prefer to cut tiny patterns like the one above in a 2" block rather than cut a whole sheet because they're very tedious and easy to screw up. It takes much longer to cut a stencil than it does to paint with it. Test the stencil on paper before using it on fabric to make sure the pattern is clear. Blow dry each stenciled section to prevent smearing.

Dark on Light Print: Paint or dye fabric the color you want the background to be. * Spray stencil lightly with tack adhesive and apply to fabric. Using a stencil brush, palette knife, or your finger, apply paint sparingly over the stencil. *

Light on Dark Print: Paint or dye fabric the color you want the background to be. * Spray stencil lightly with tack adhesive and apply to fabric. Using a stencil brush, palette knife, or your finger, apply paint sparingly over the stencil. *
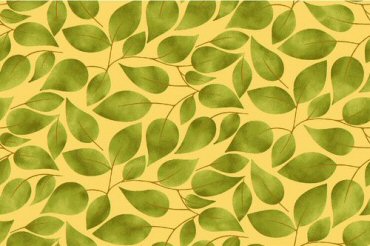
Ombré: Paint or dye fabric the color you want the background to be. * Spray stencil lightly with tack adhesive and apply to fabric. Load a stencil brush sparingly with paint. Remove excess paint on a scrap piece of paper or fabric. Rub paint in a circular motion across the entire stencil. You can blend two or more colors. *

Airbrushed: Paint or dye fabric the color you want the background to be. * Spray stencil lightly with tack adhesive and apply to fabric. Load an airbrush gun with paint and airbrush medium. Test paint flow on a scrap piece of paper or fabric. Spray across the areas you want painted, leaving some areas unpainted. Repeat with as many colors as you like to create a blended effect. *


